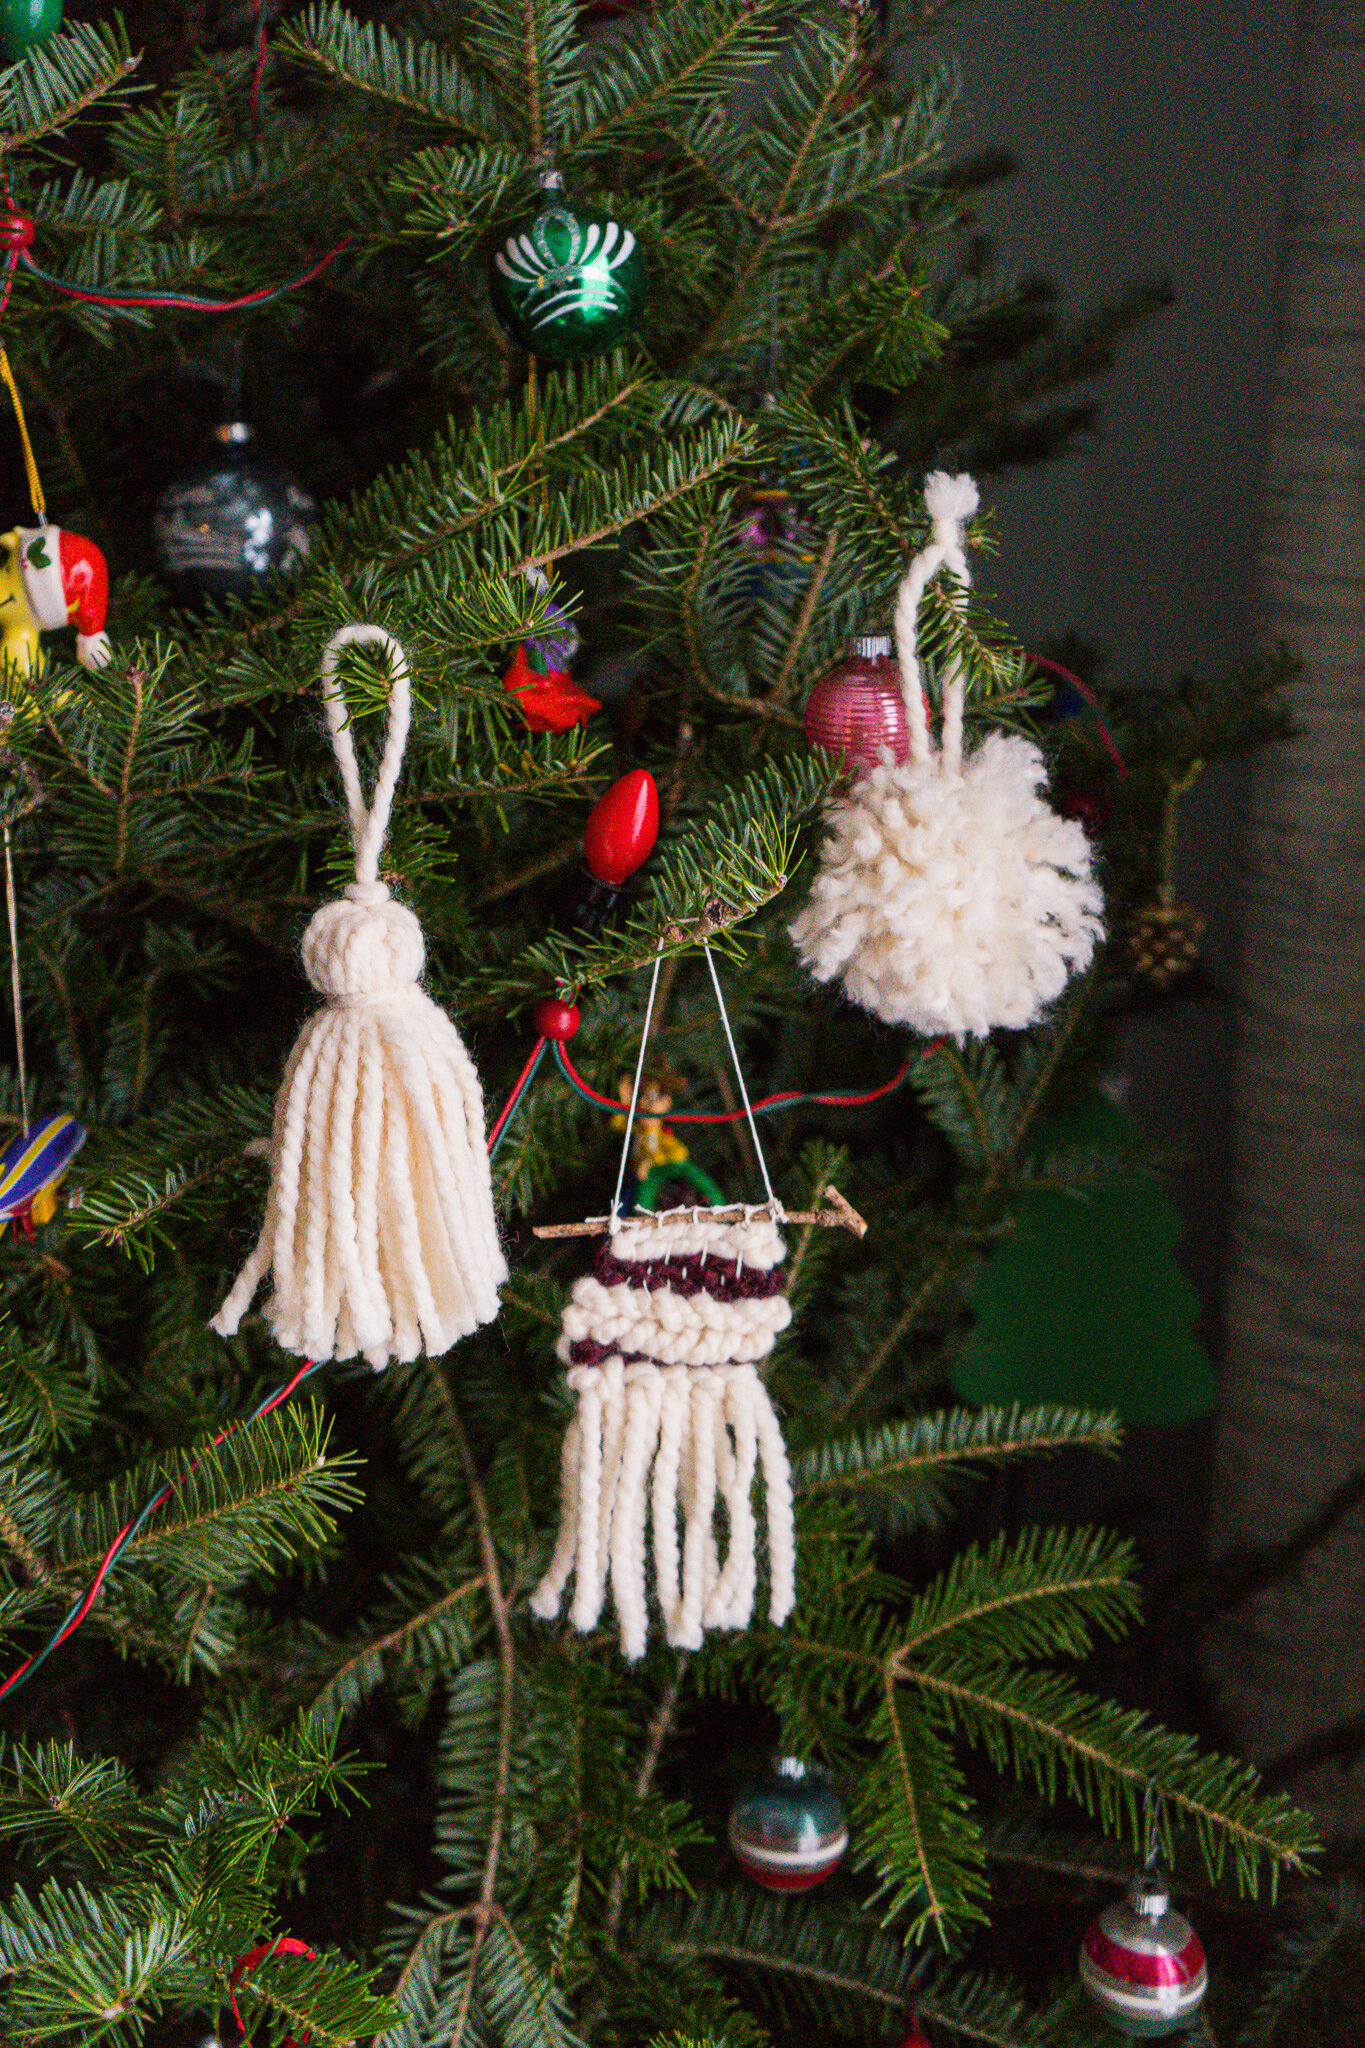
DIY Mini Woven Wall Hanging Ornament

Bring some holiday cheer to your home with this adorable woven DIY ornament!
This mini wall hanging-style ornament is SO fun to make, and it’ll look beautiful on your tree. It also makes a lovely, handmade holiday gift for friends and family!
Watch the full DIY Christmas Ornament video tutorial here…
How to Make a DIY Woven Wall Hanging Ornament
Supplies:
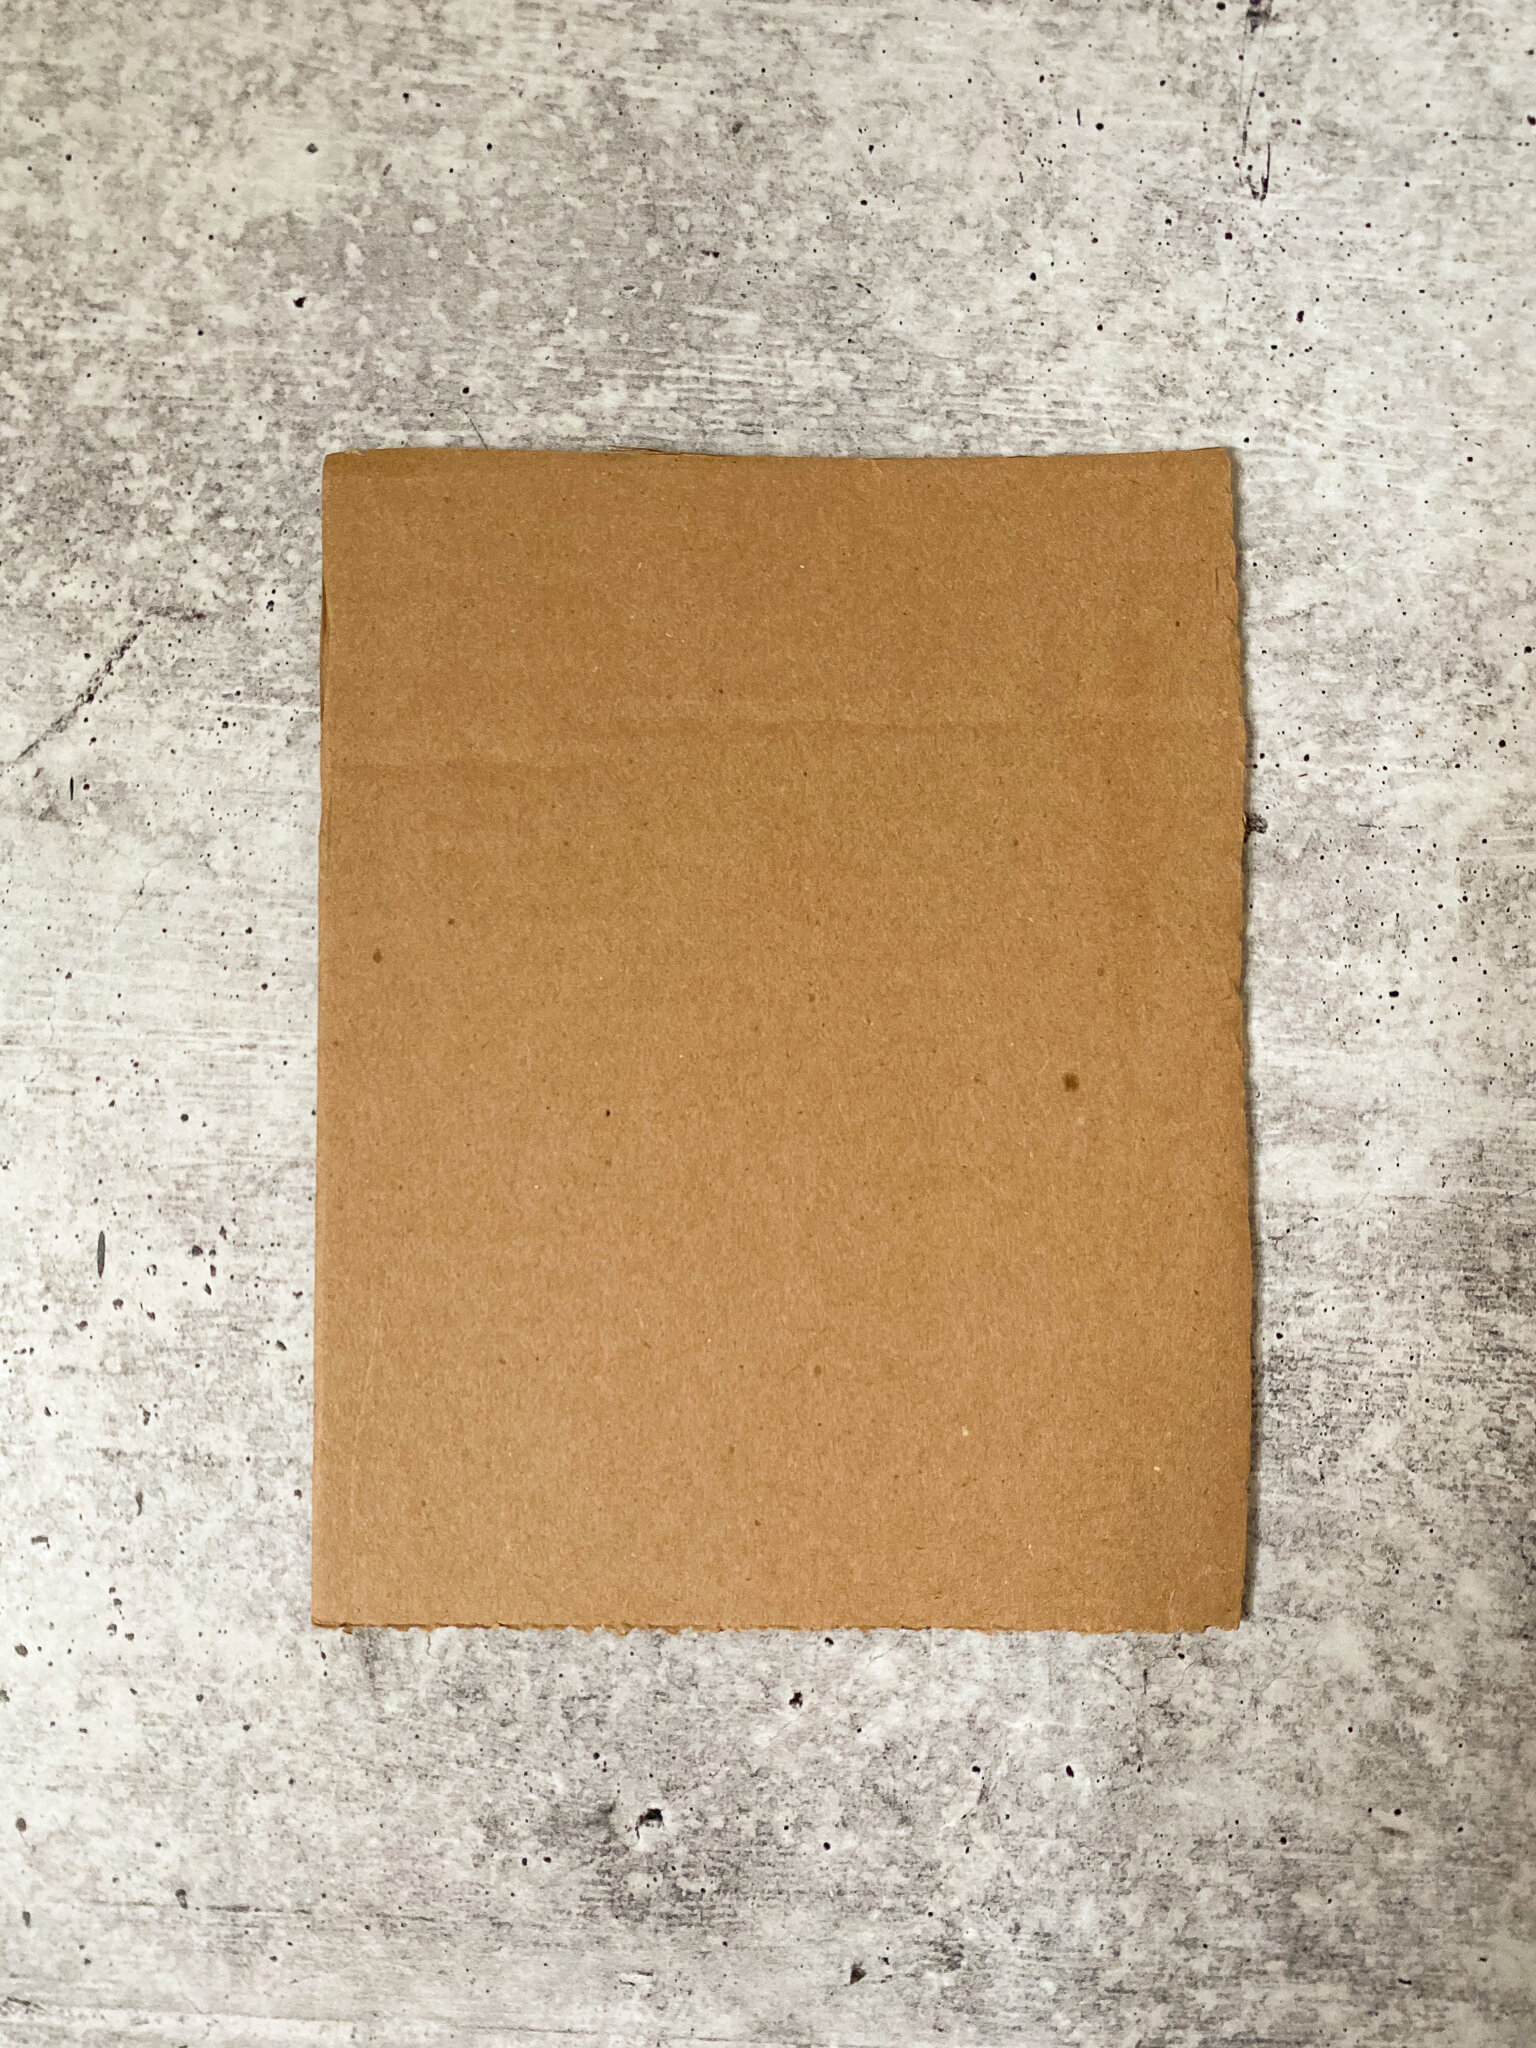
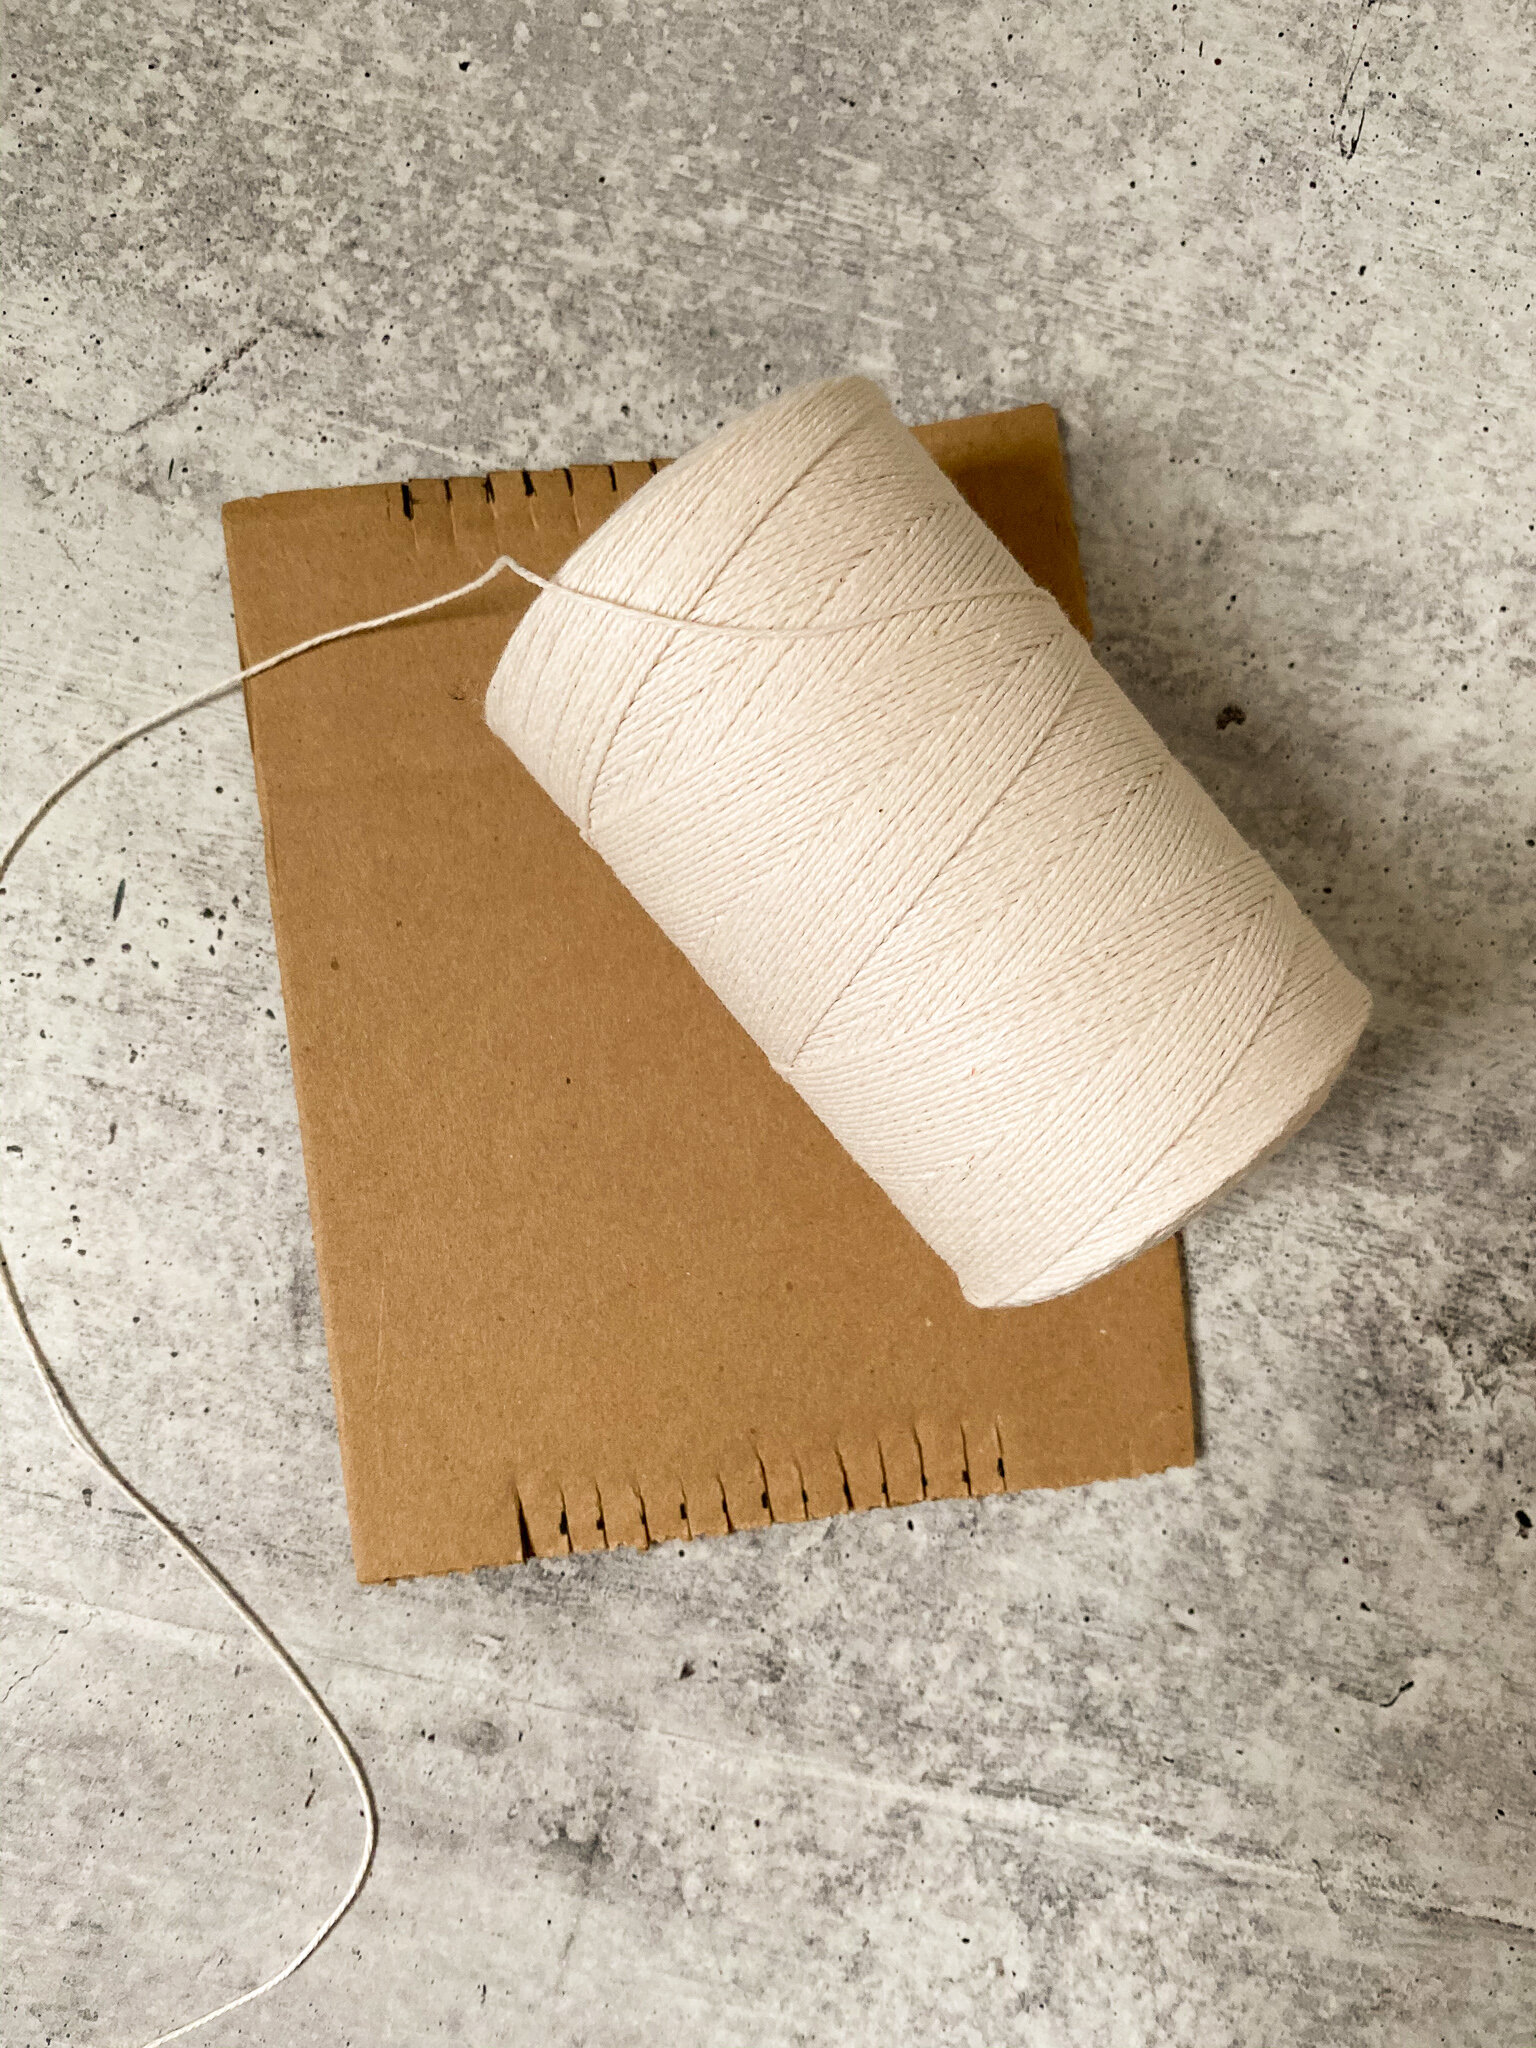
piece of cardboard (measuring about 8 inches tall)
scissors
cotton warp thread / kitchen twine
chunky yarn in 2 colors
comb
tapestry needle
small twig
Directions:
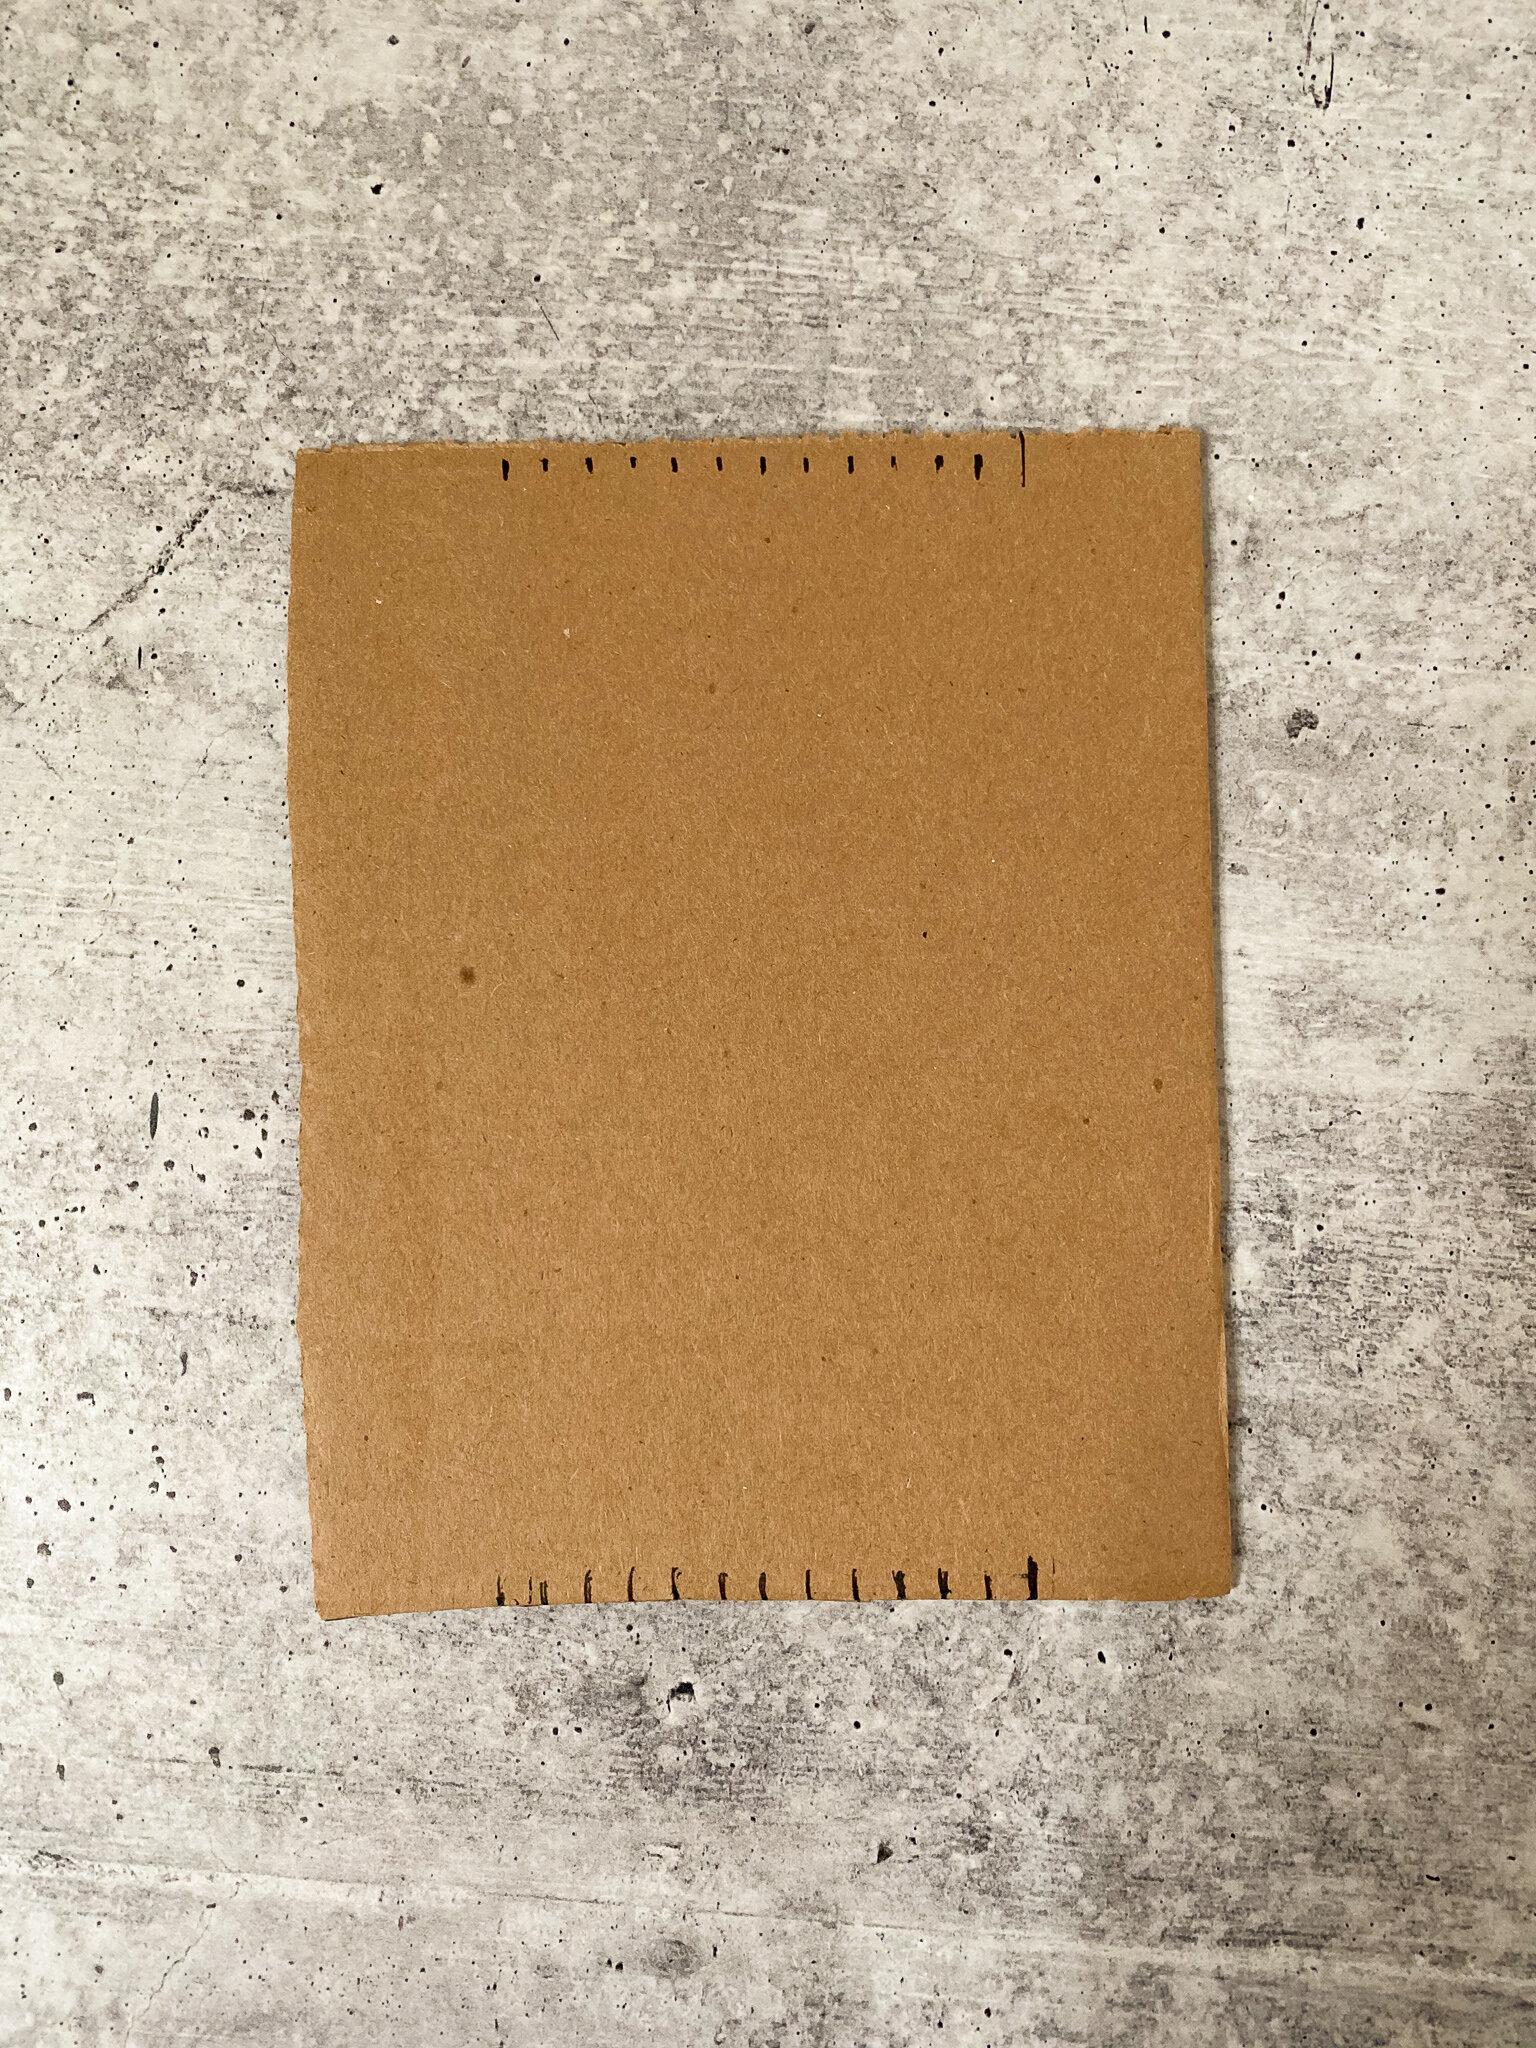
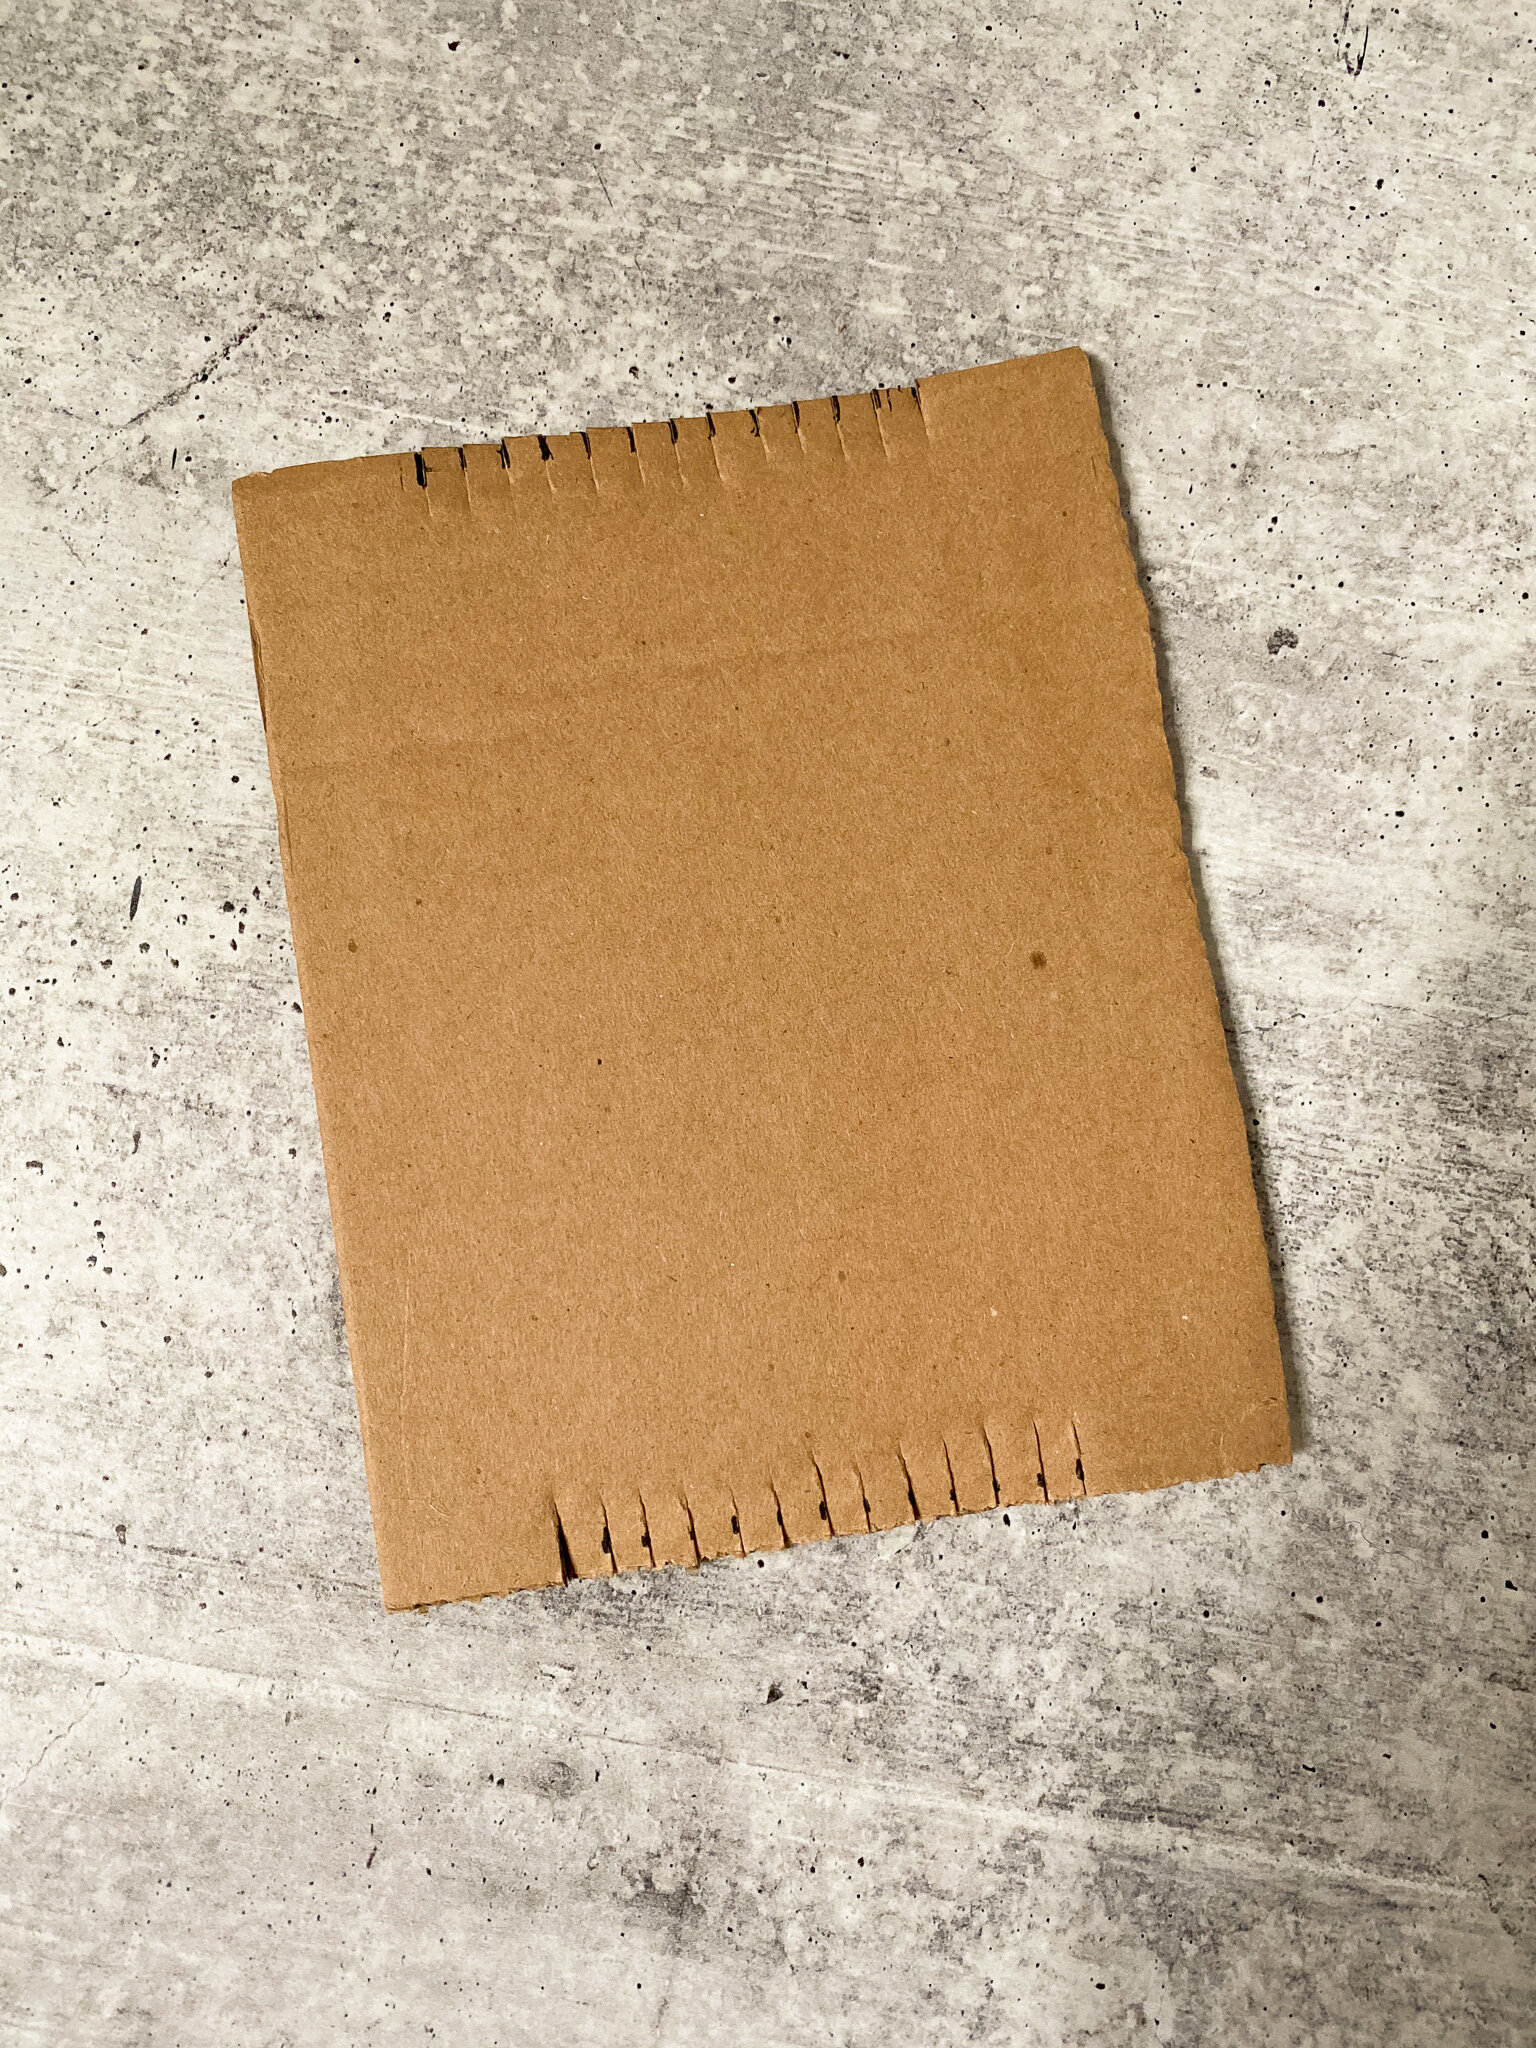
1. To make your miniature loom, position your cardboard vertically and mark a few inches on the top of the cardboard. Using a ruler, draw a line every 1/4 inch. Repeat on the opposite side, then use a scissor to cut small notches (about 1/4 inch deep) at each mark.
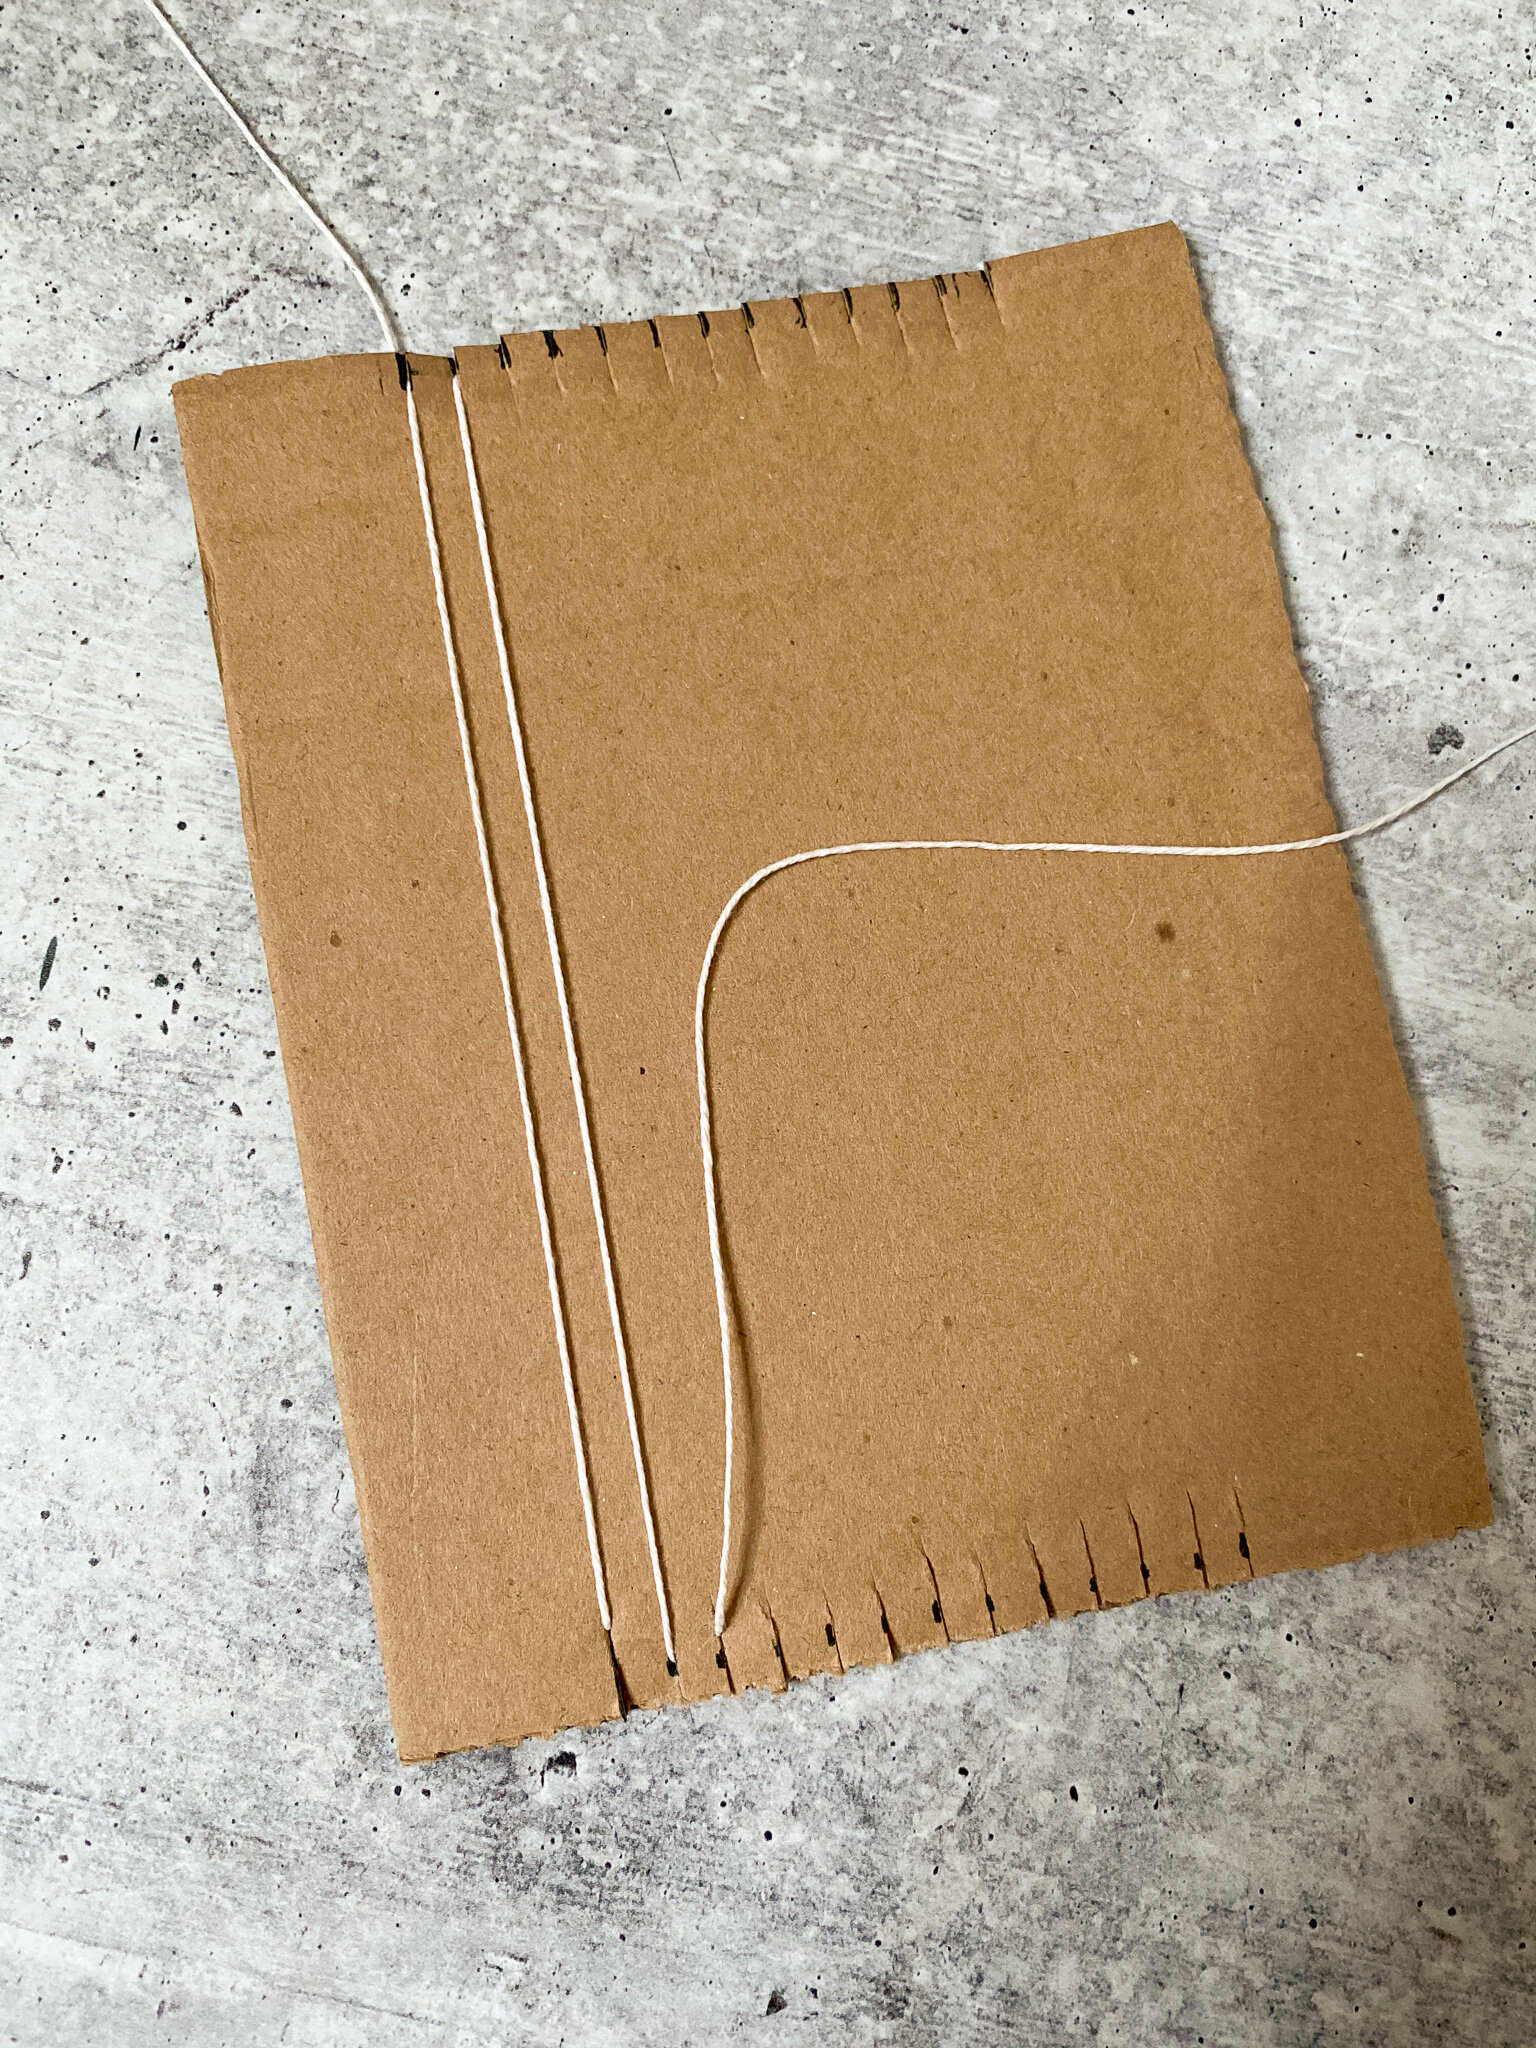
2. Loop the warp thread through the first notch on the top (from the back to the front of the loom) and directly down into the notch below. Make sure to leave a long tail at the back of the loom. Bring the thread around the back and over into the second notch on the top. Loop it back down to the second notch on the bottom, and repeat, keeping the strings tight as you go to maintain the tension in the warp thread.
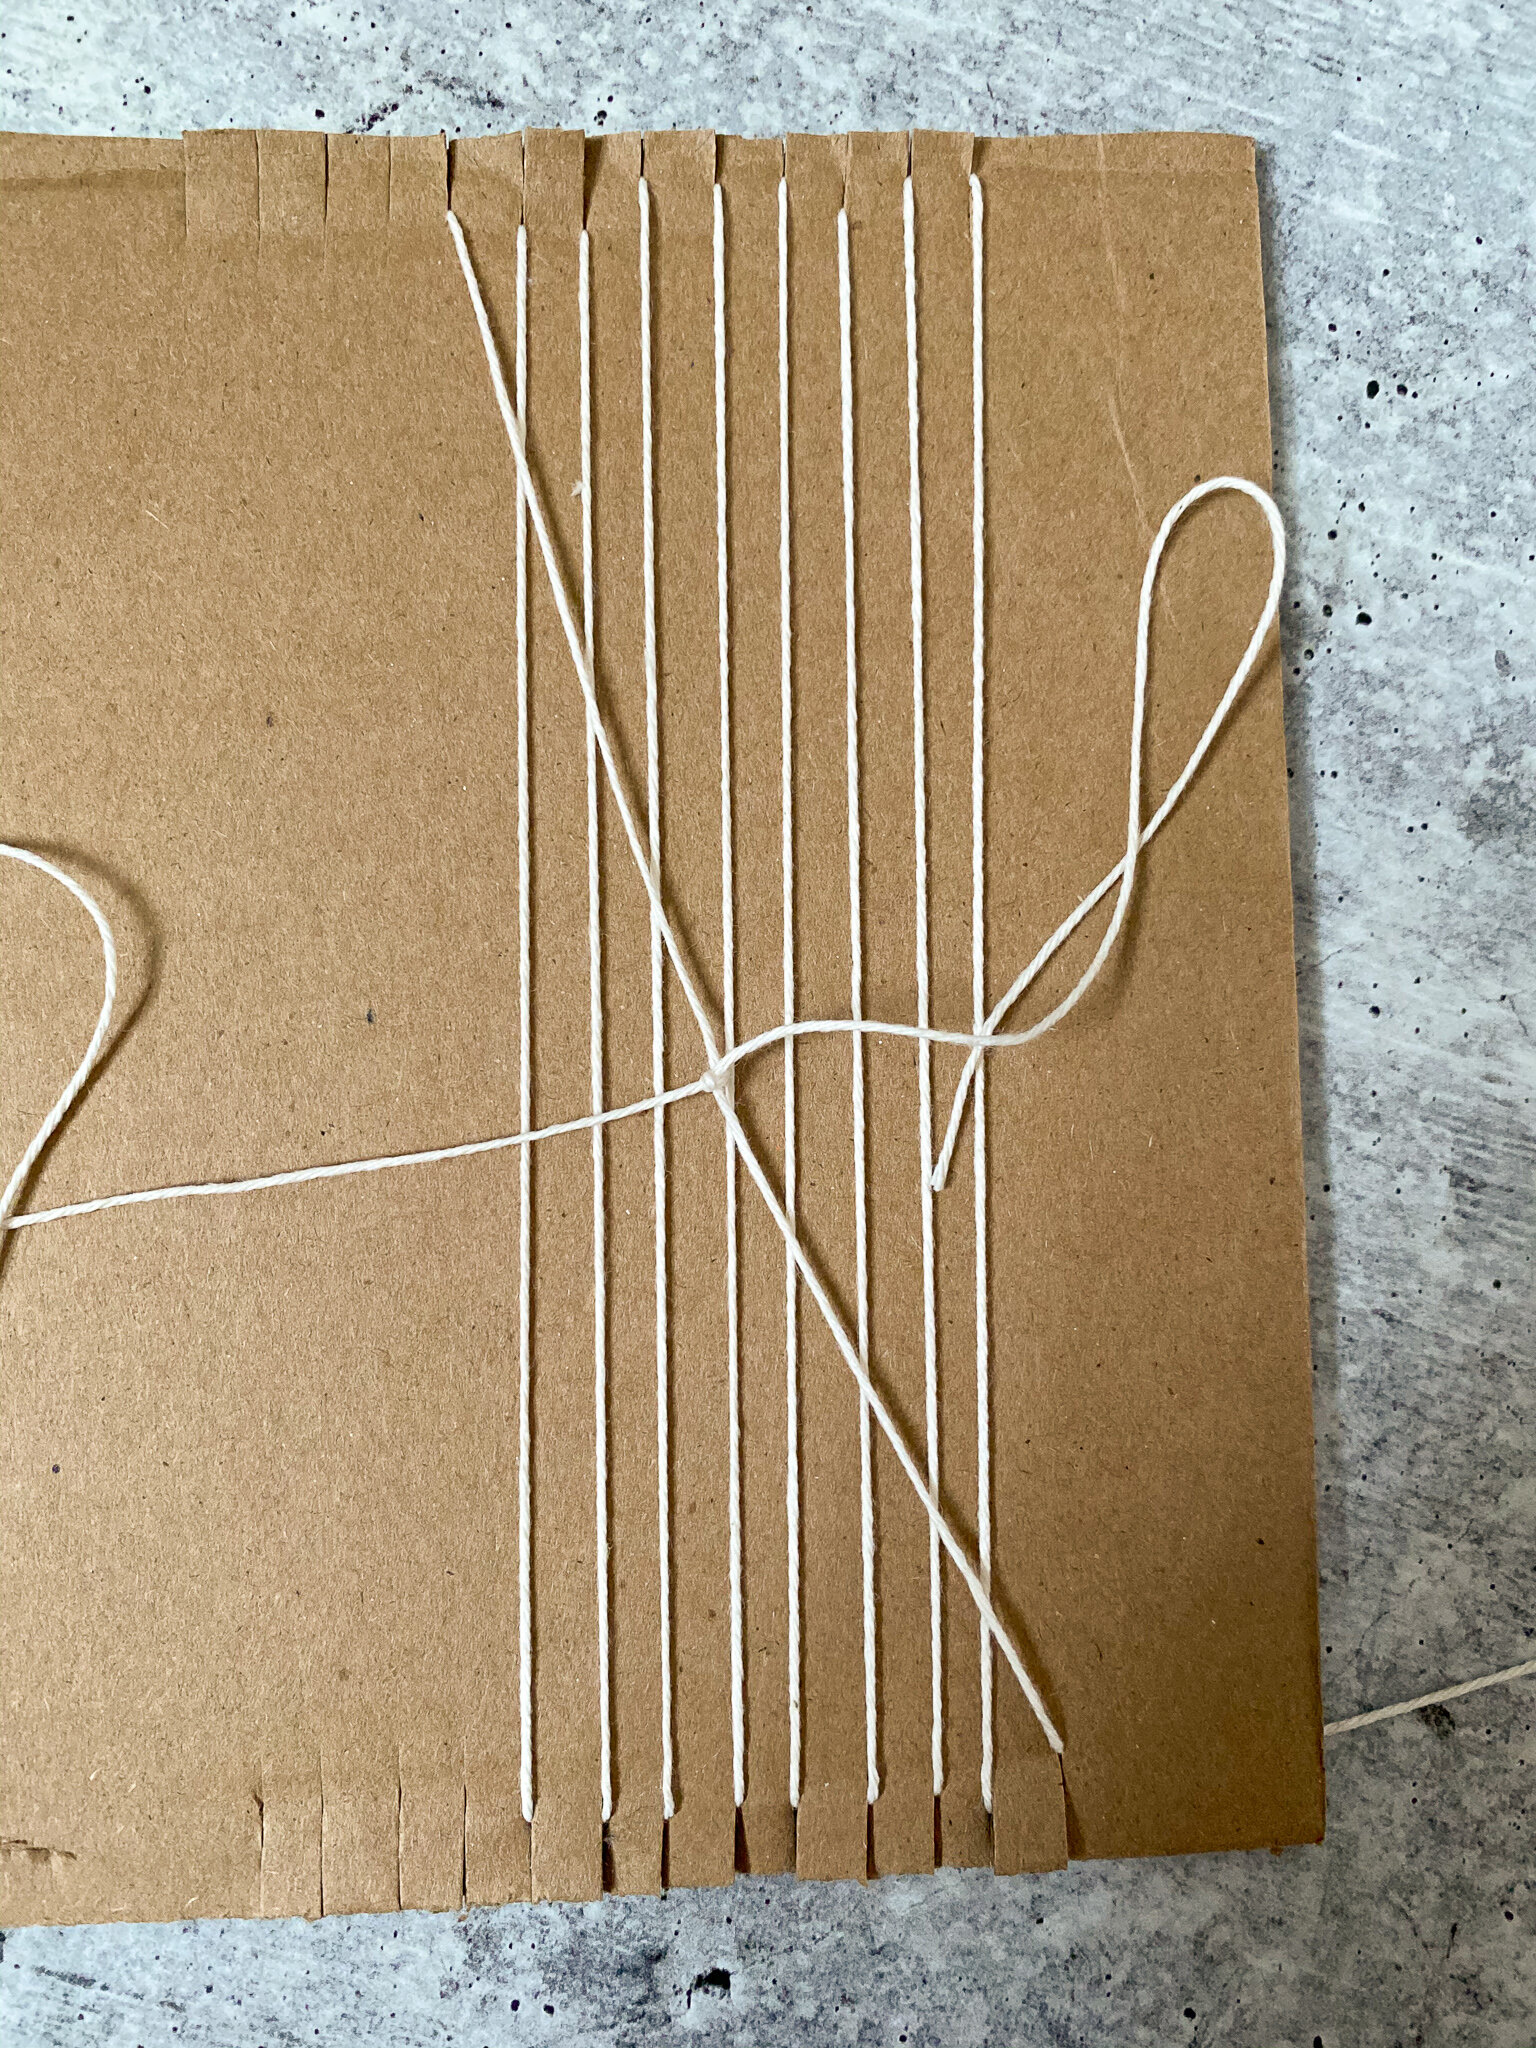
Repeat this 9 times so you’ll have 9 strings on the front, then flip the loom over to the back, cut the warp thread, and tie the two loose ends together in a tight double knot (as pictured below).

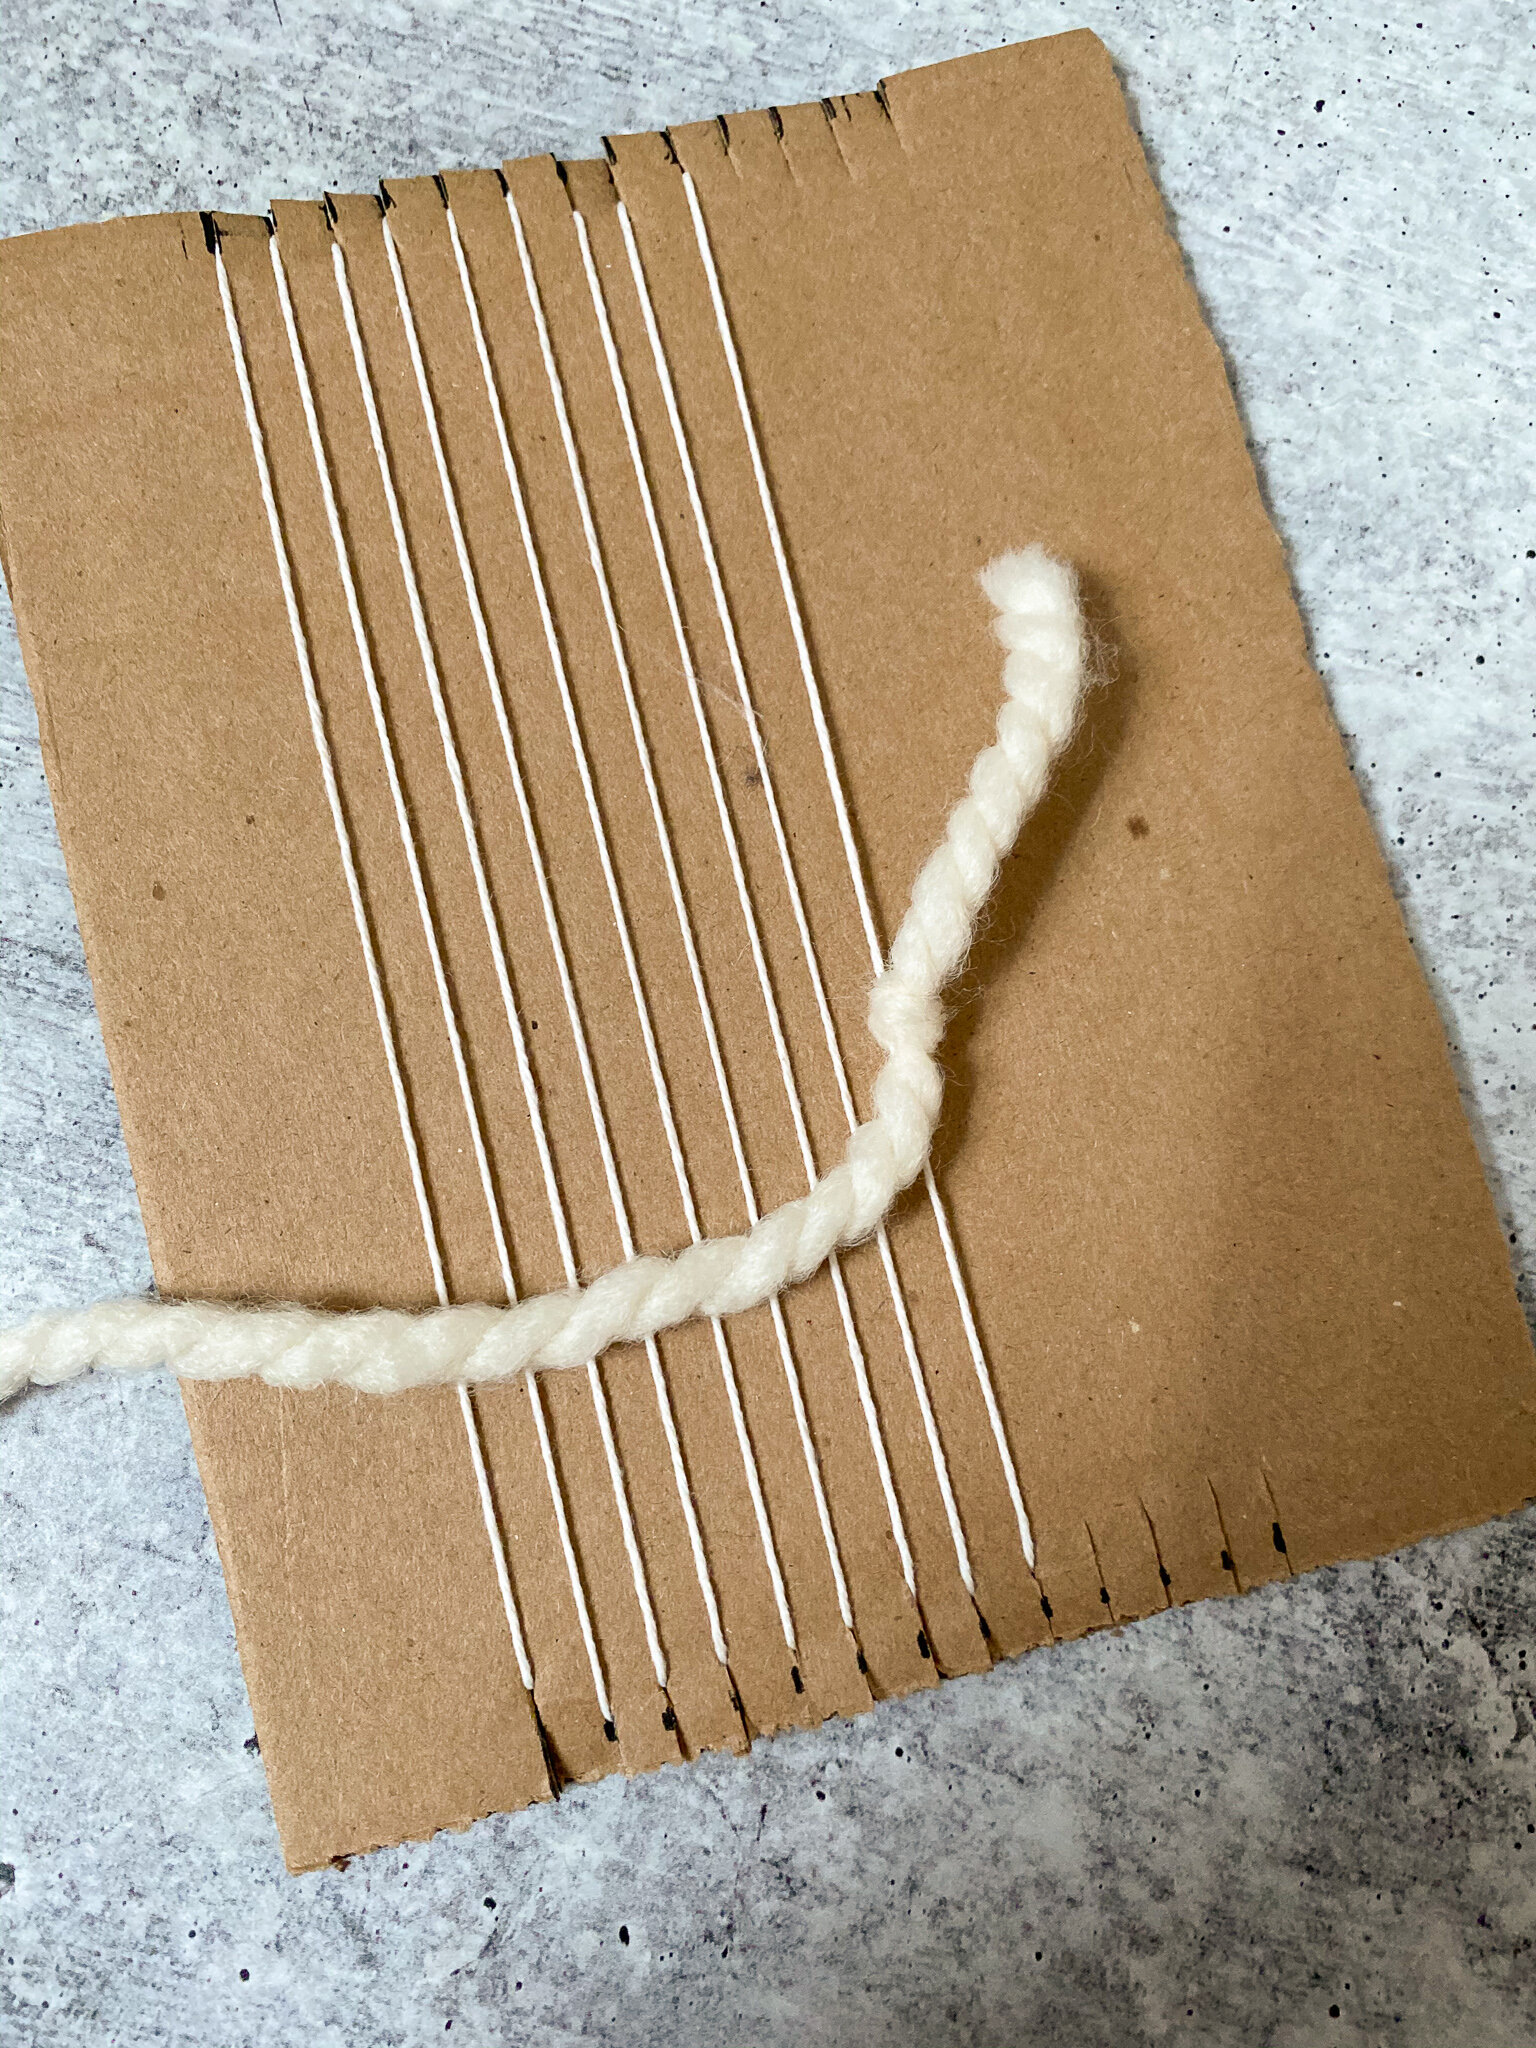
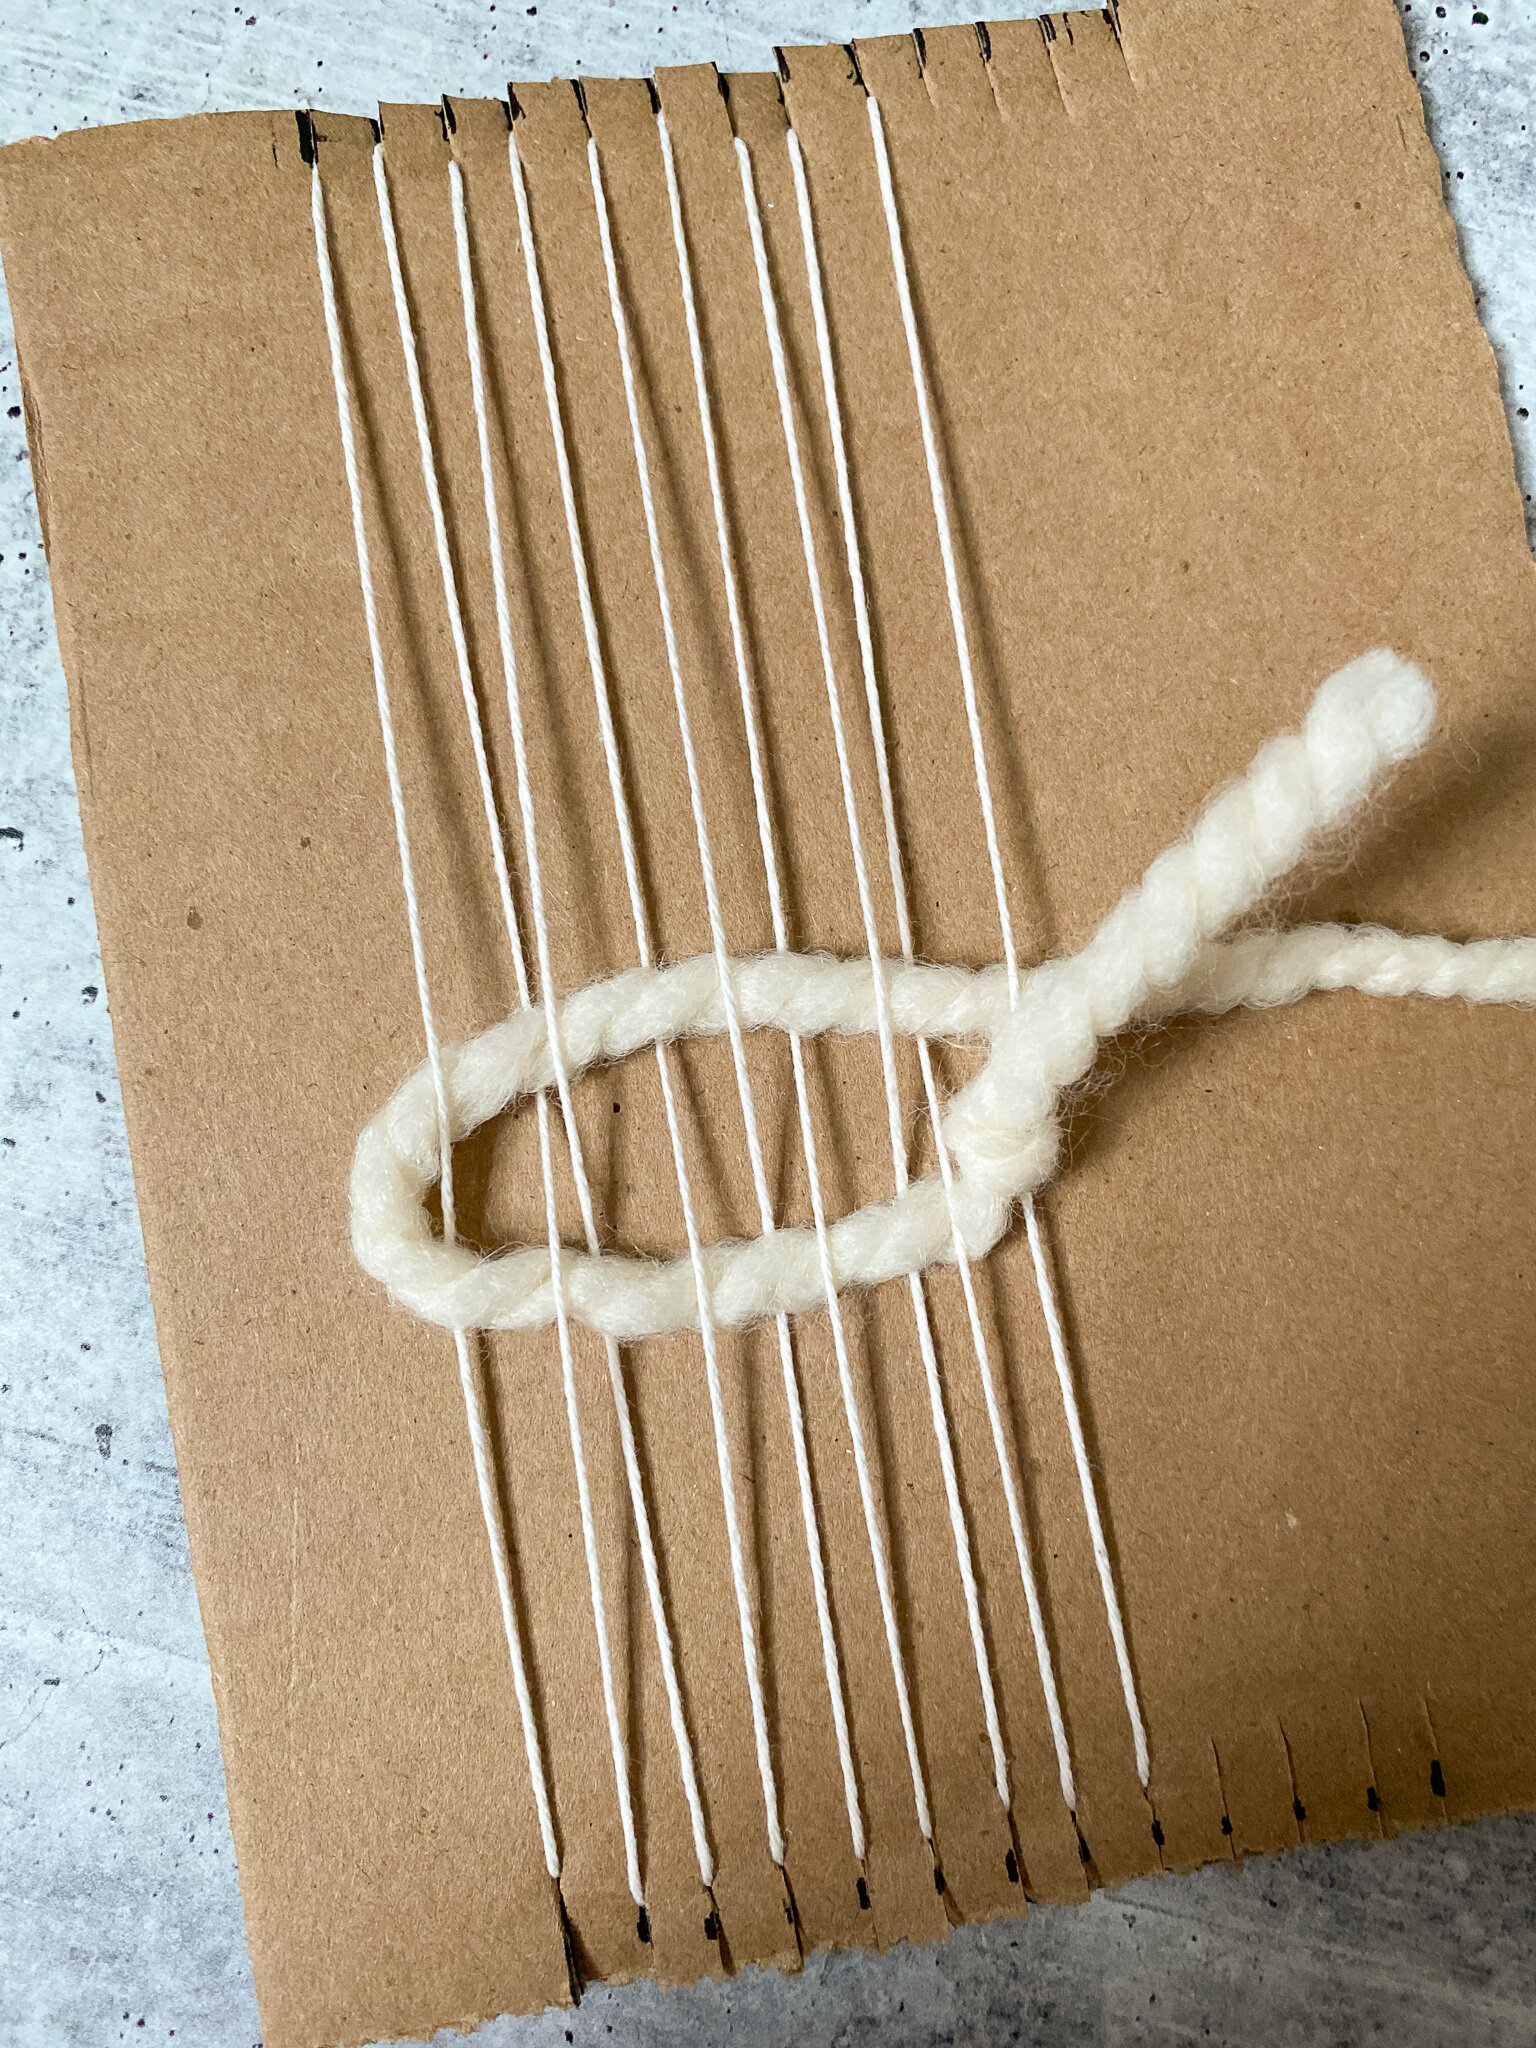
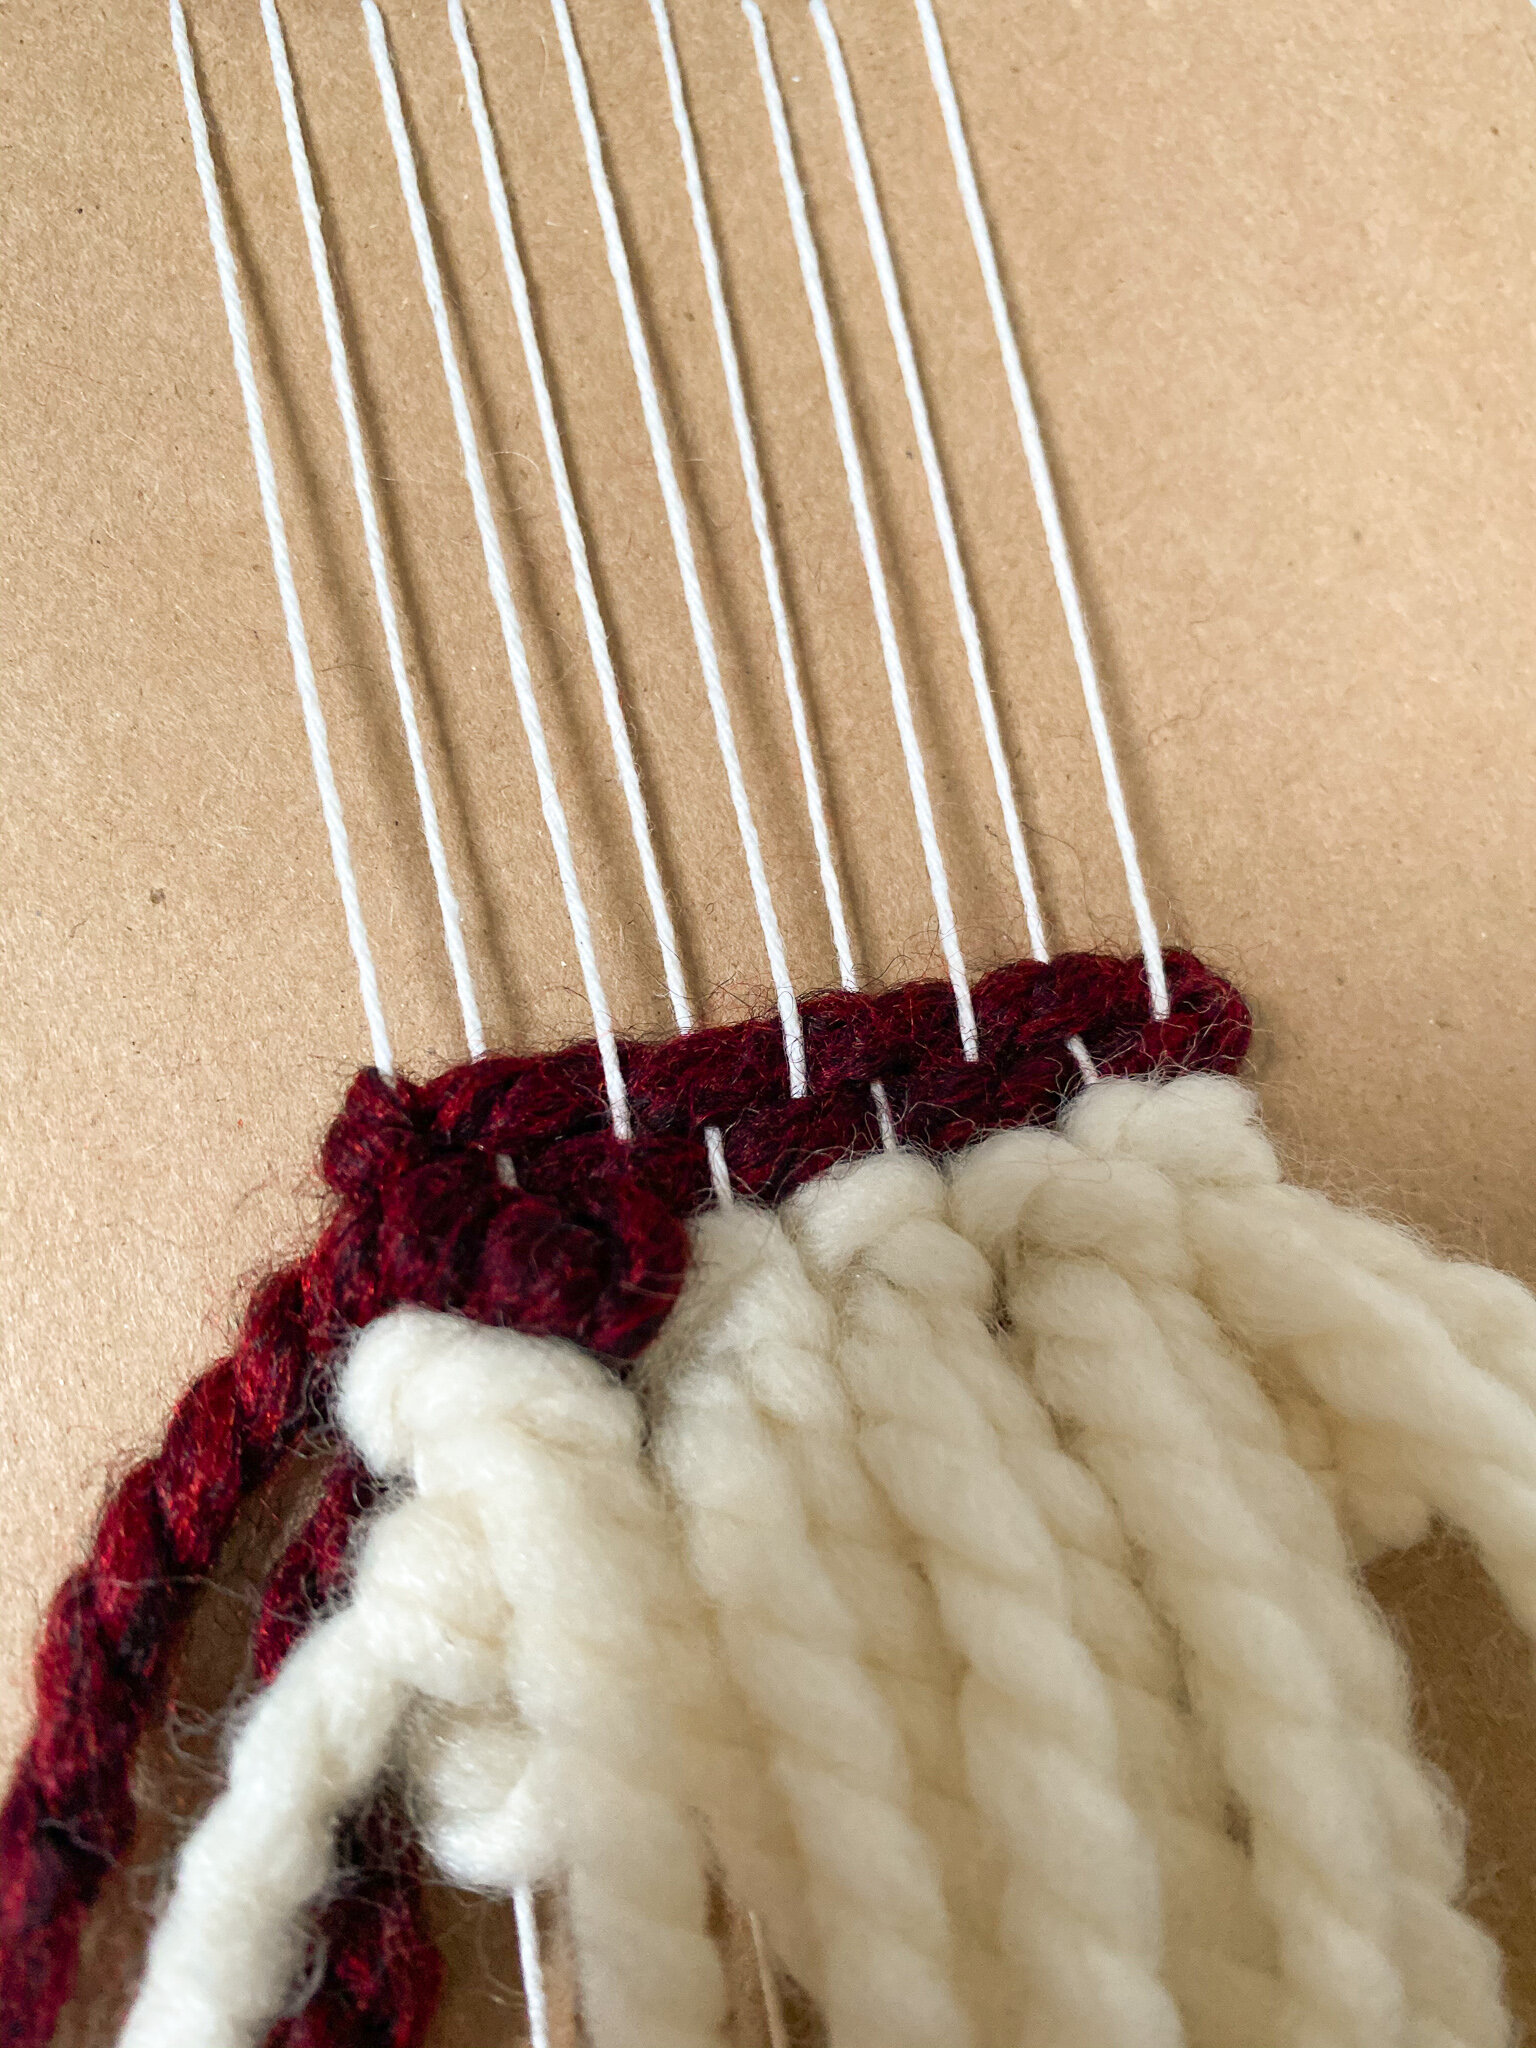
3. Cut a strand of your first yarn color (measuring roughly 14 inches). Tie it to an outer warp thread 1/3 of the way from the bottom of your loom, then tuck it under the next warp thread, over the next, and so on until you’ve woven a row (this is called plain weave).
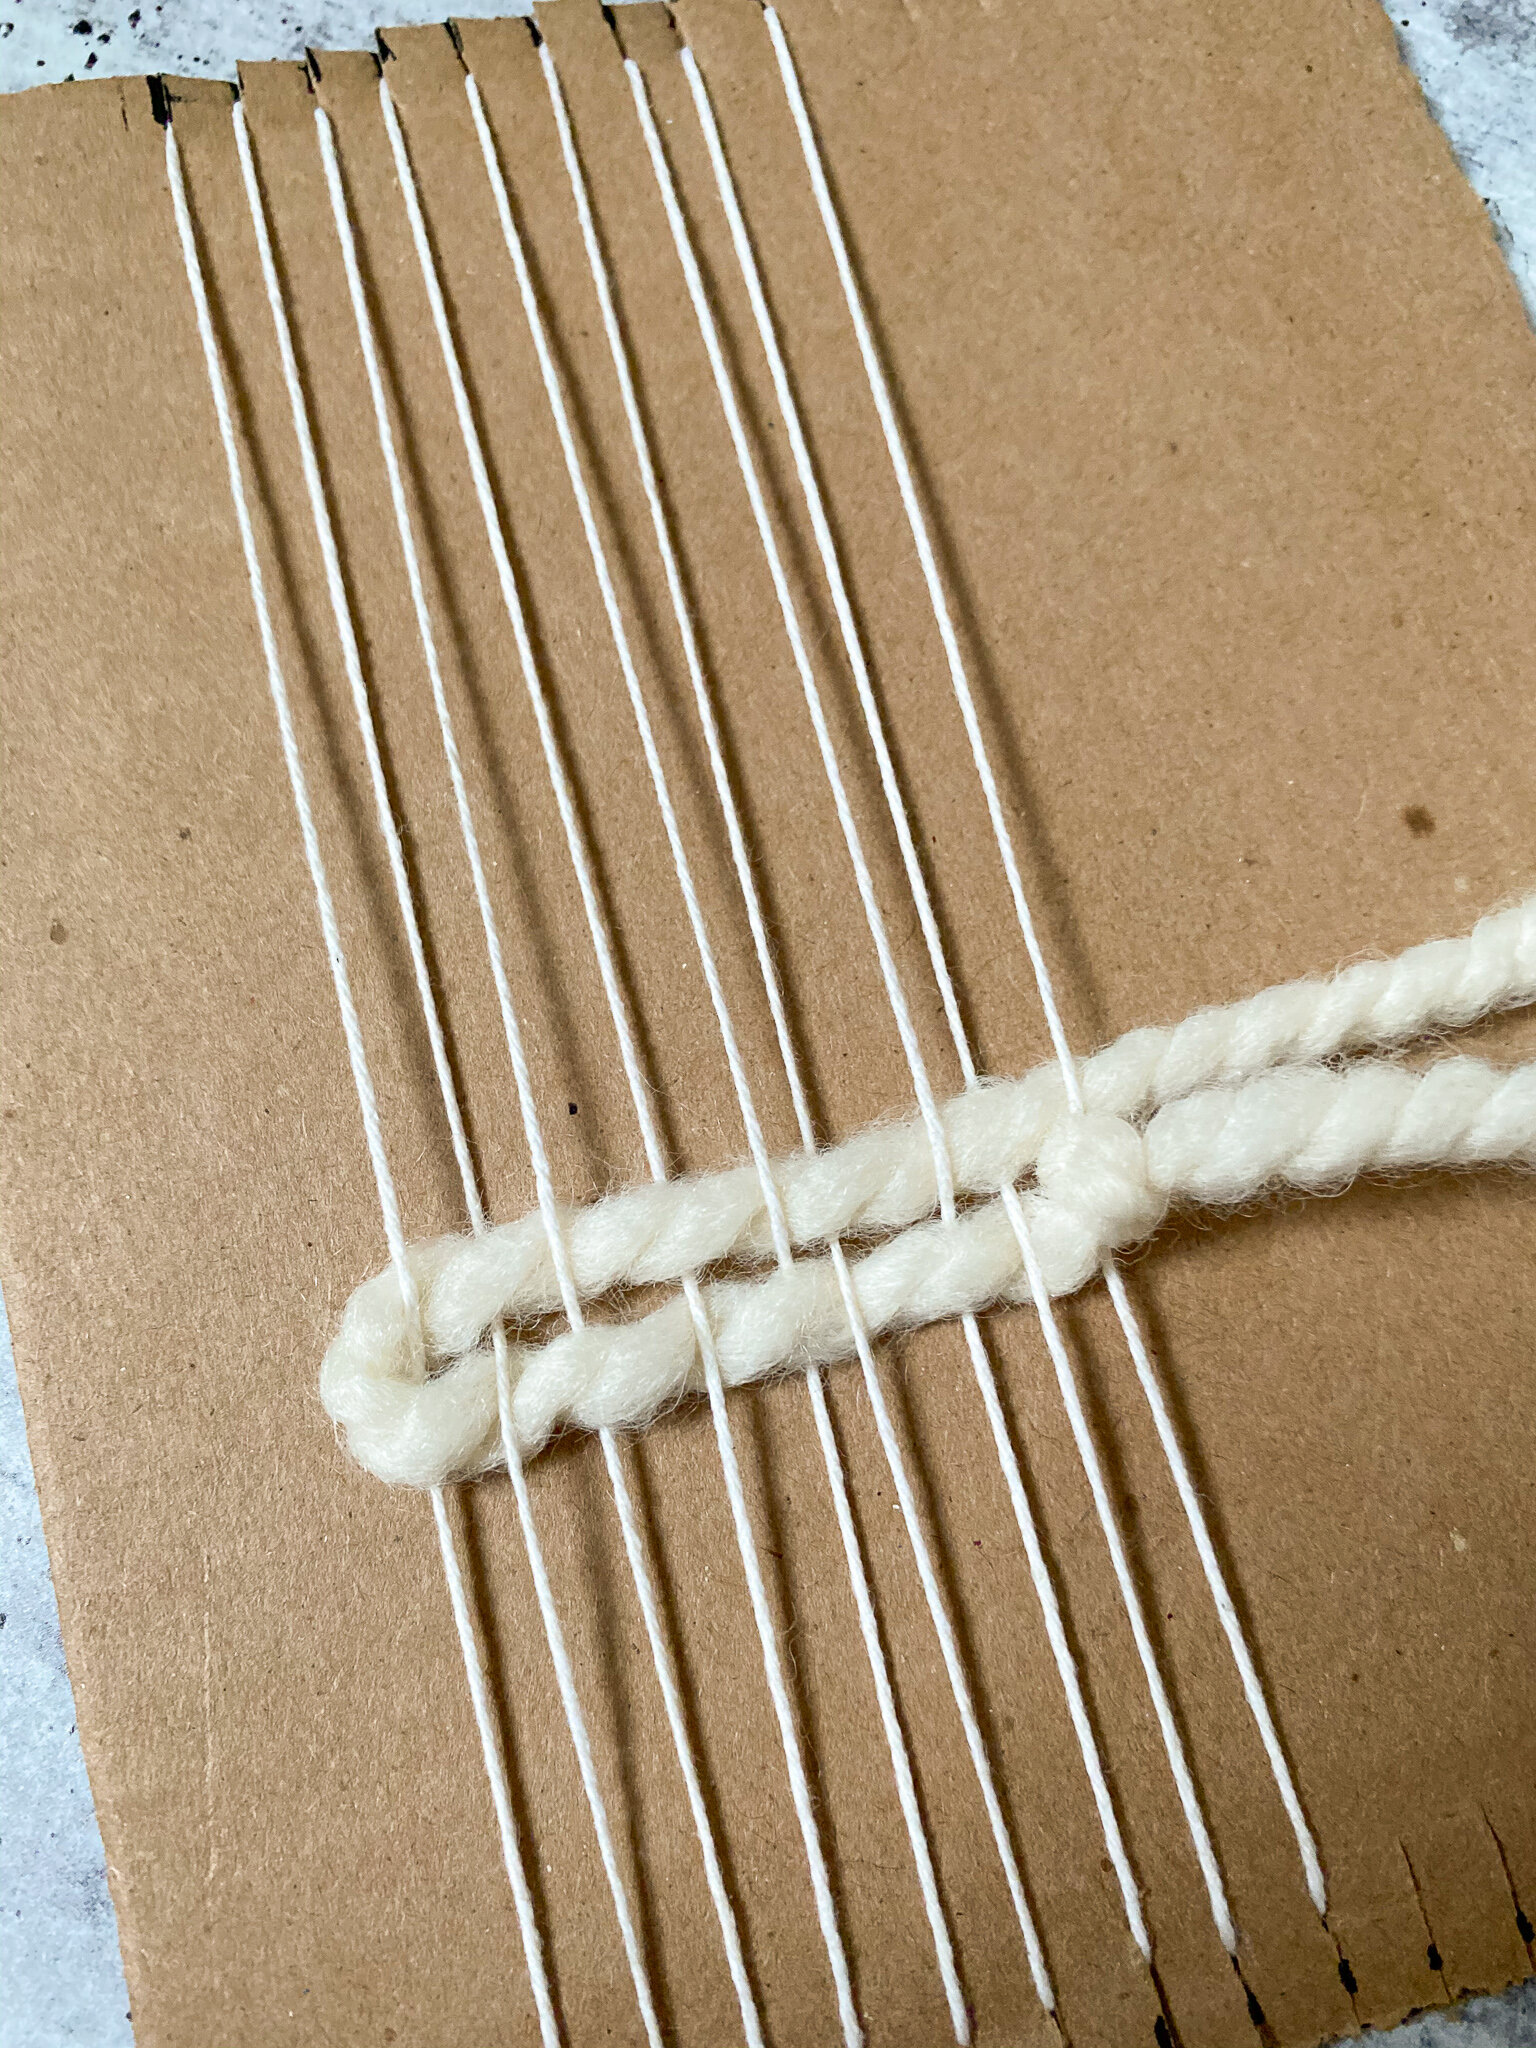
Tuck the yarn under the outer warp thread and repeat with a row of plain weave in the opposite direction. Weave one more row, then tie a knot on the outer warp thread. Use the comb to gently push the rows of yarn down to form neat rows.

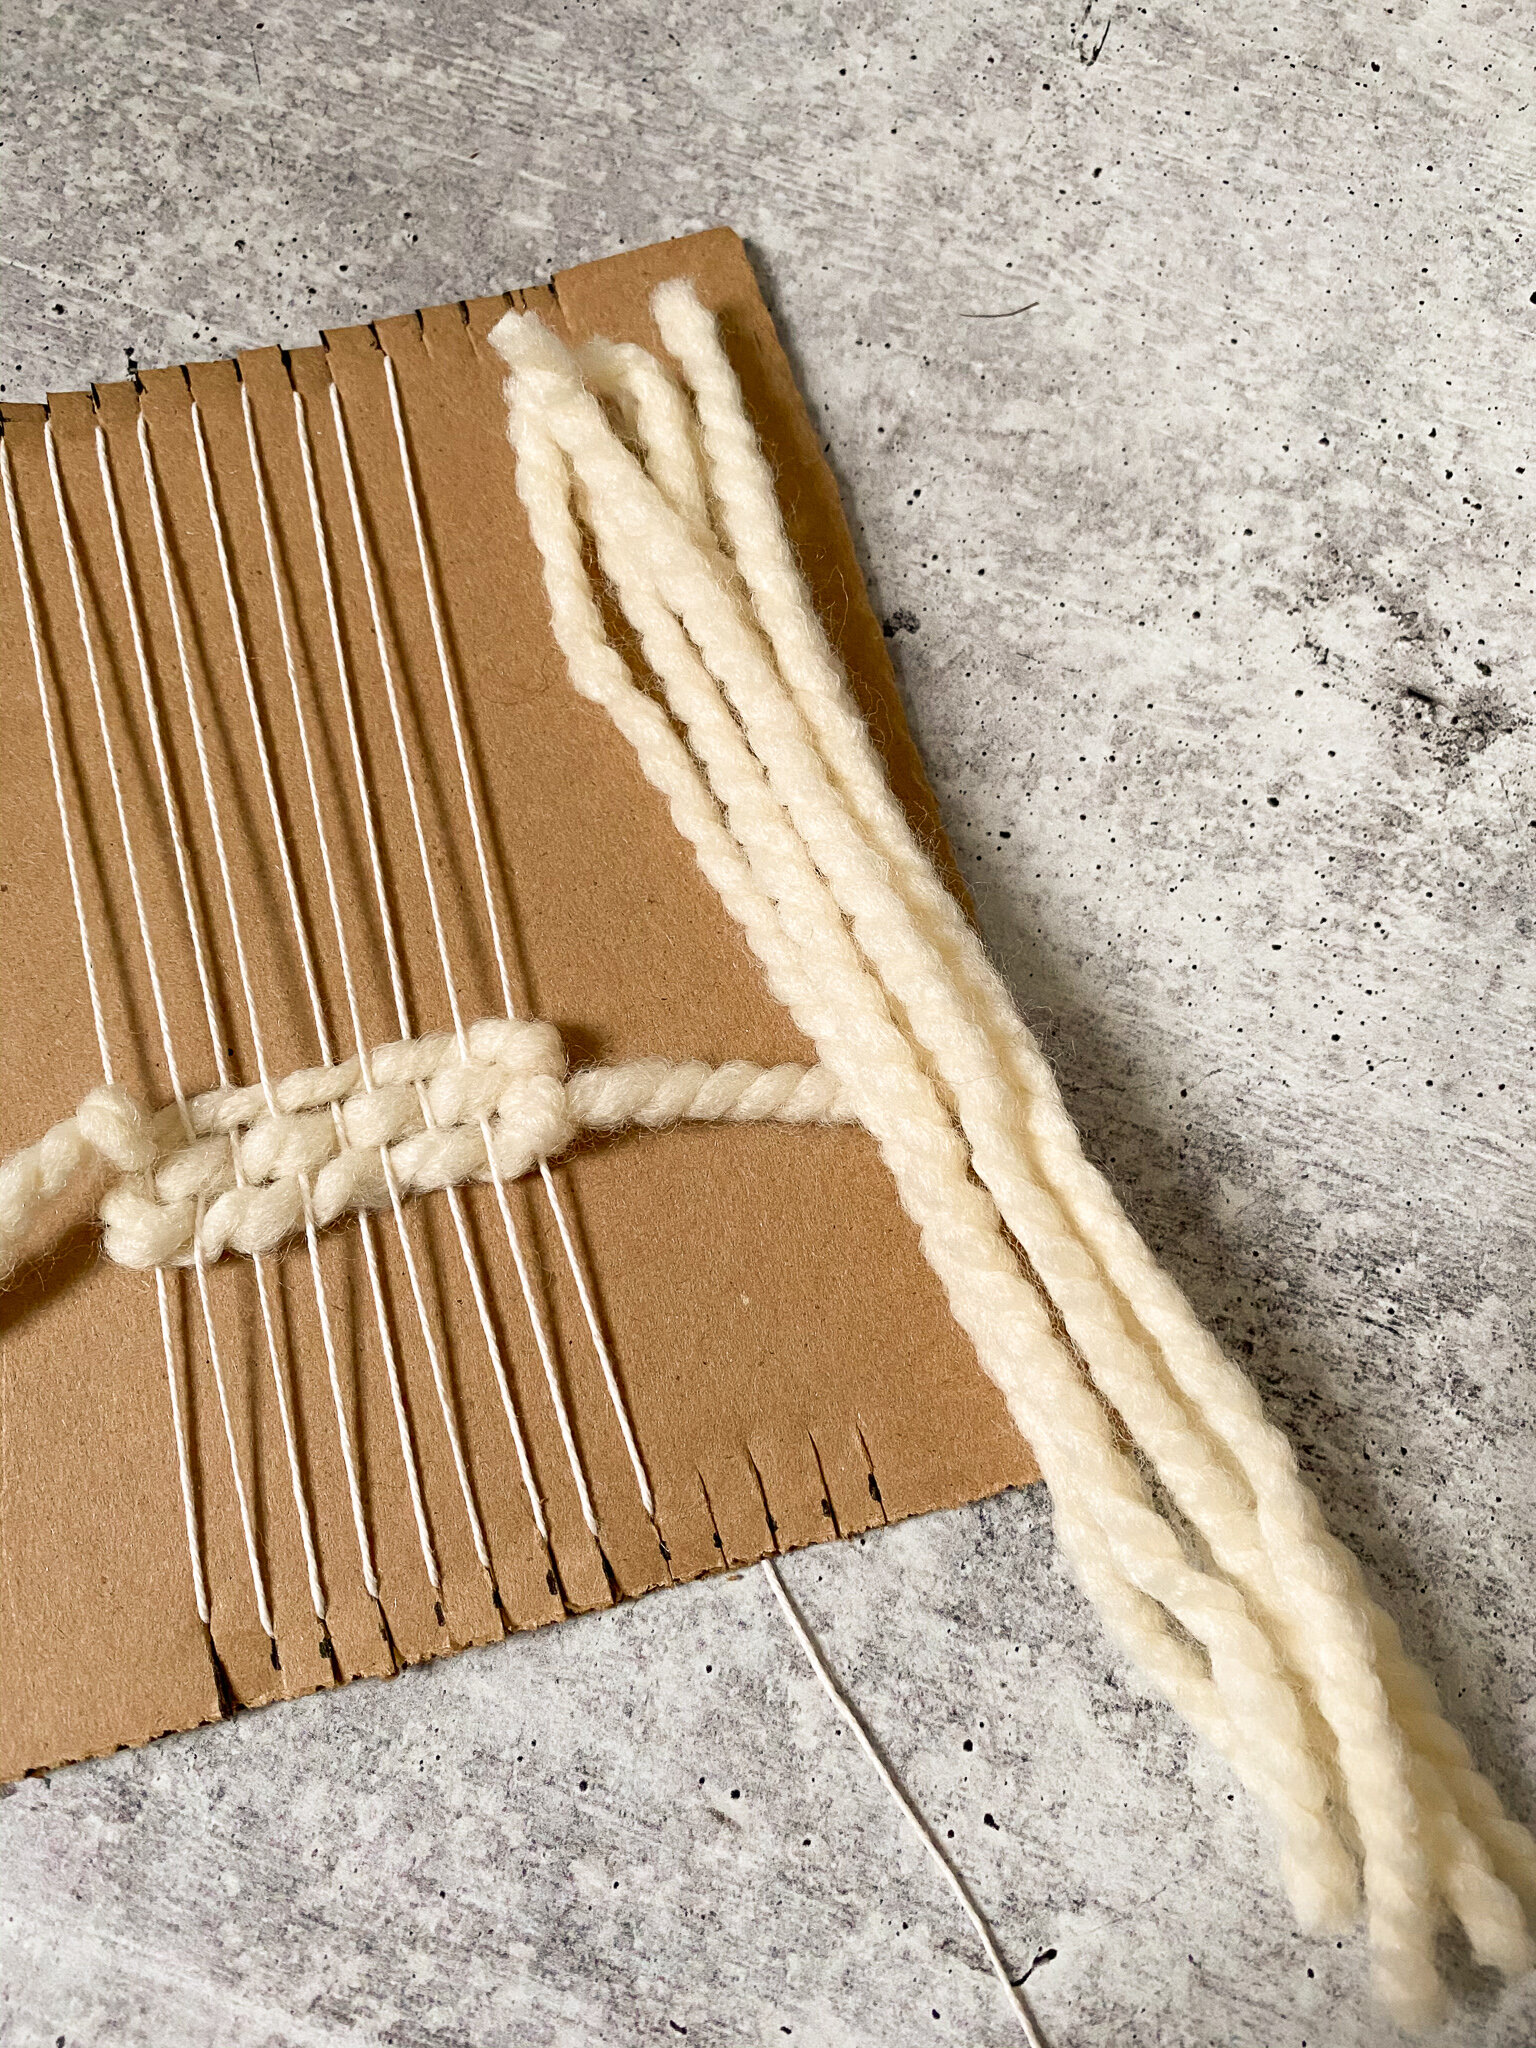
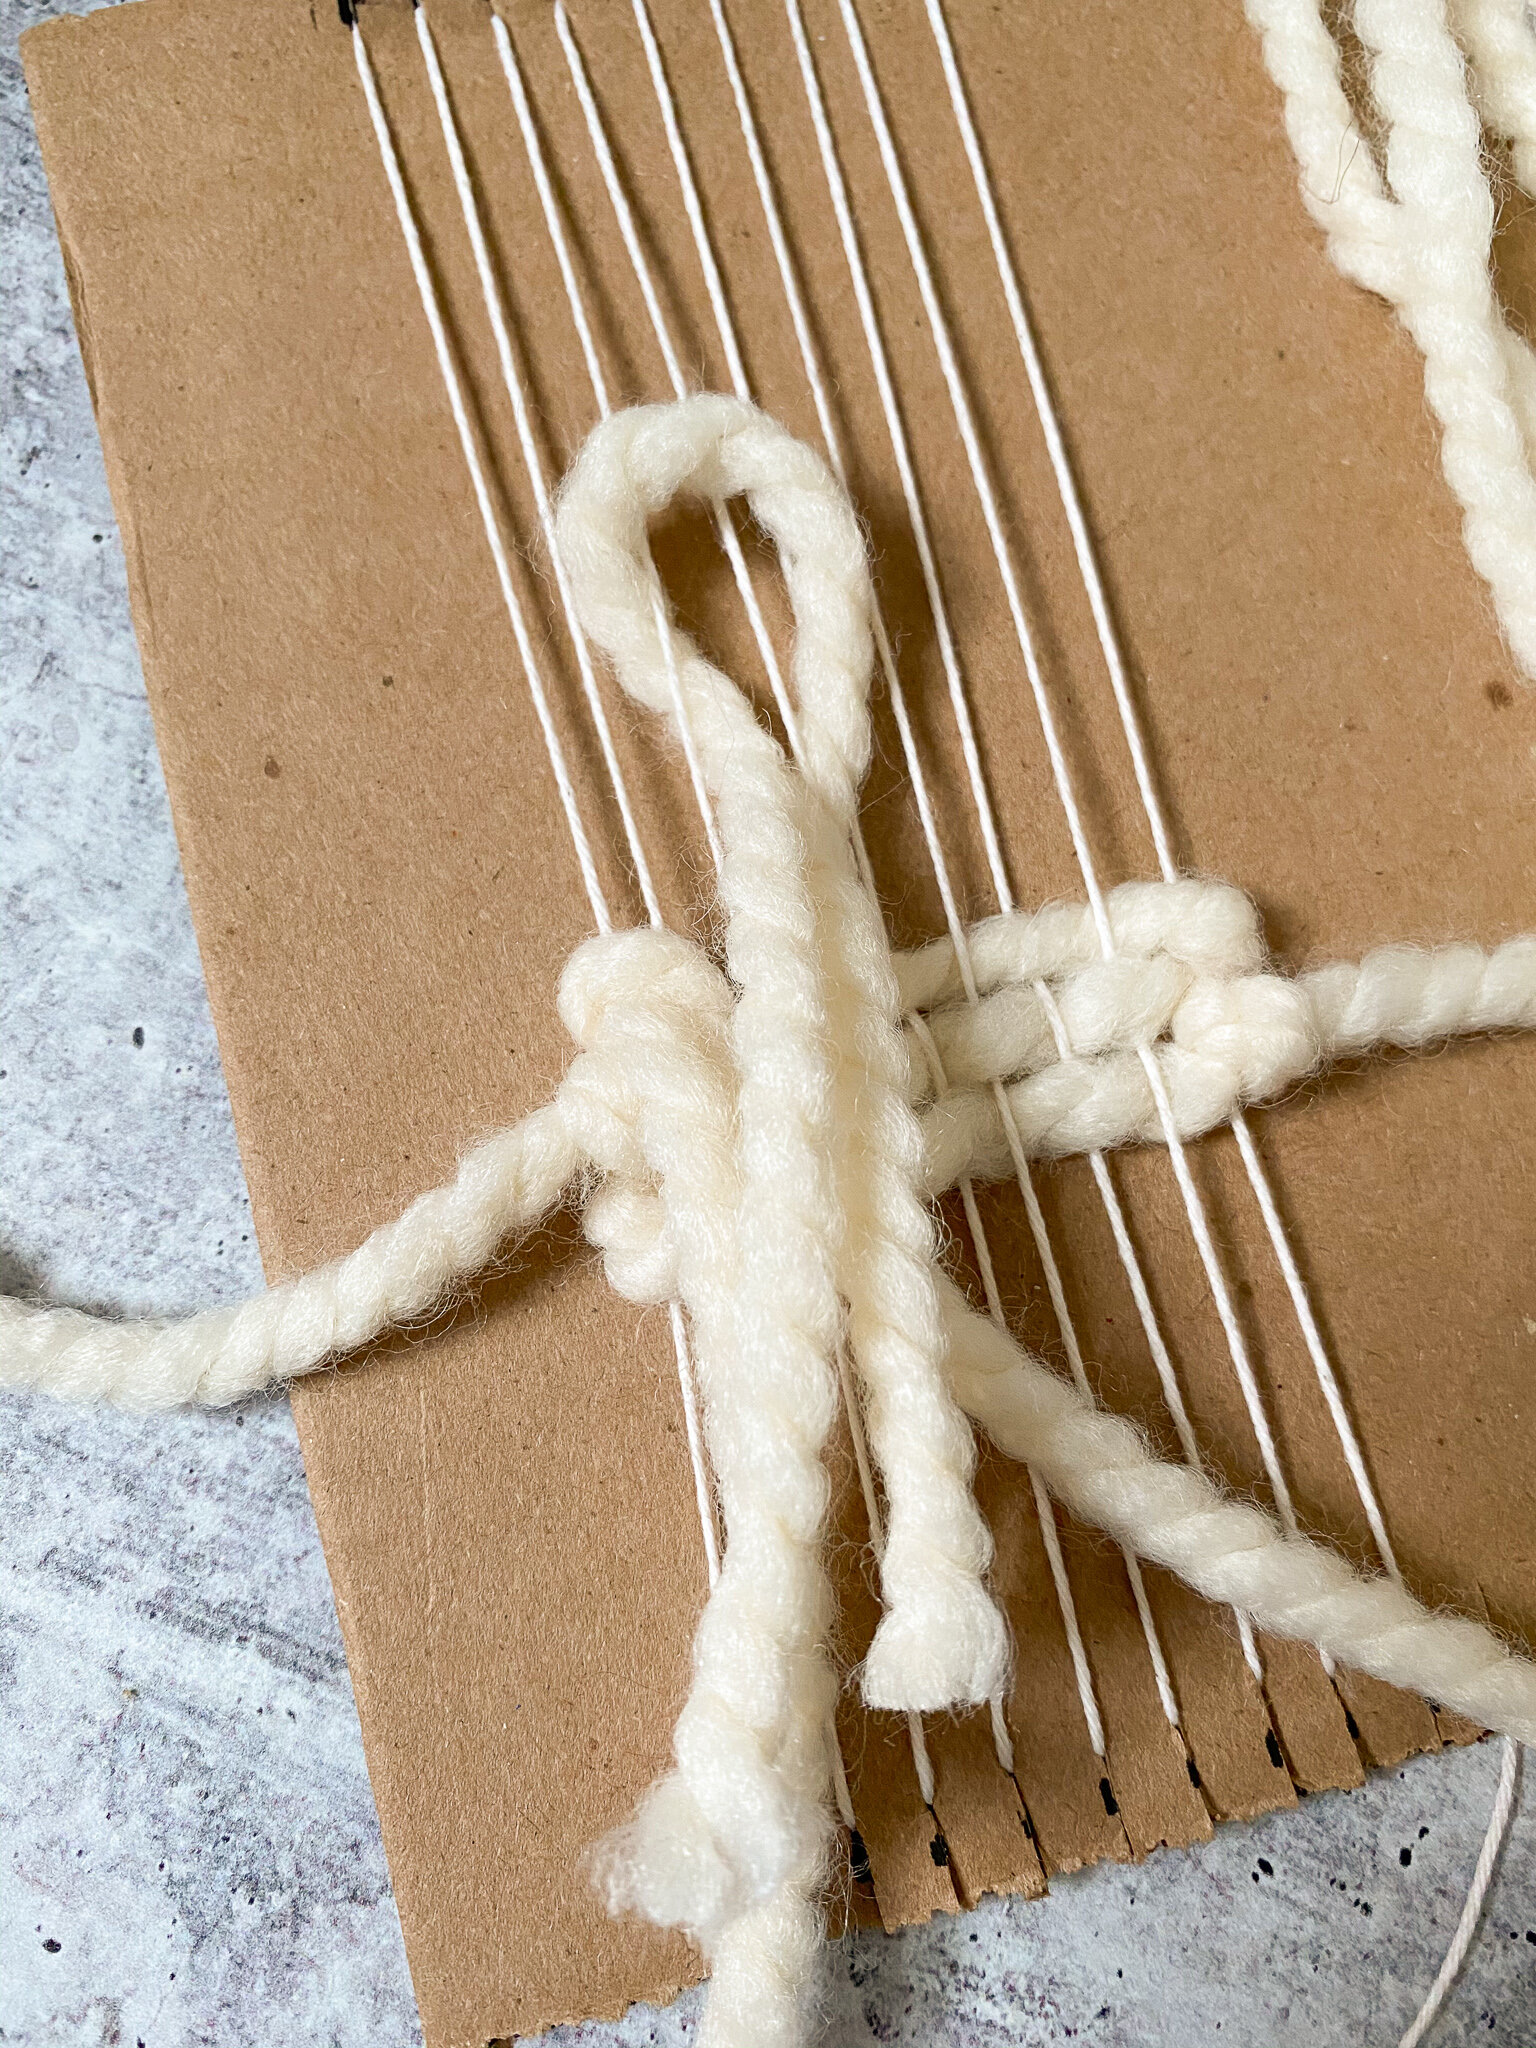
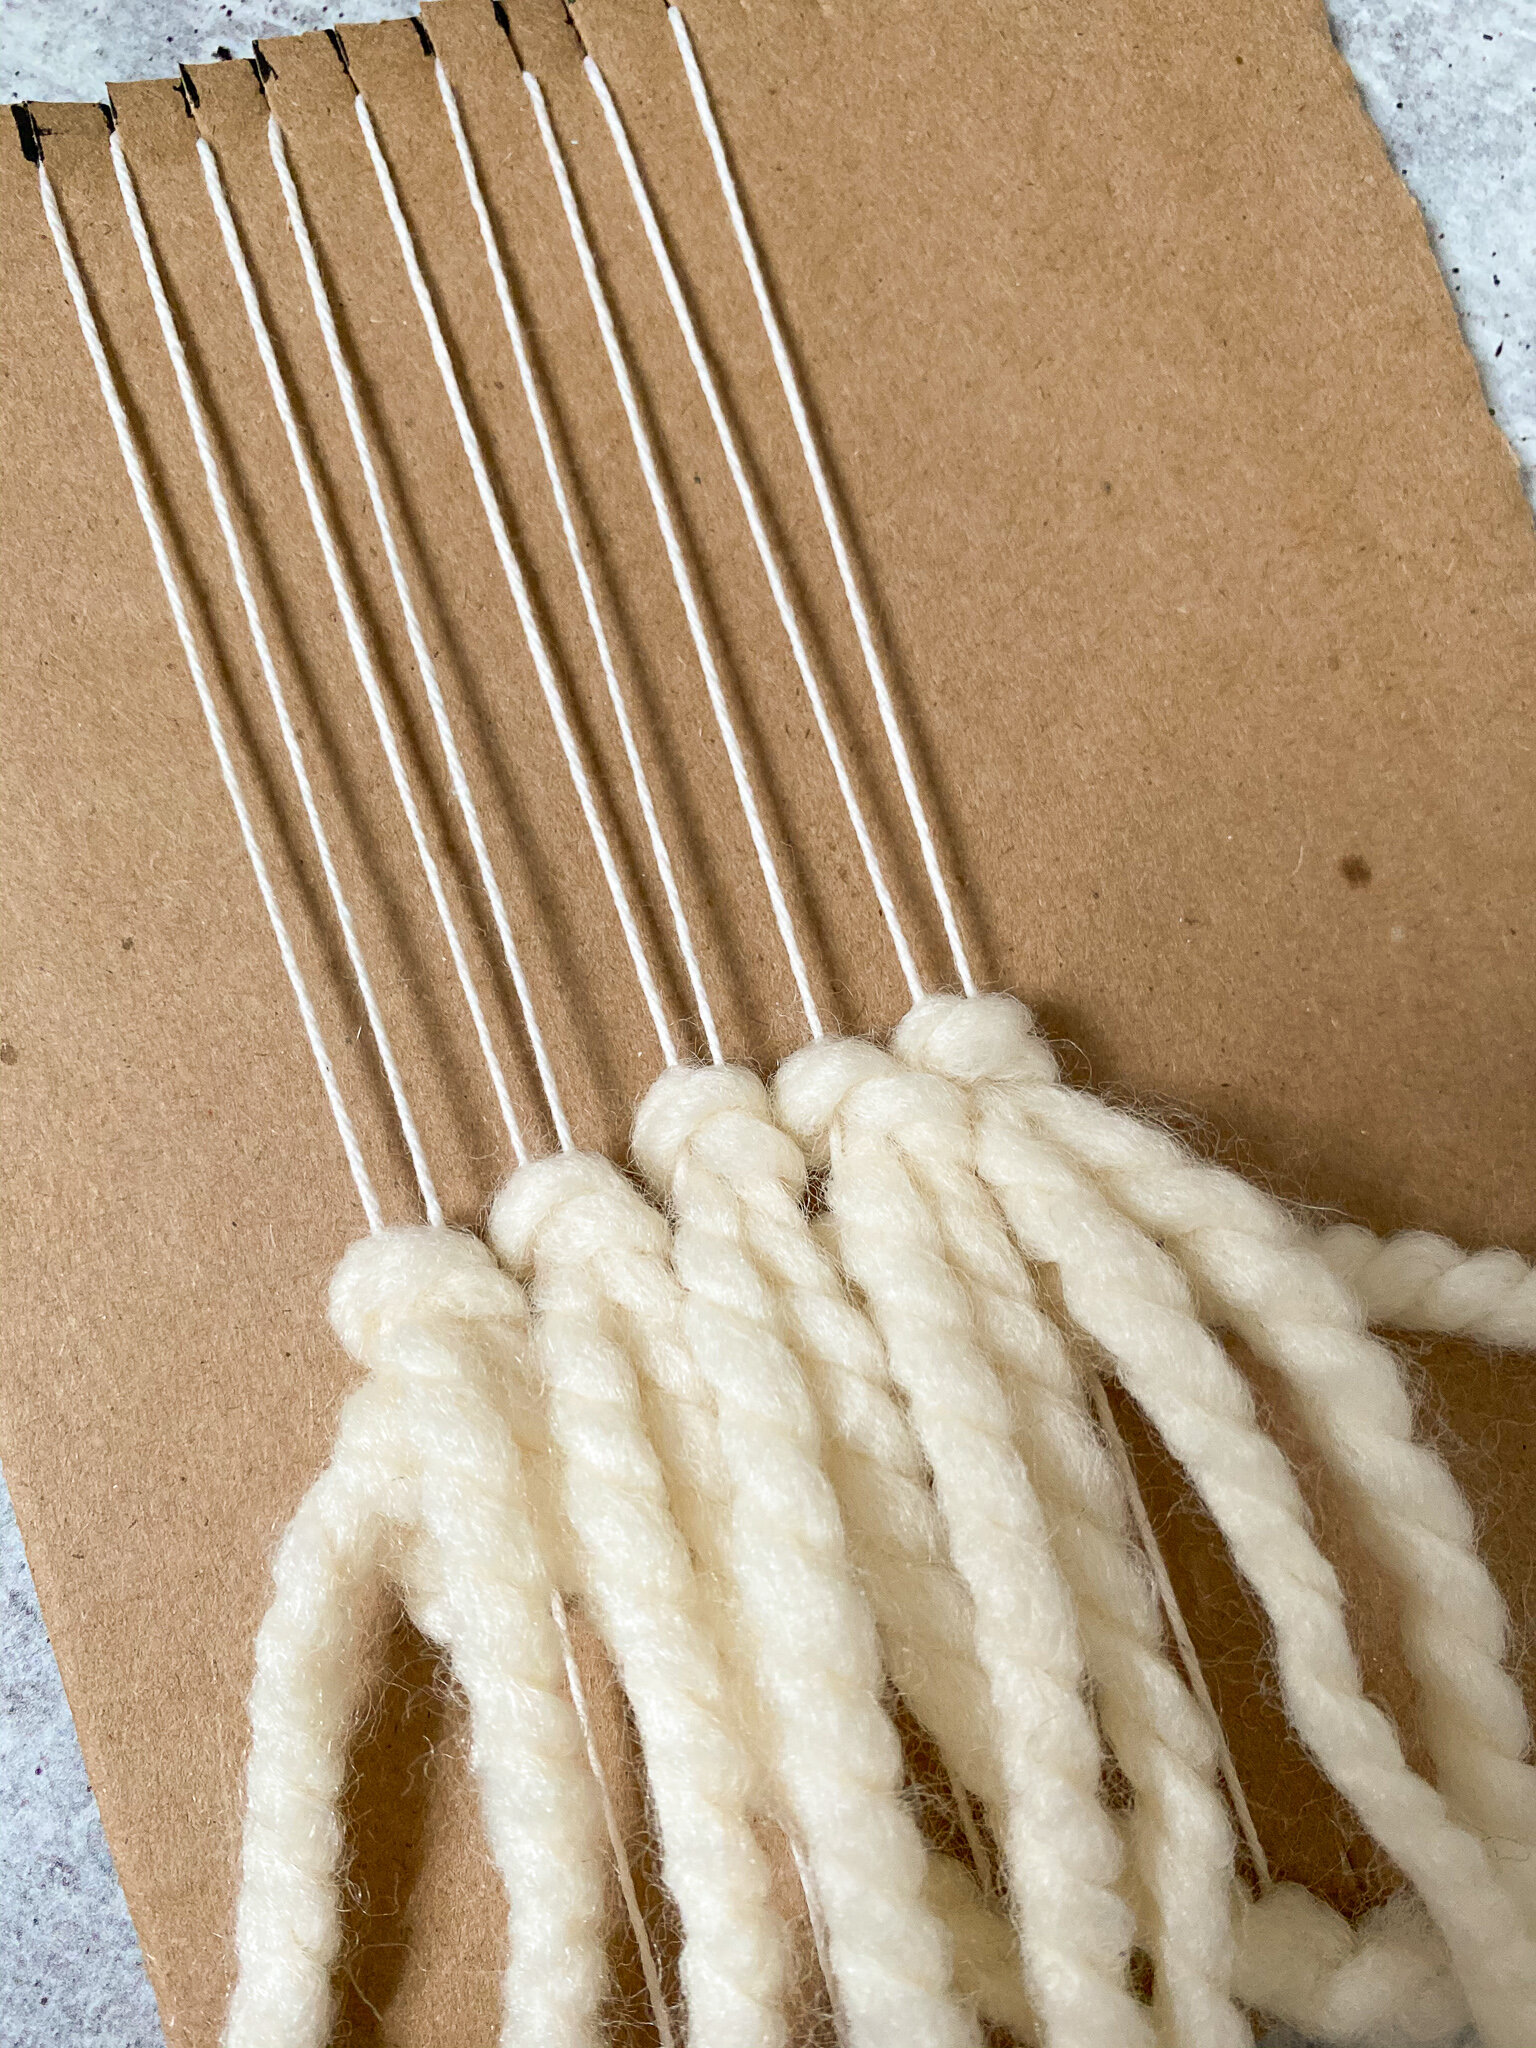
4. To make the fringe, start with 5 12-inch long pieces of yarn. Tuck the left tail of a strand of yarn under the first warp thread from left to right. Tuck the right tail under the next warp thread from right to left. Hold the tails together and gently pull up, then down to create a knot.
Grab another strand of yarn and repeat on the 3rd and 4th warp strings. Repeat with the remaining pieces of yarn (you can overlap the knots over the 8th warp string).
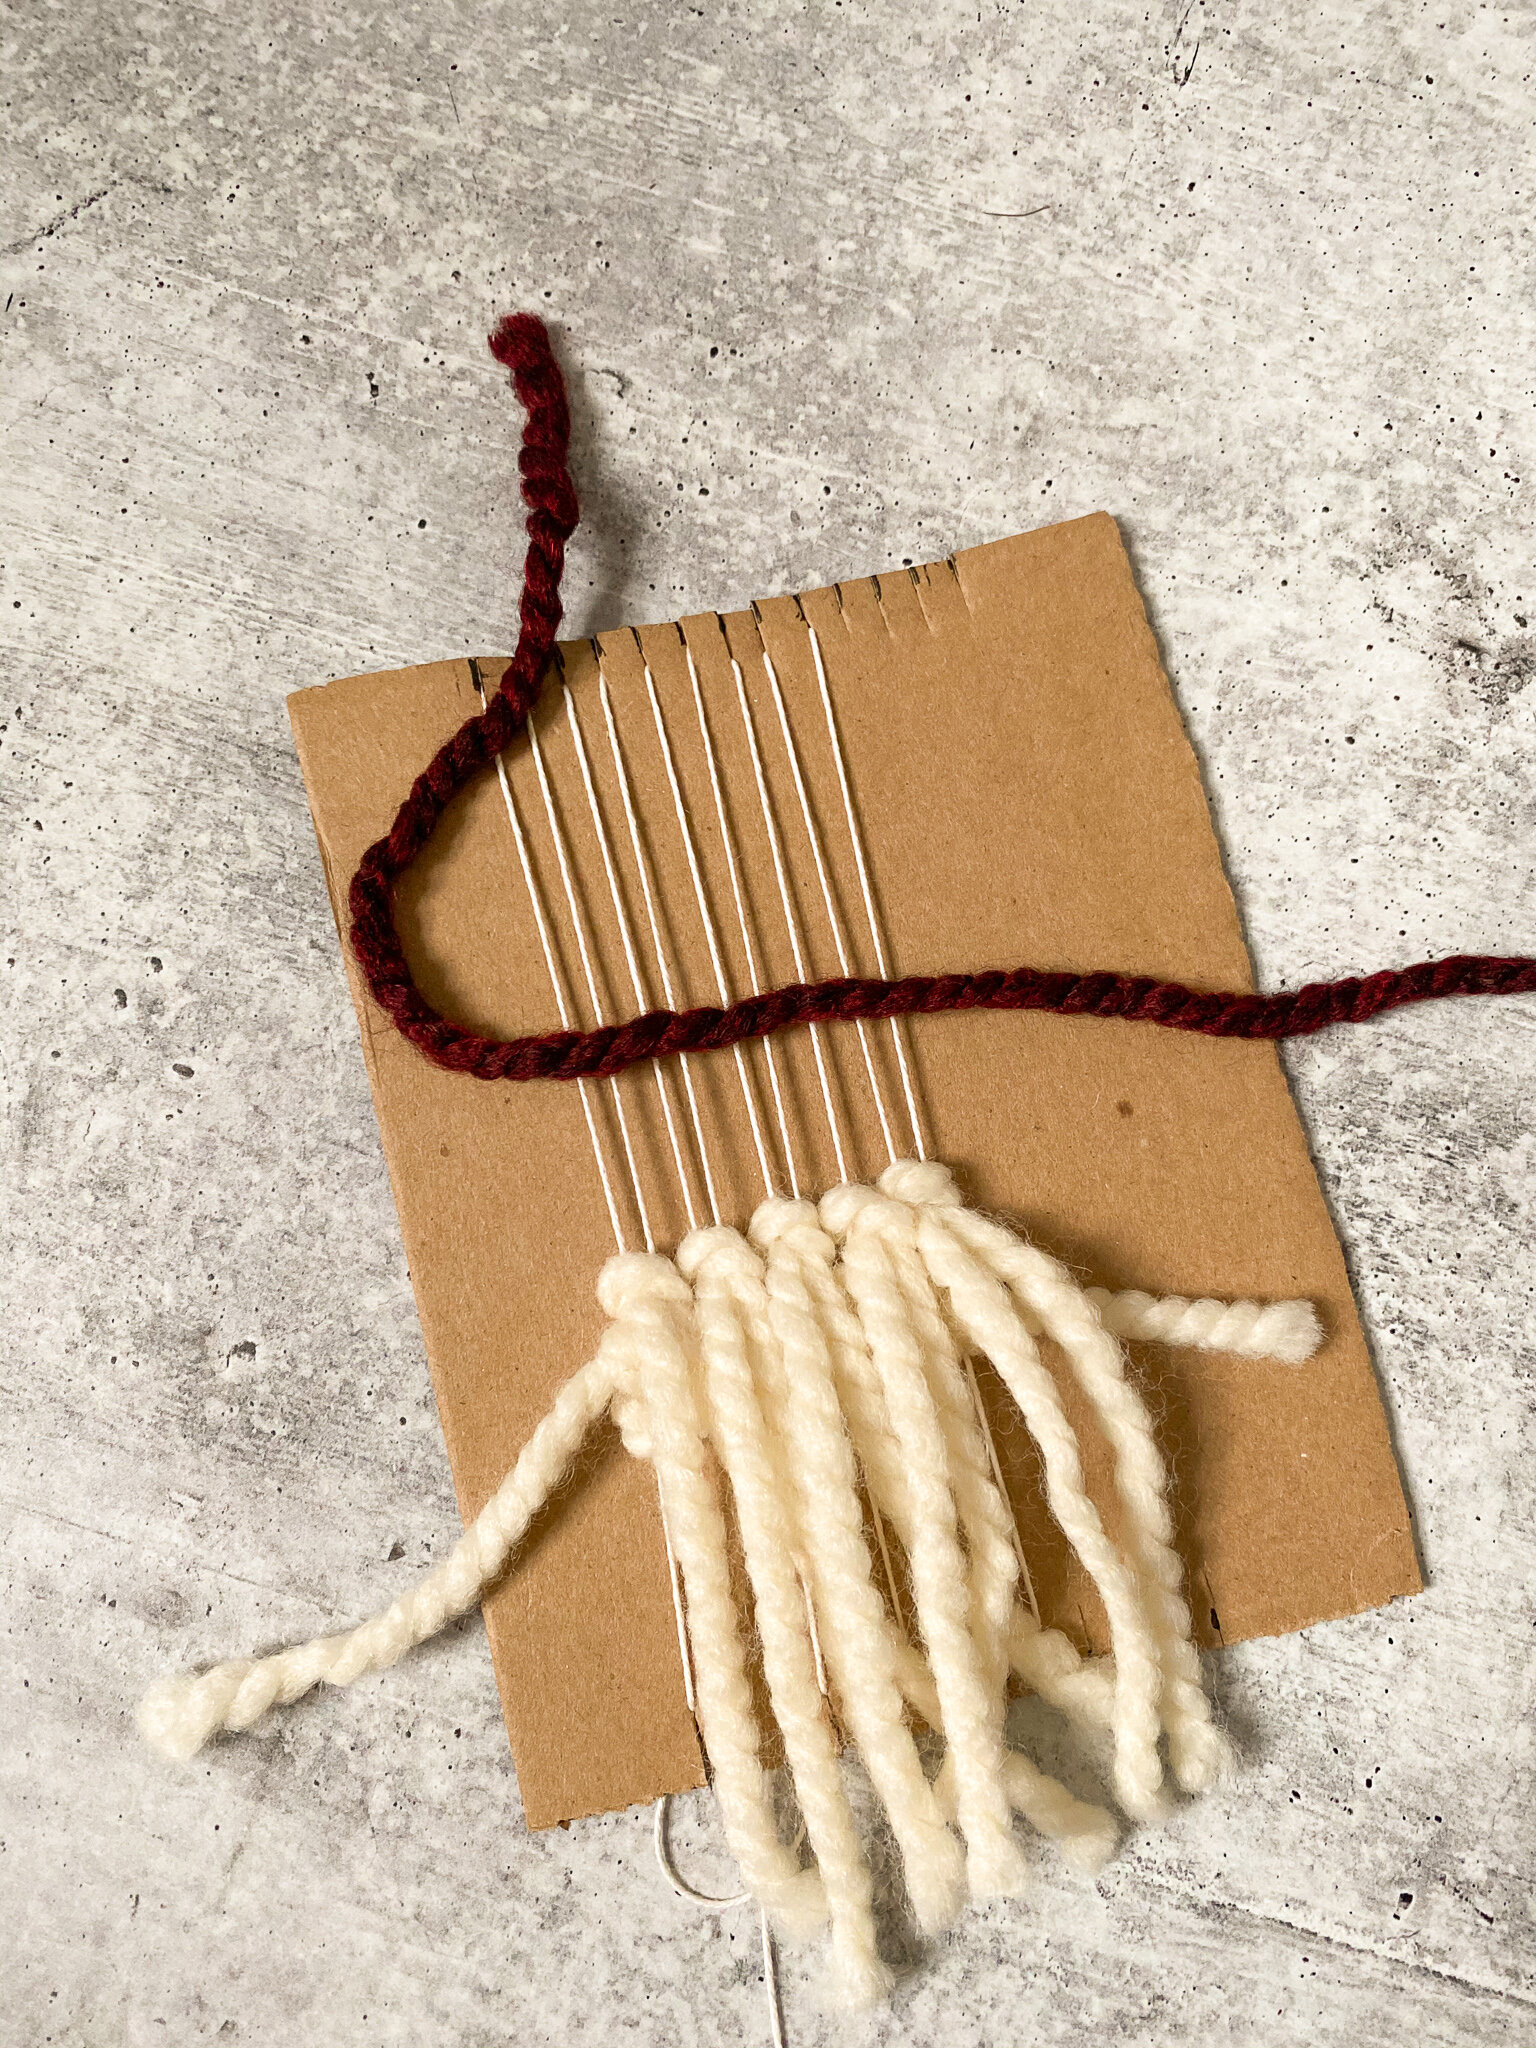
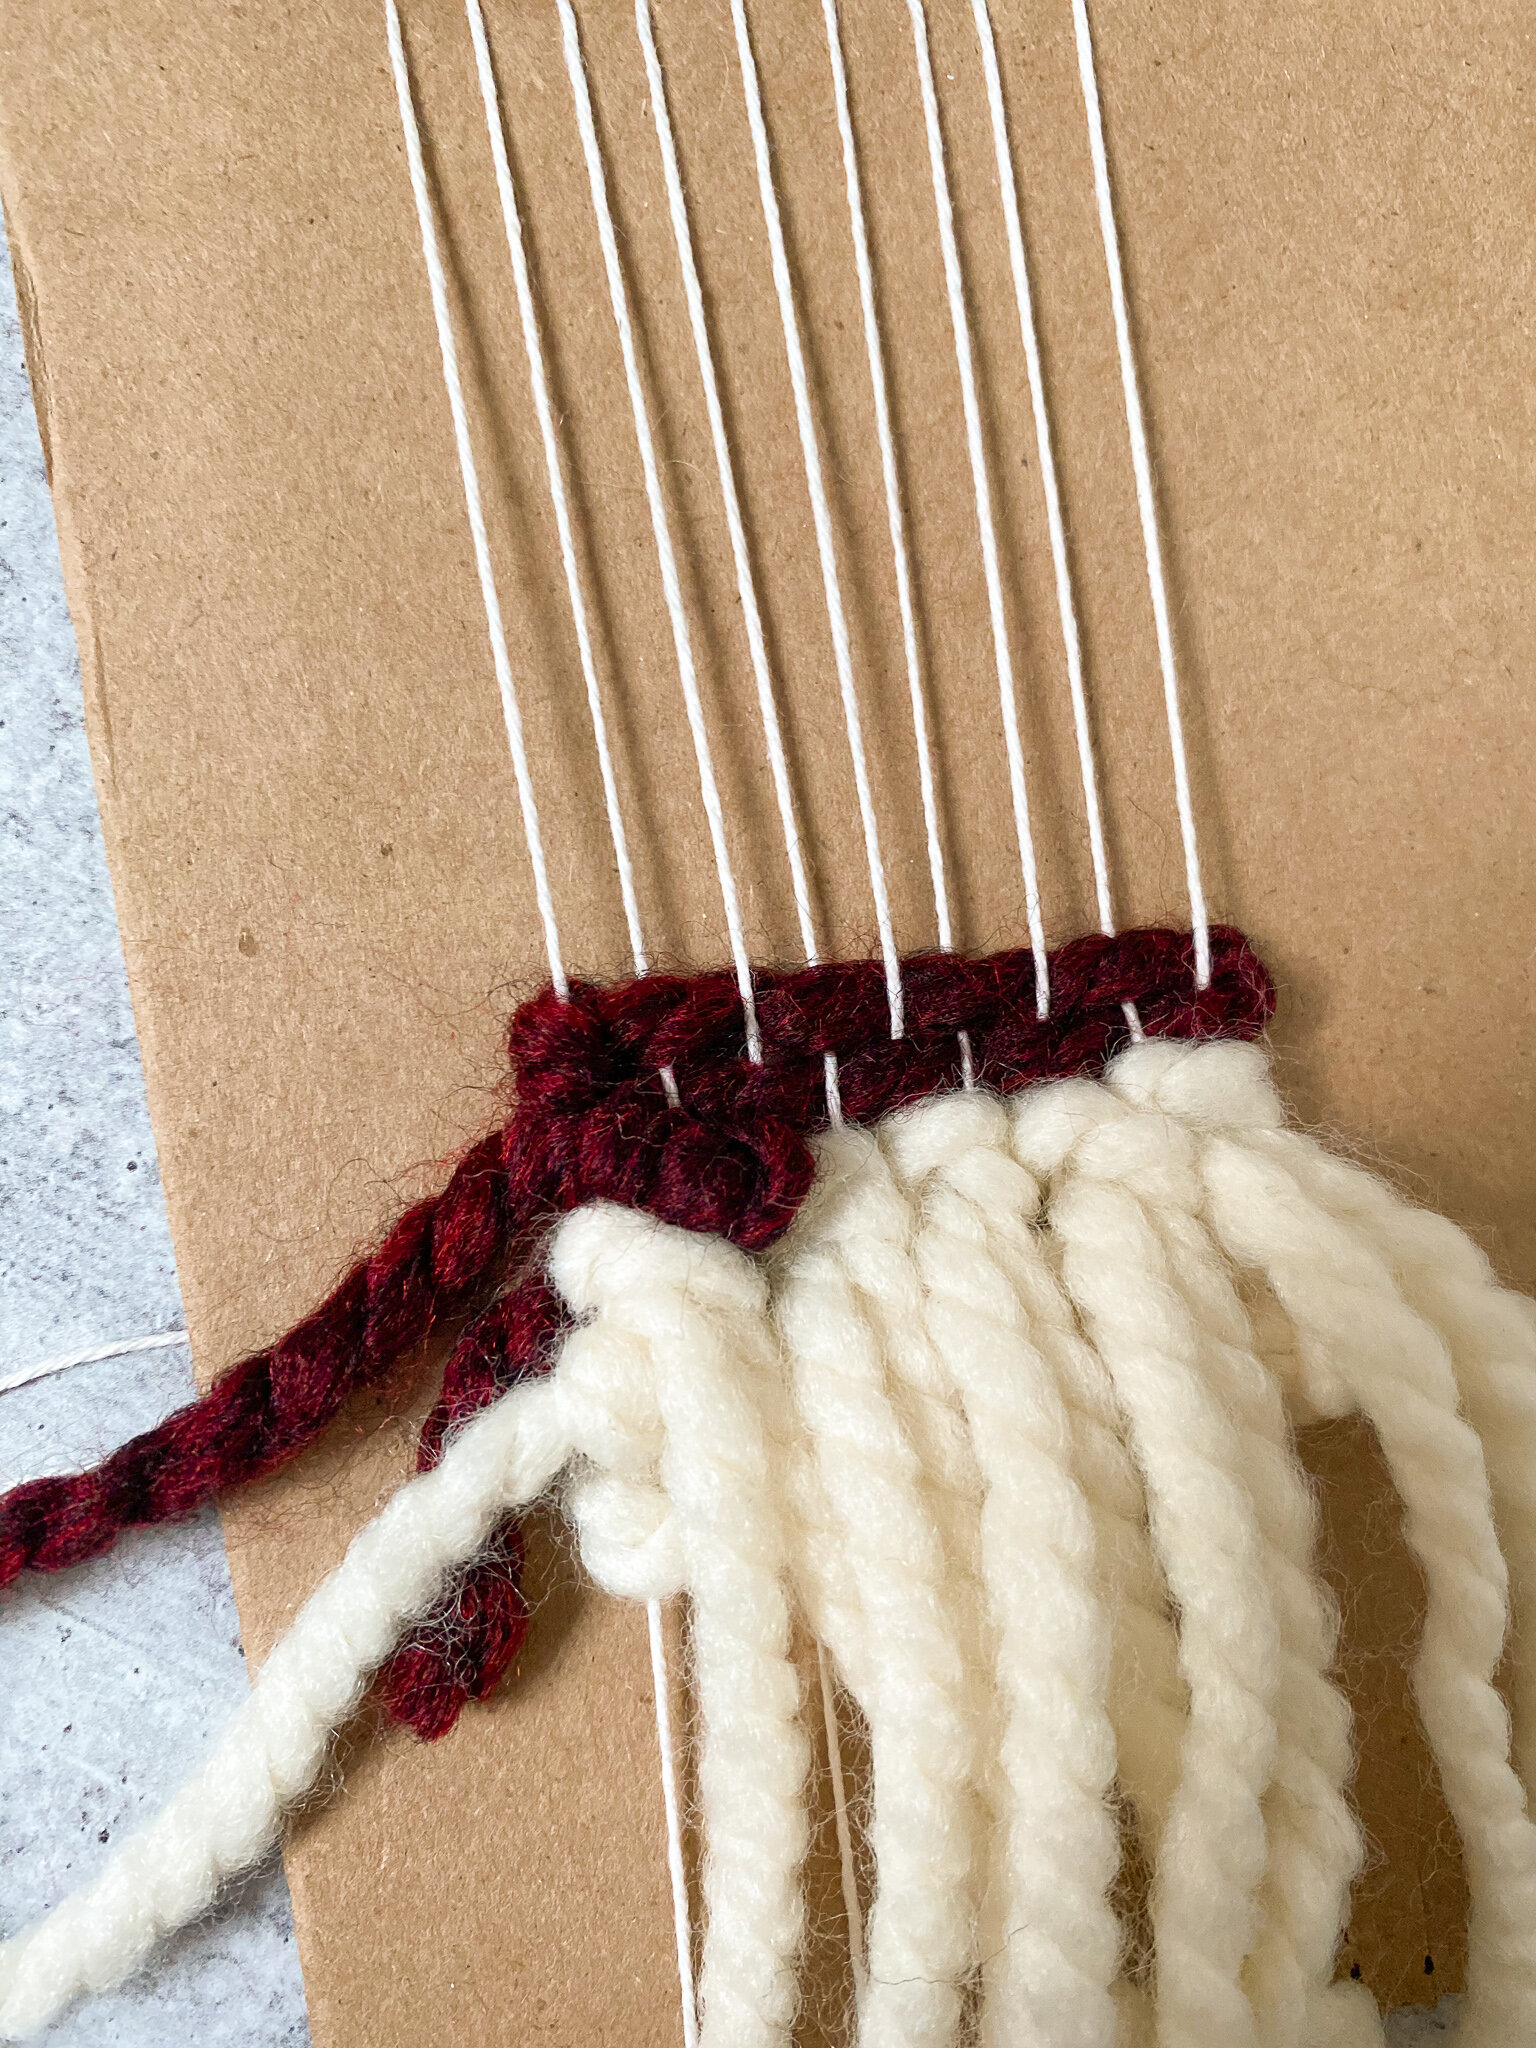
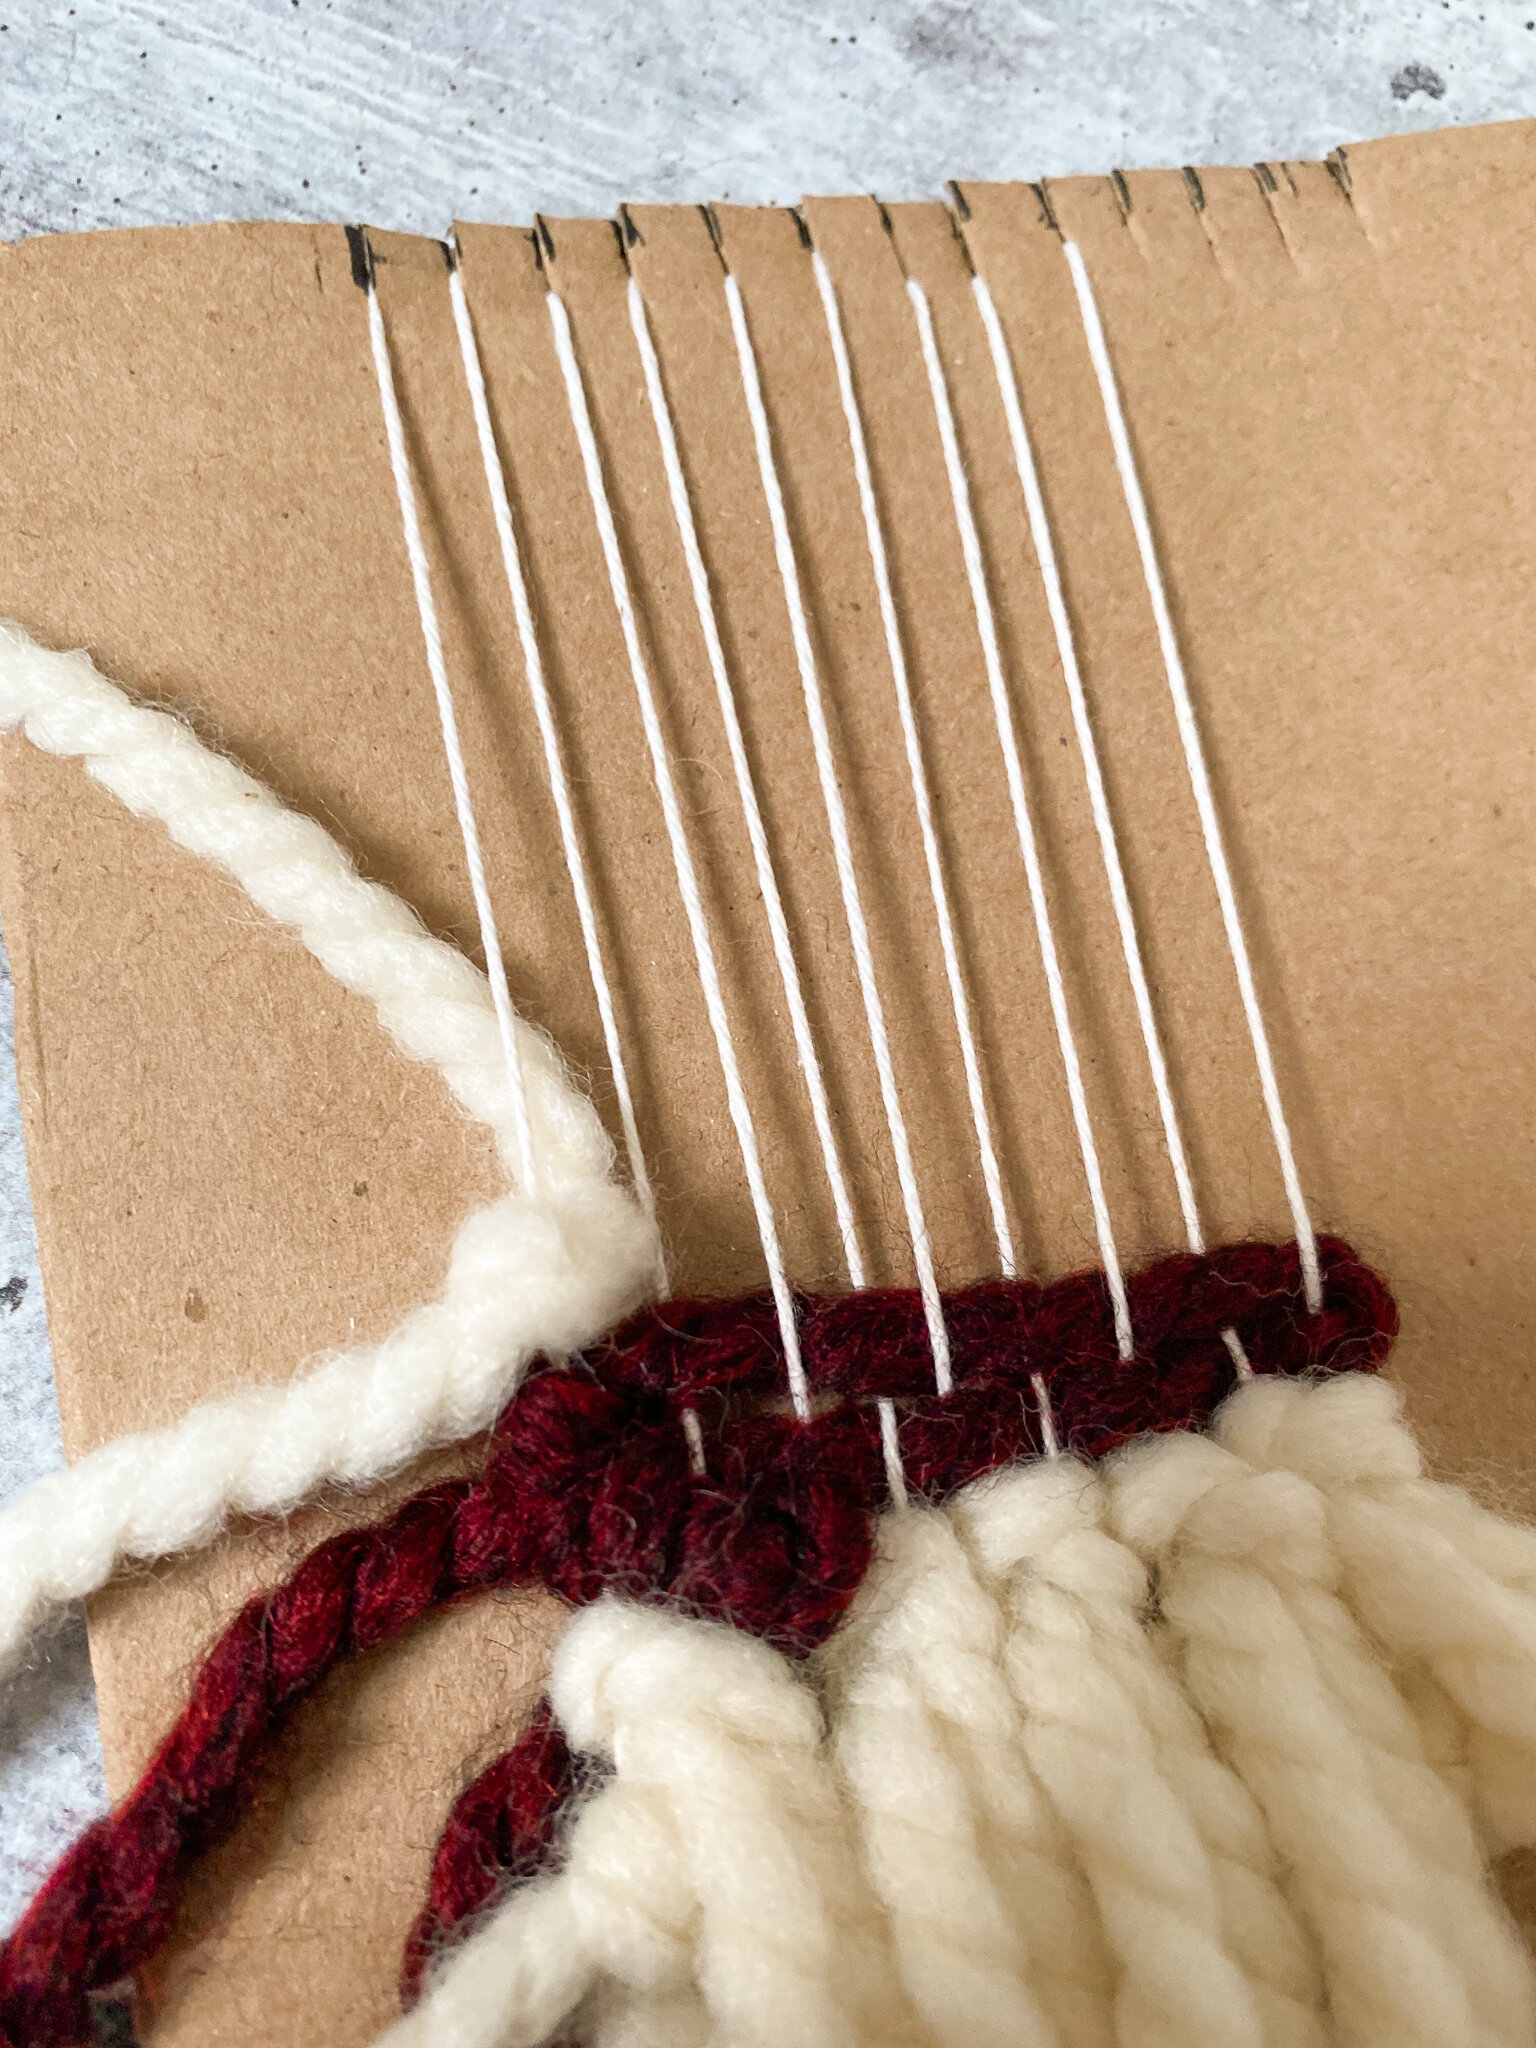
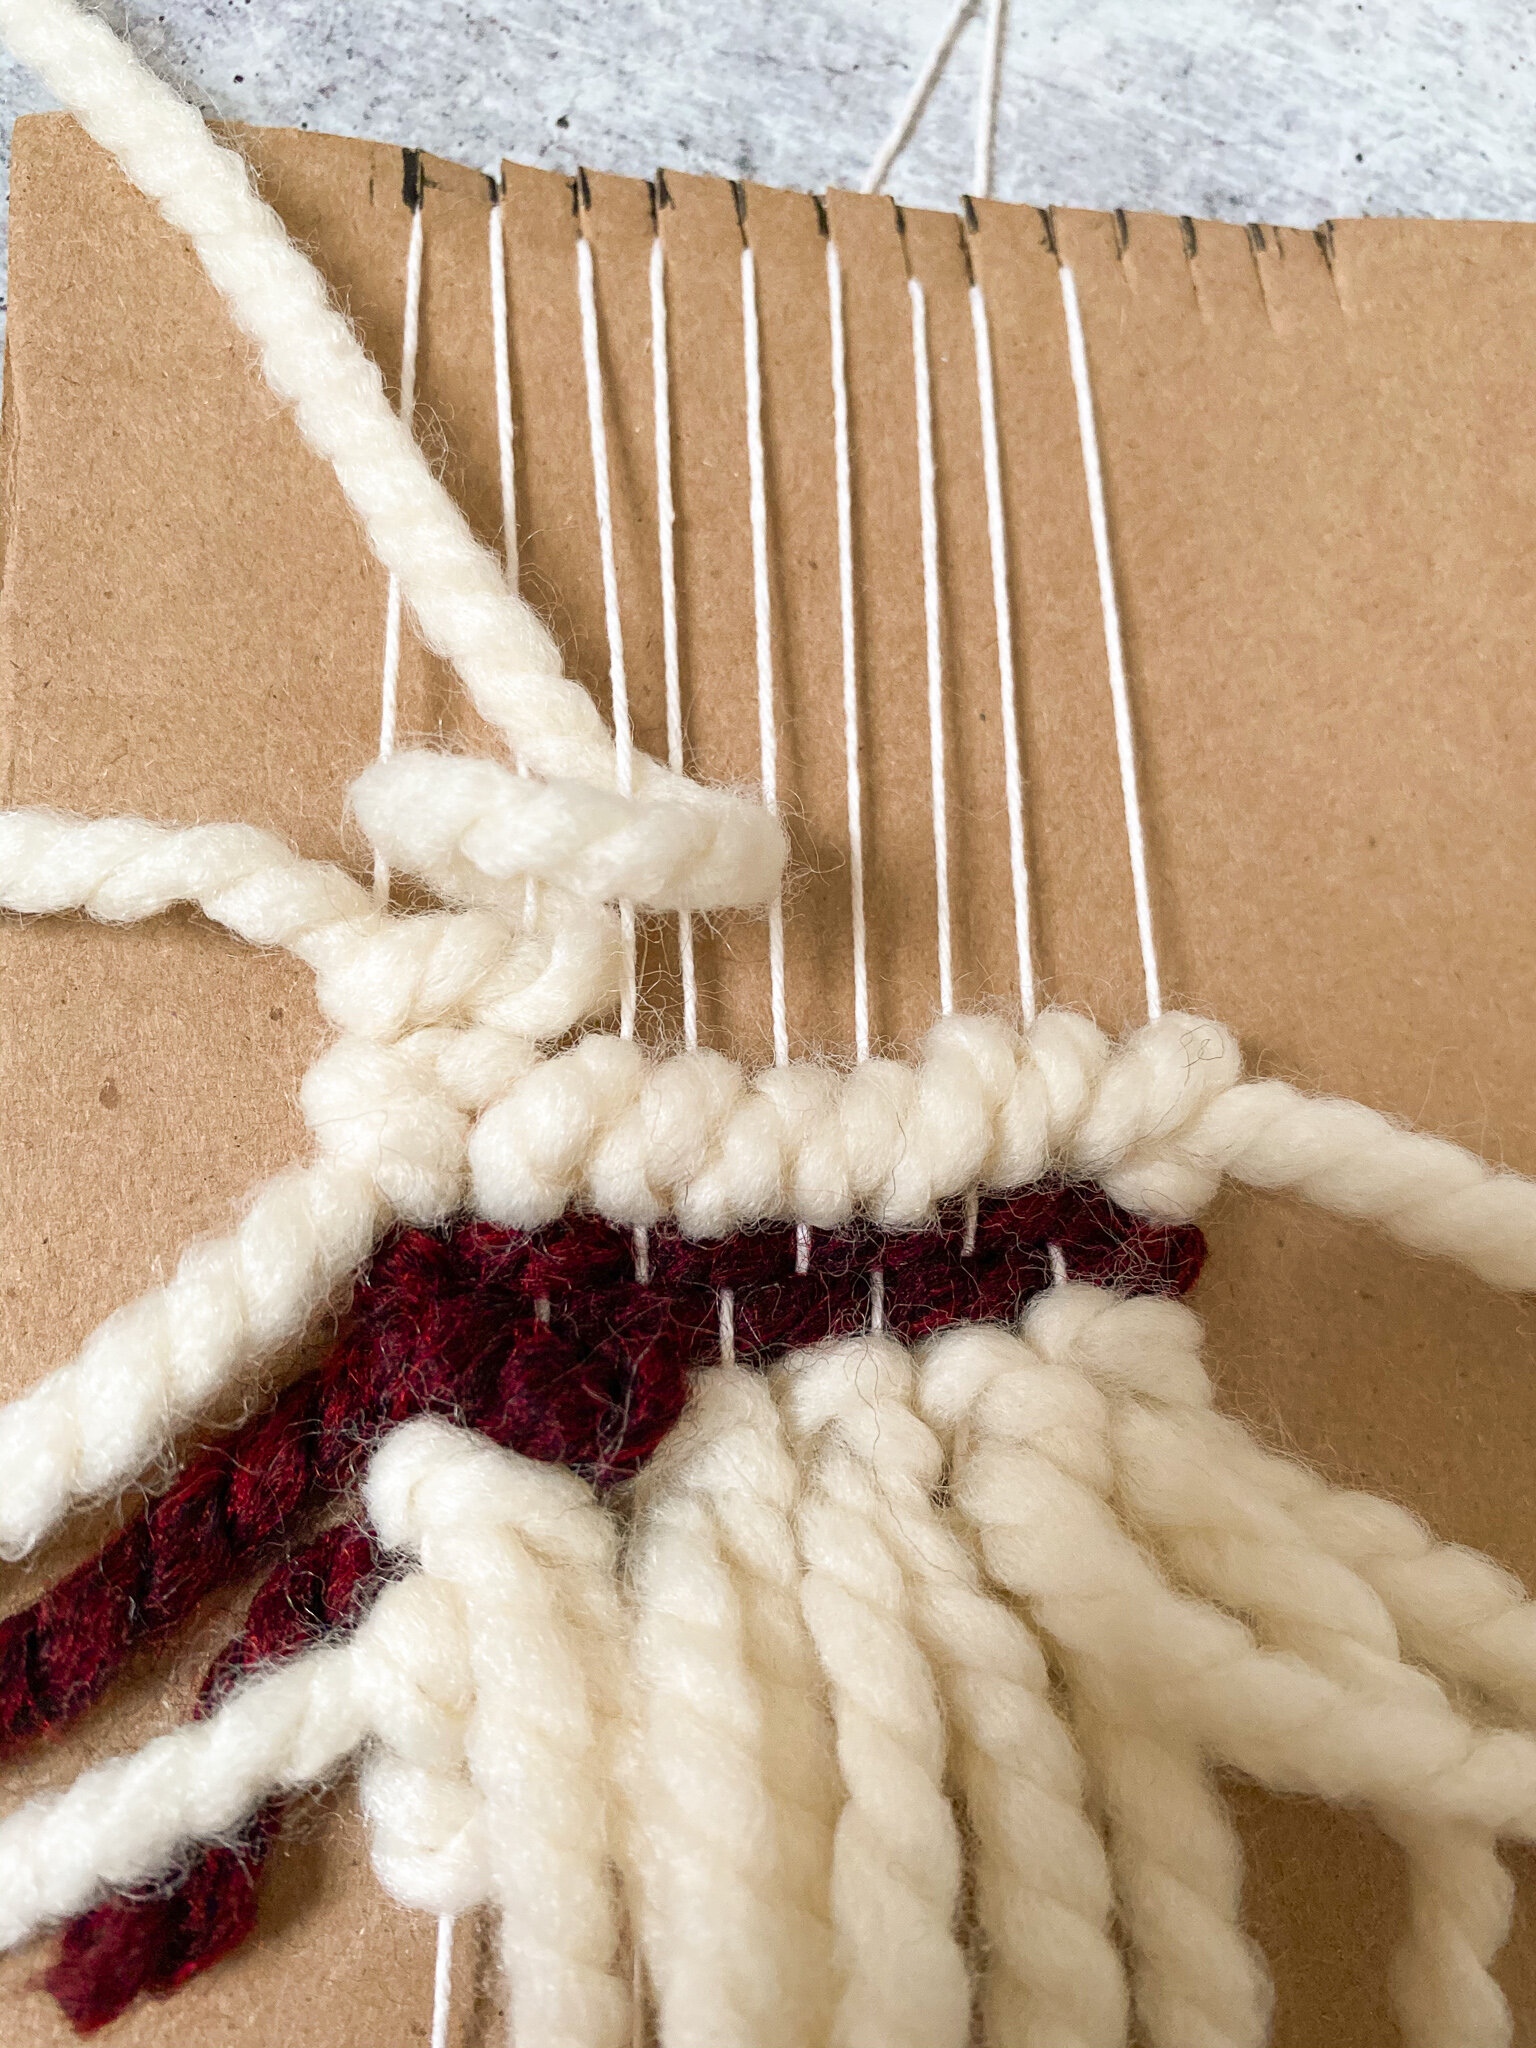
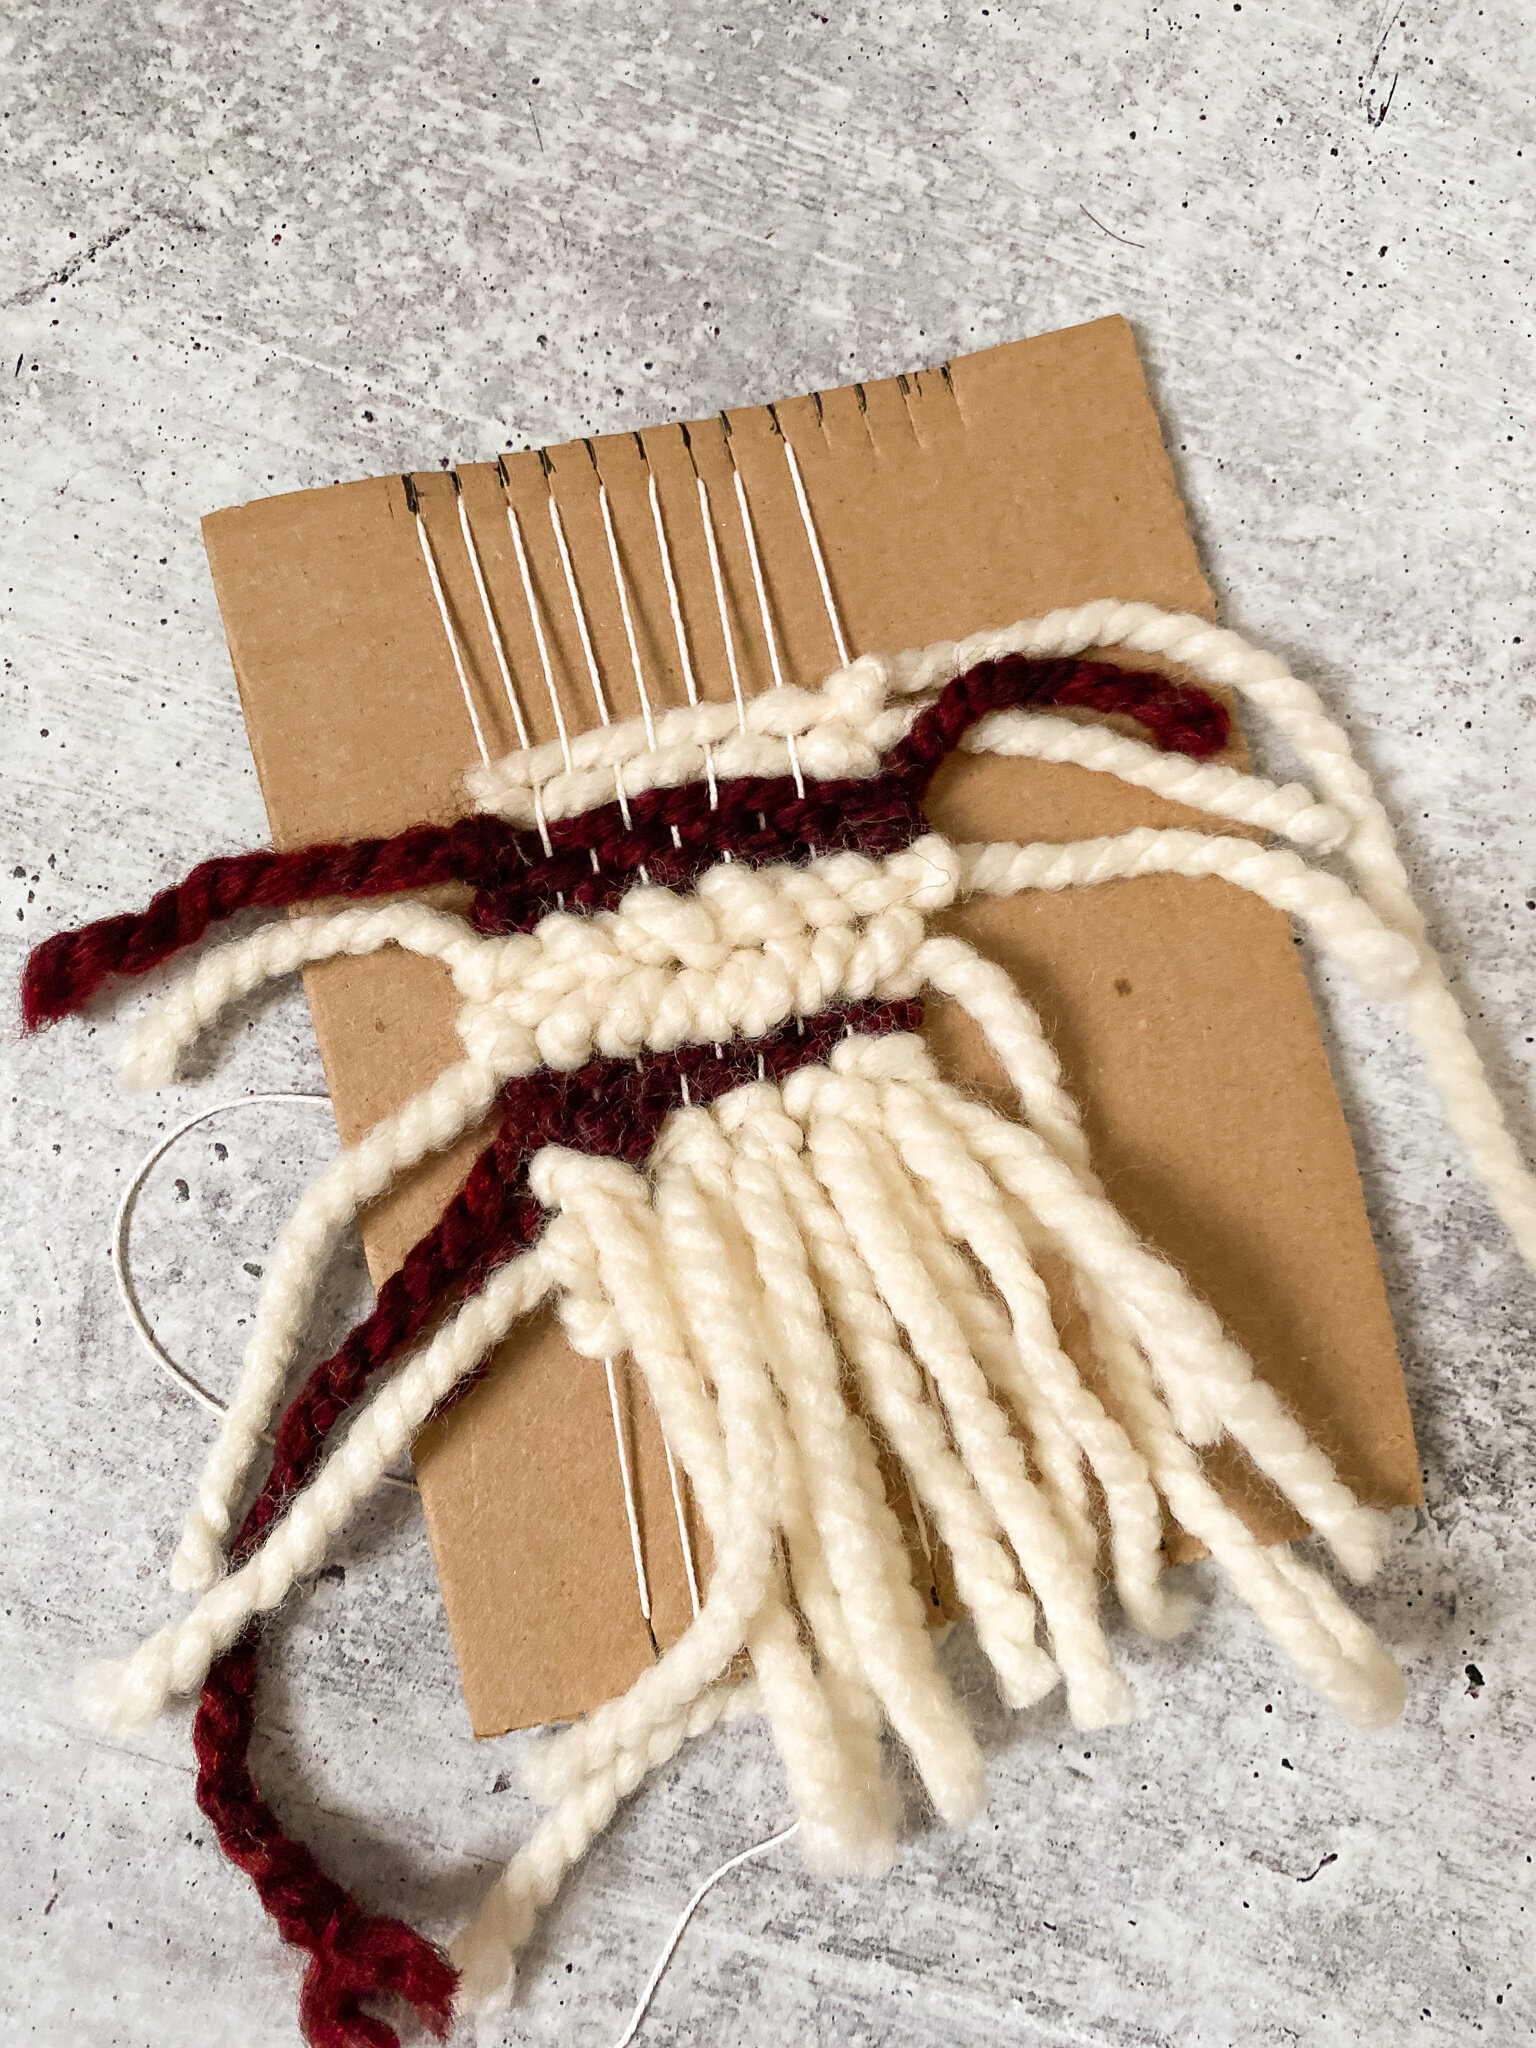
5. Using your second yarn color, weave two rows of plain weave following the method in step 3.
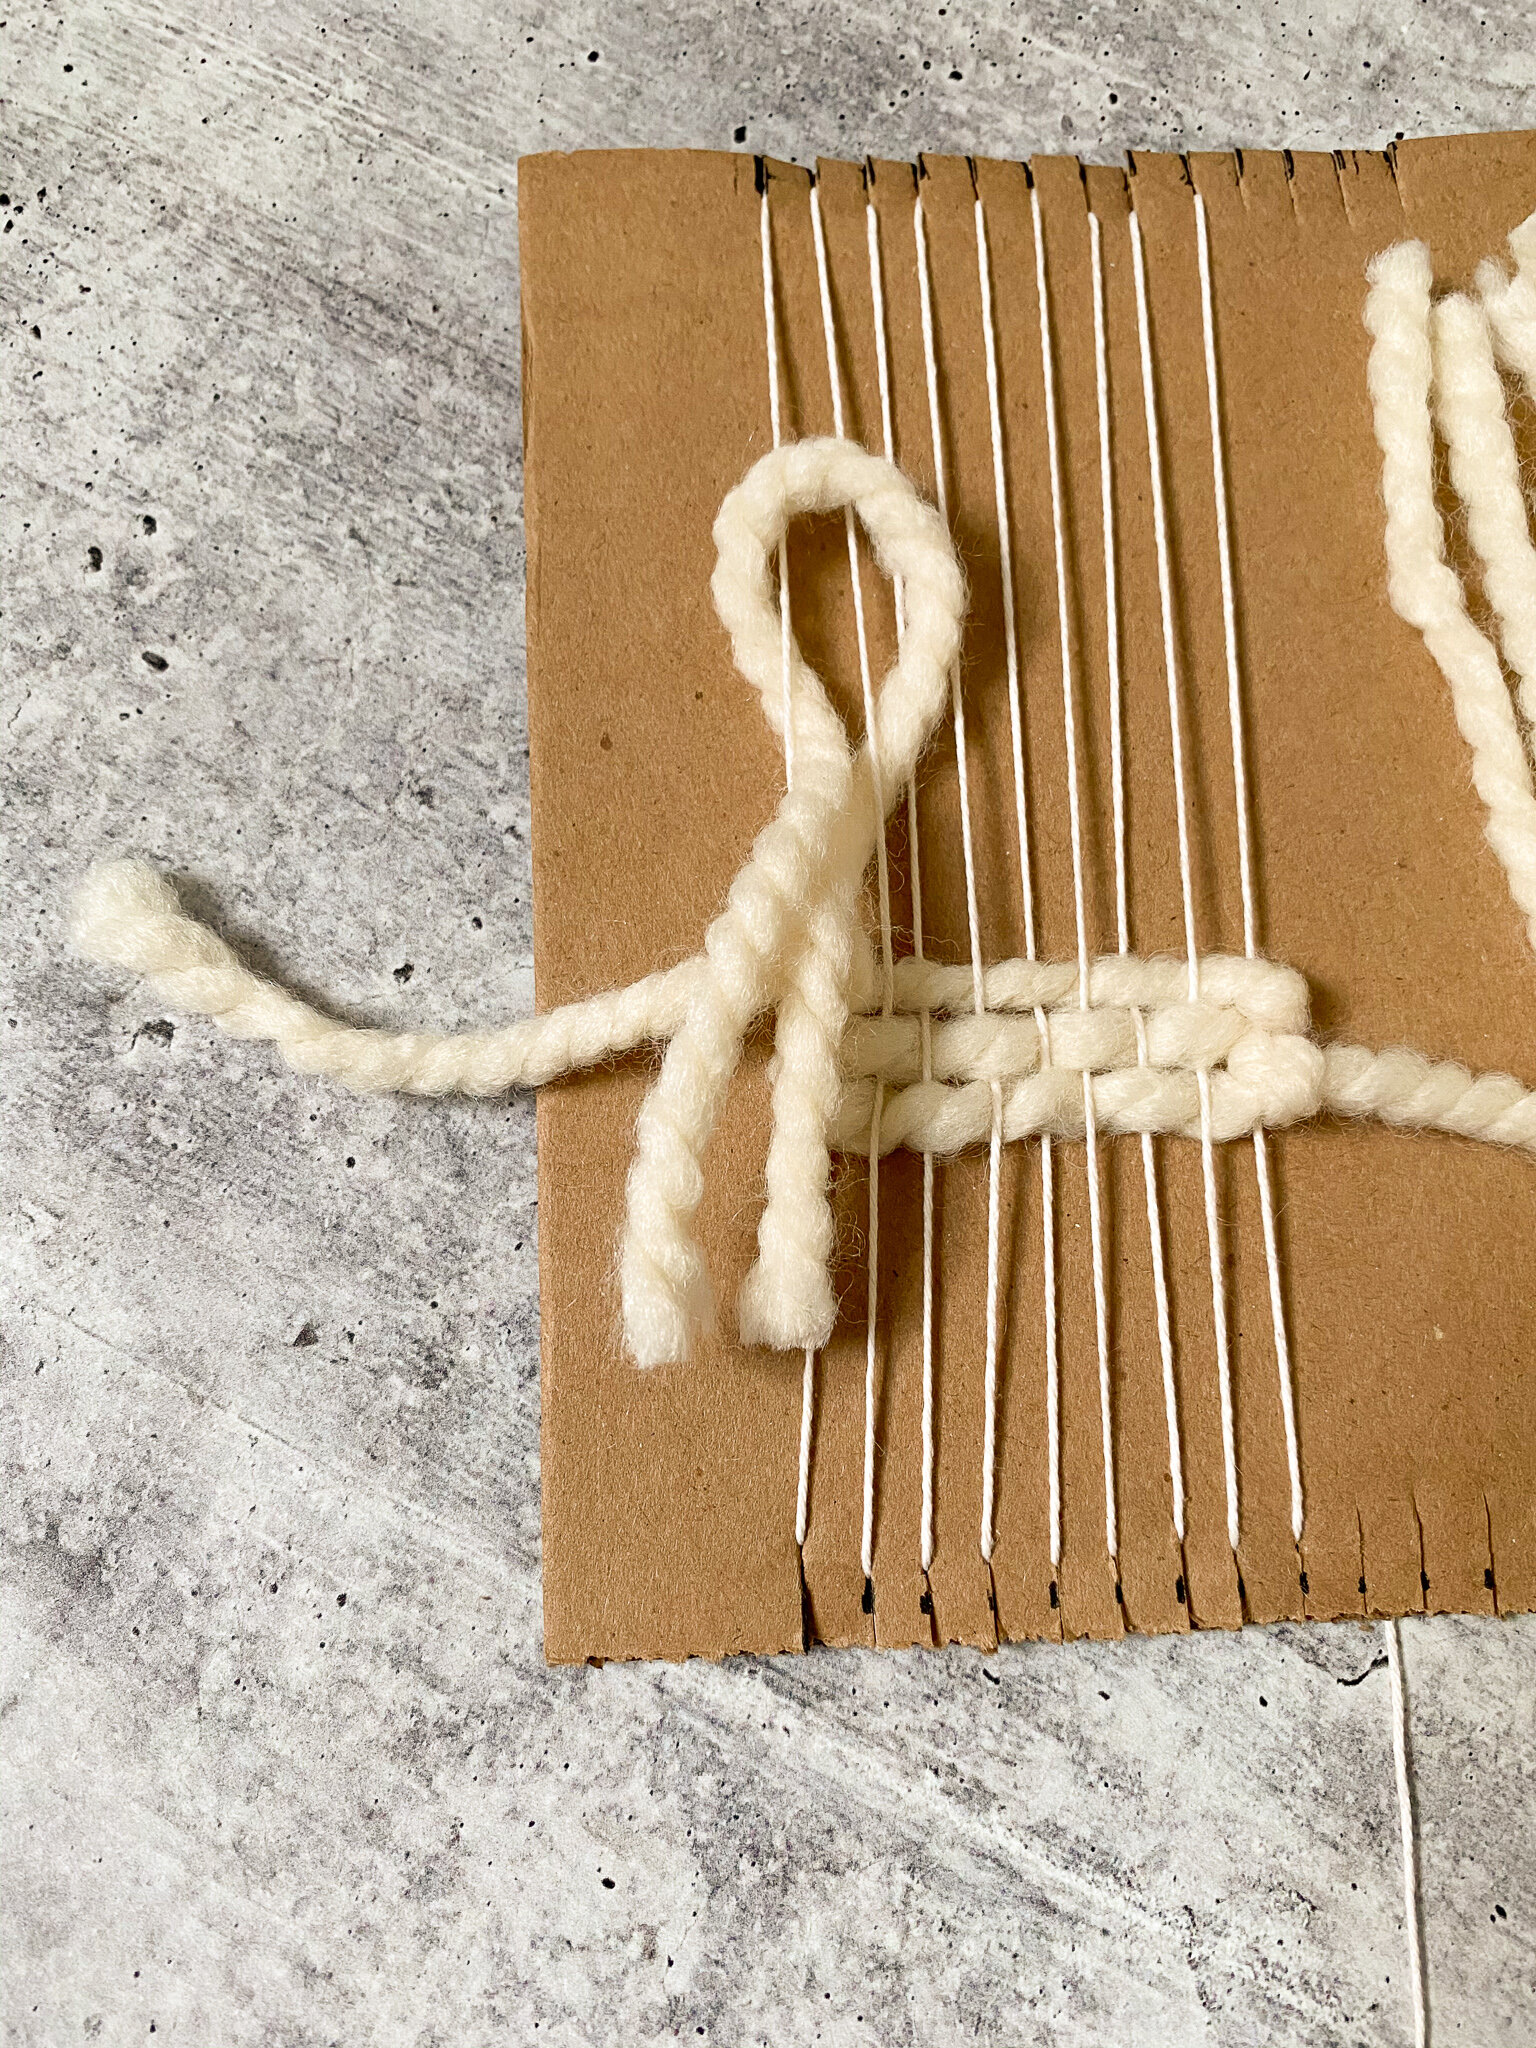
6. Cut a strand of your first yarn color measuring about a 18 inches long. Tie the end to the first warp string. Loop the yarn up over the 2nd warp string, then back down under the 2nd warp string beneath the loop from right to left (as shown below). Loosely pull to tighten the knot.
Loop the yarn over the 3rd warp string, then back down under the 3rd warp string. Repeat until the row is complete, then tie a knot at the end.
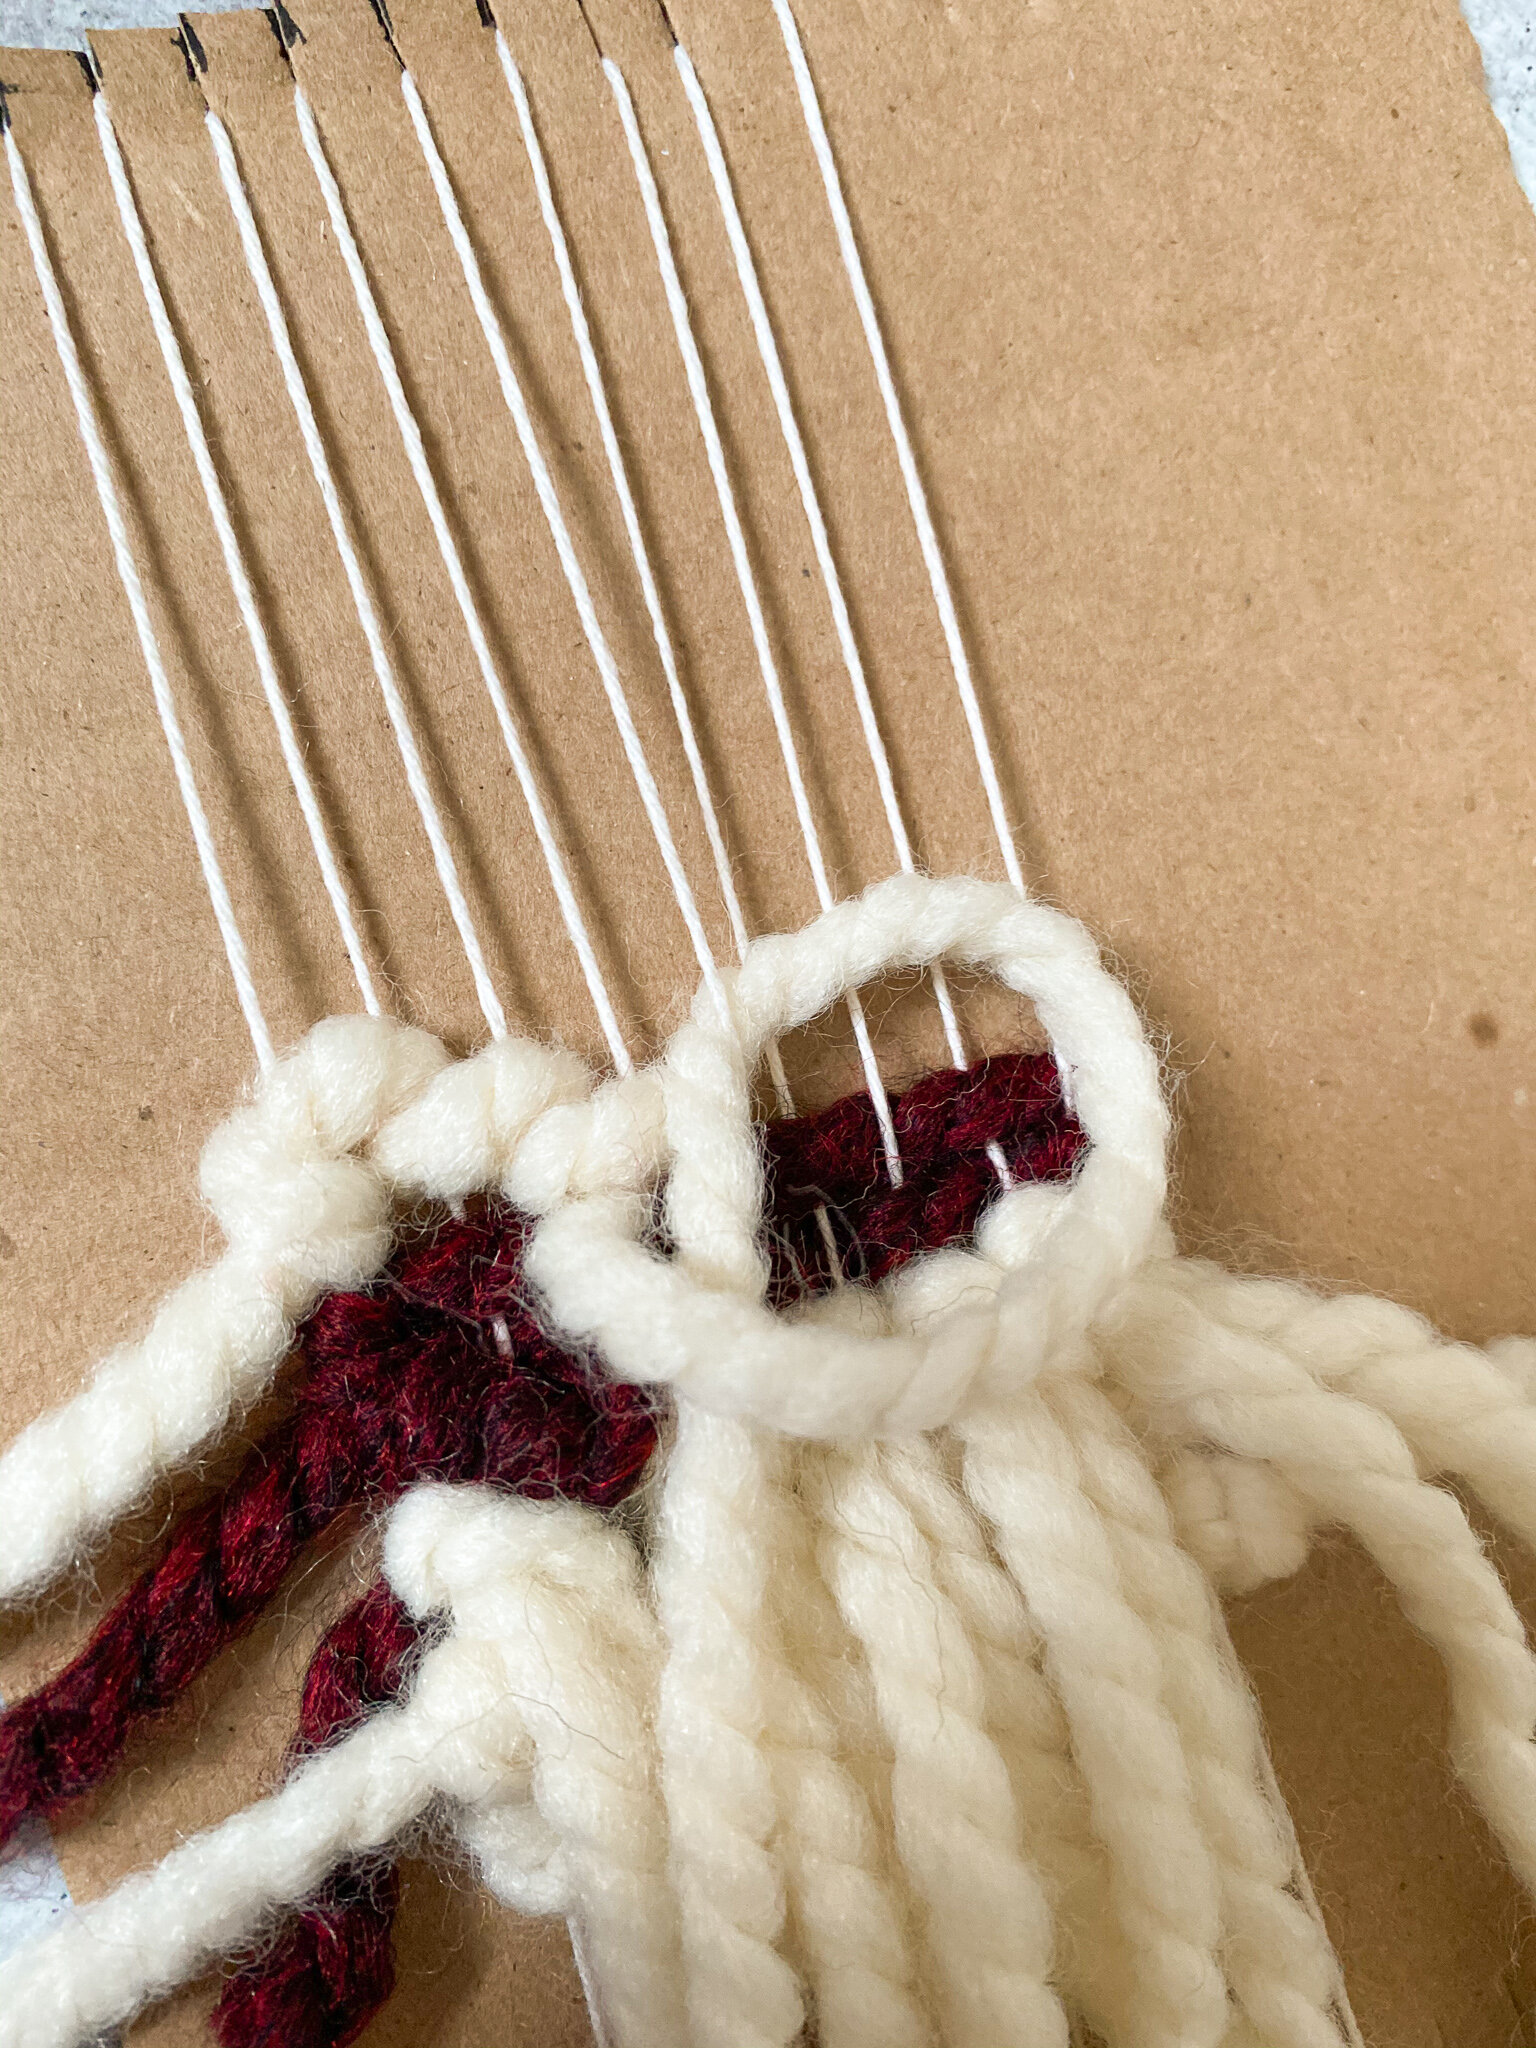
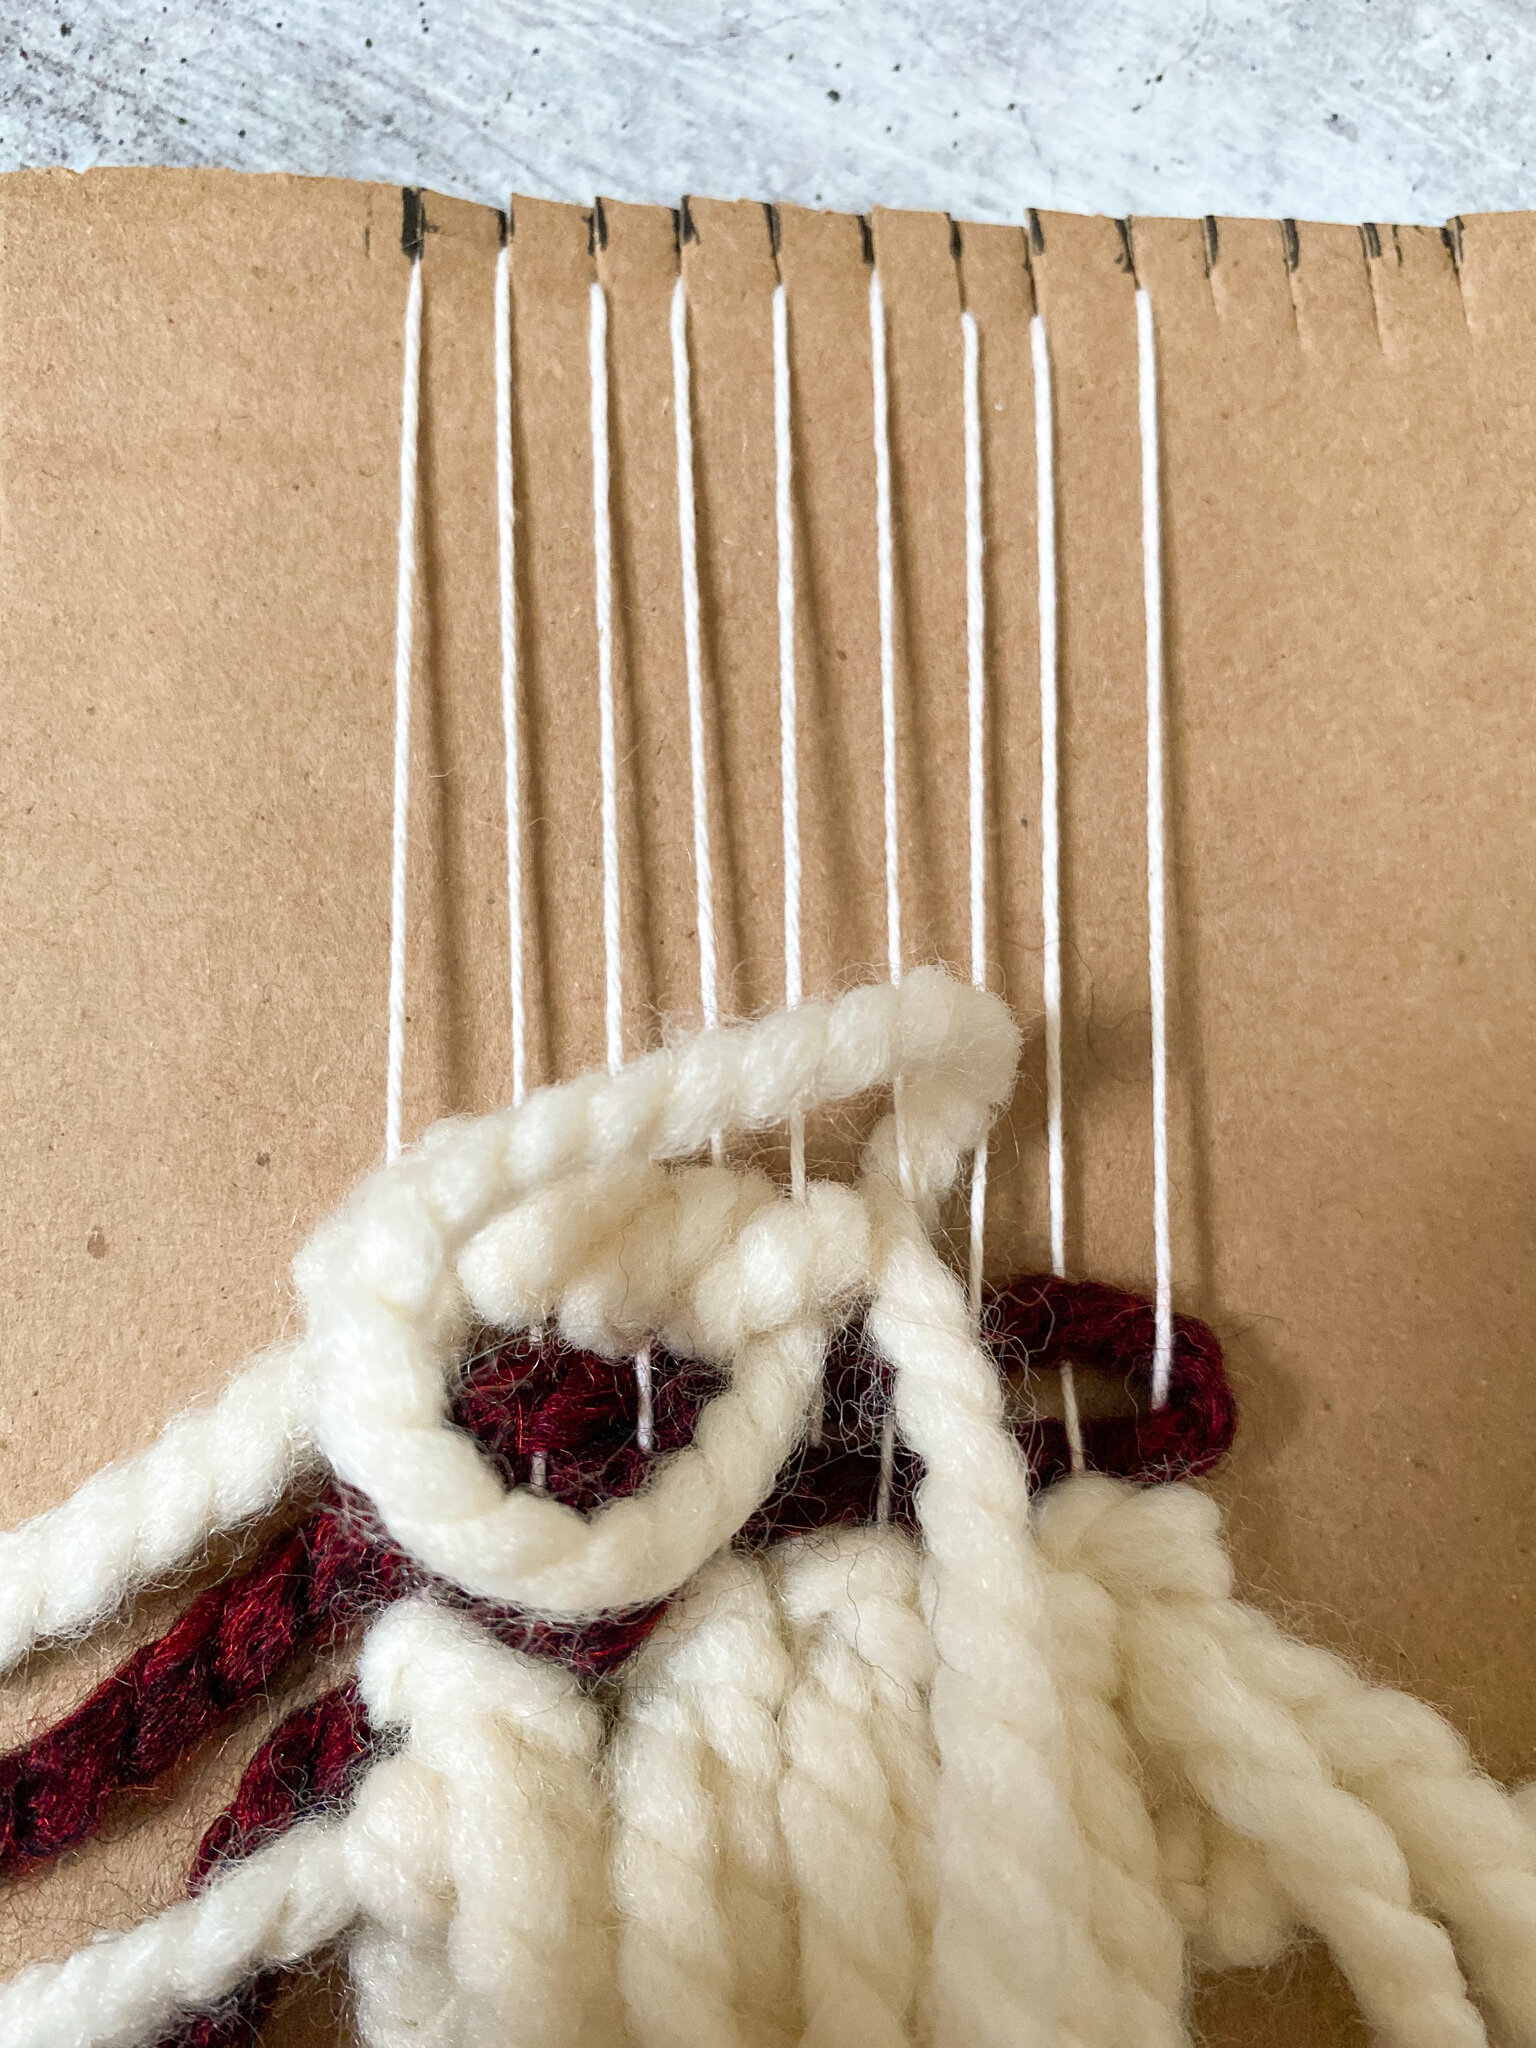
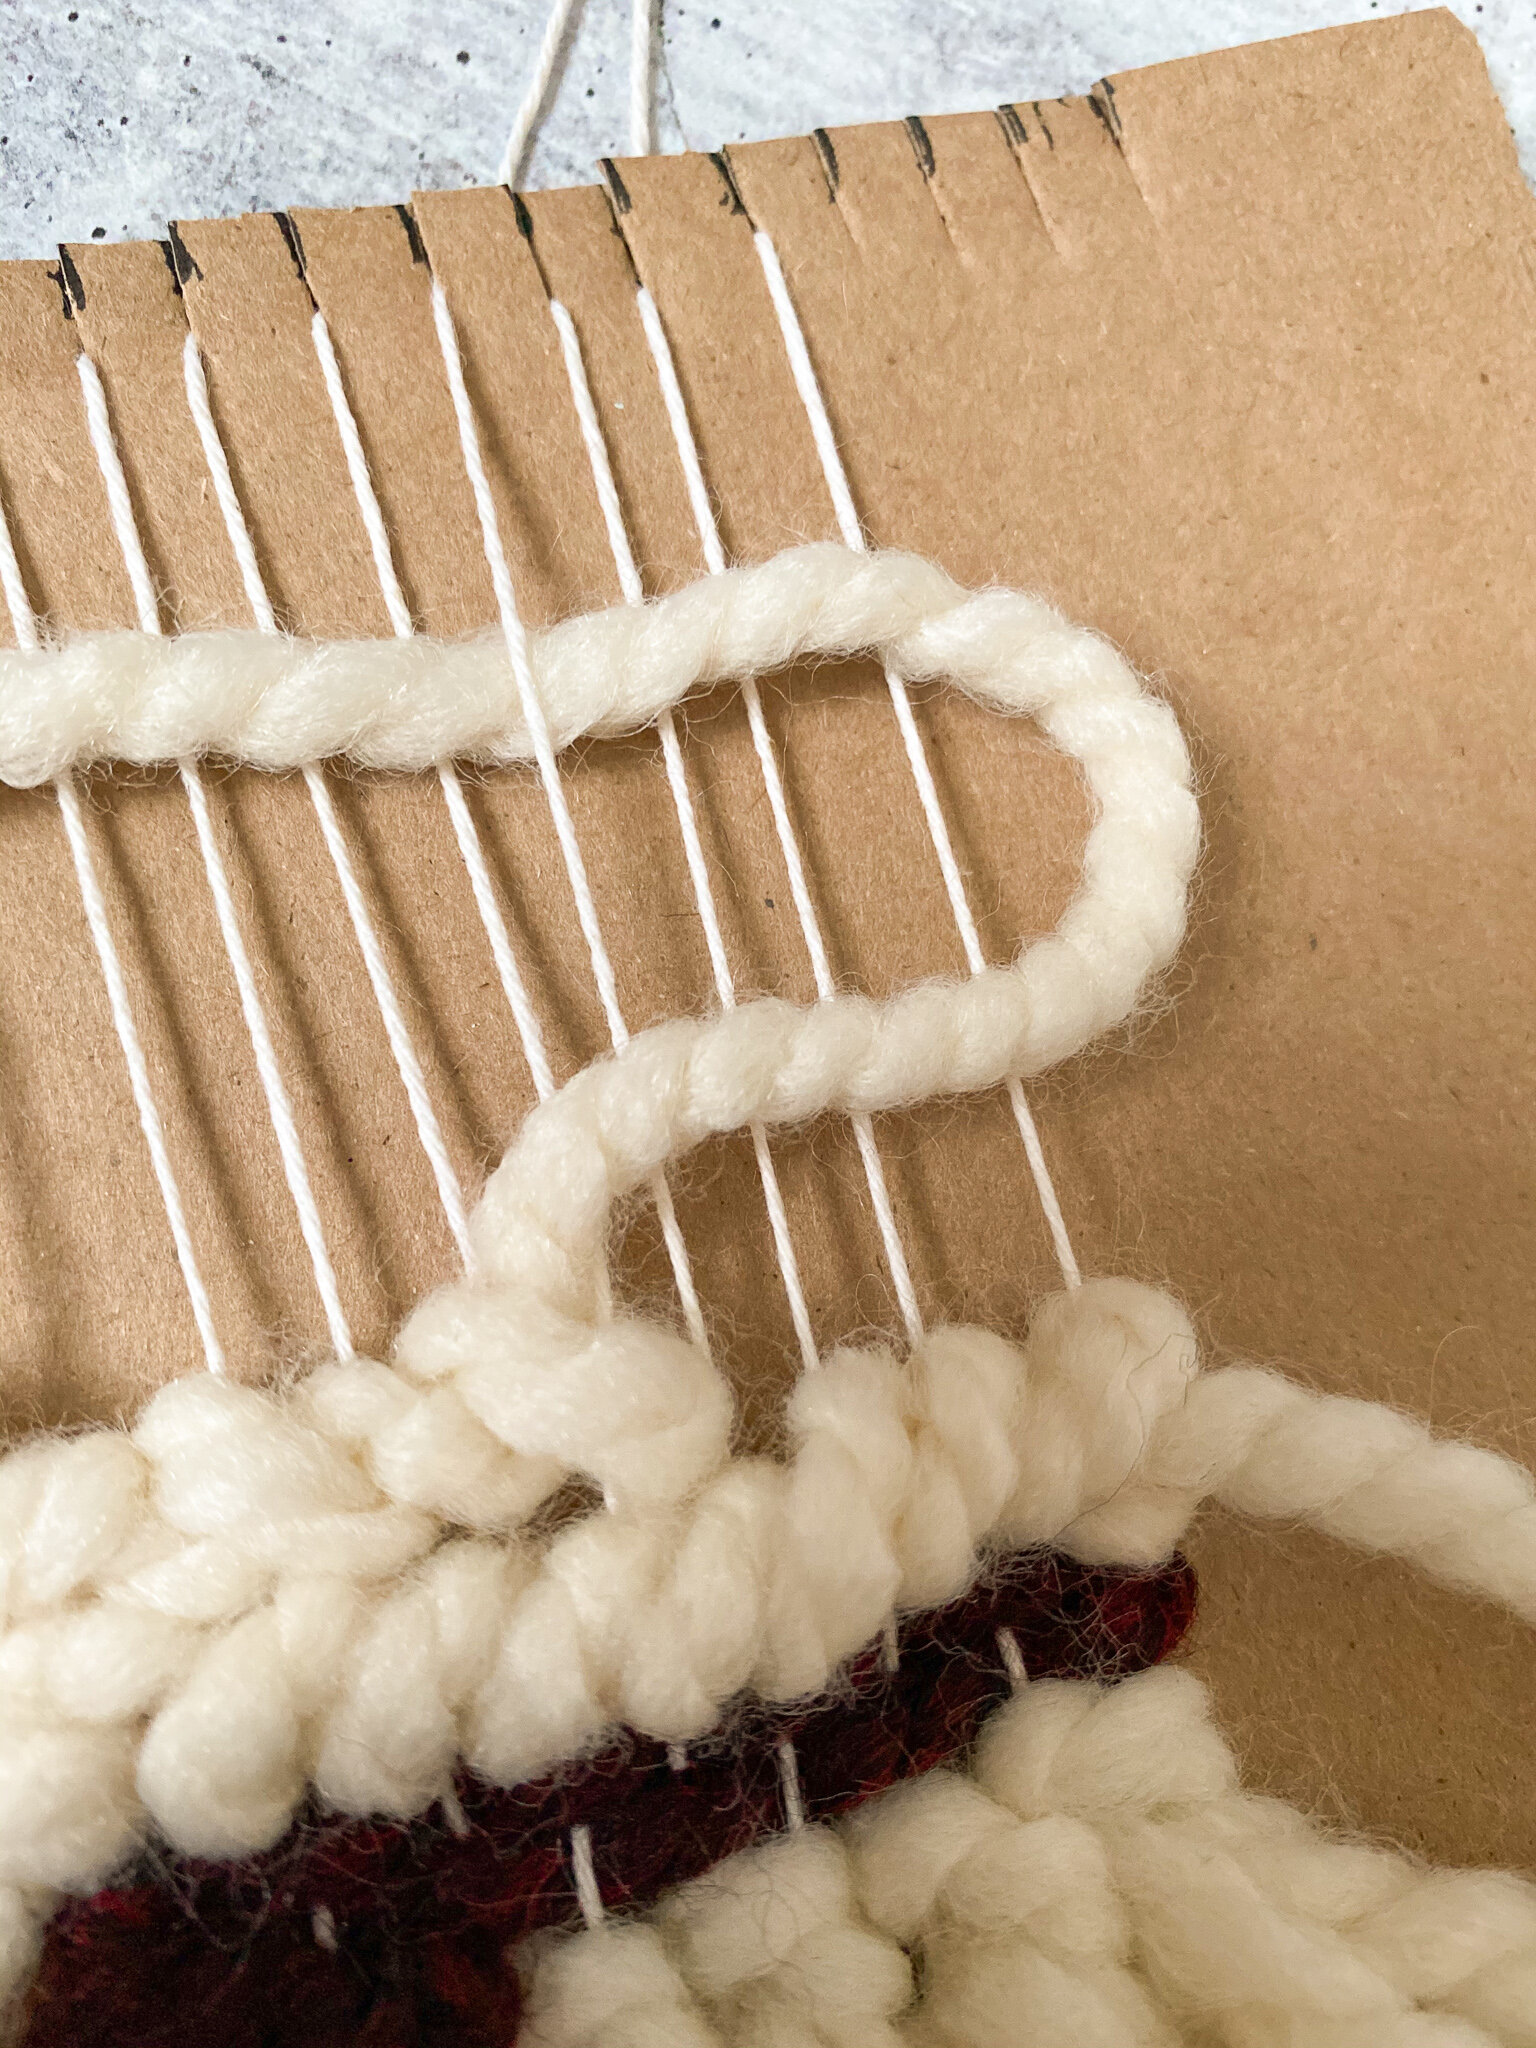
7. Cut another 18-inch strand of yarn and tie it to the first warp string. Loop the yarn over the 2nd warp string, then tuck it back under the 2nd warp string above the loop from right to left (shown below) and pull to tighten. Repeat until the row is complete, then tie a knot at the end.
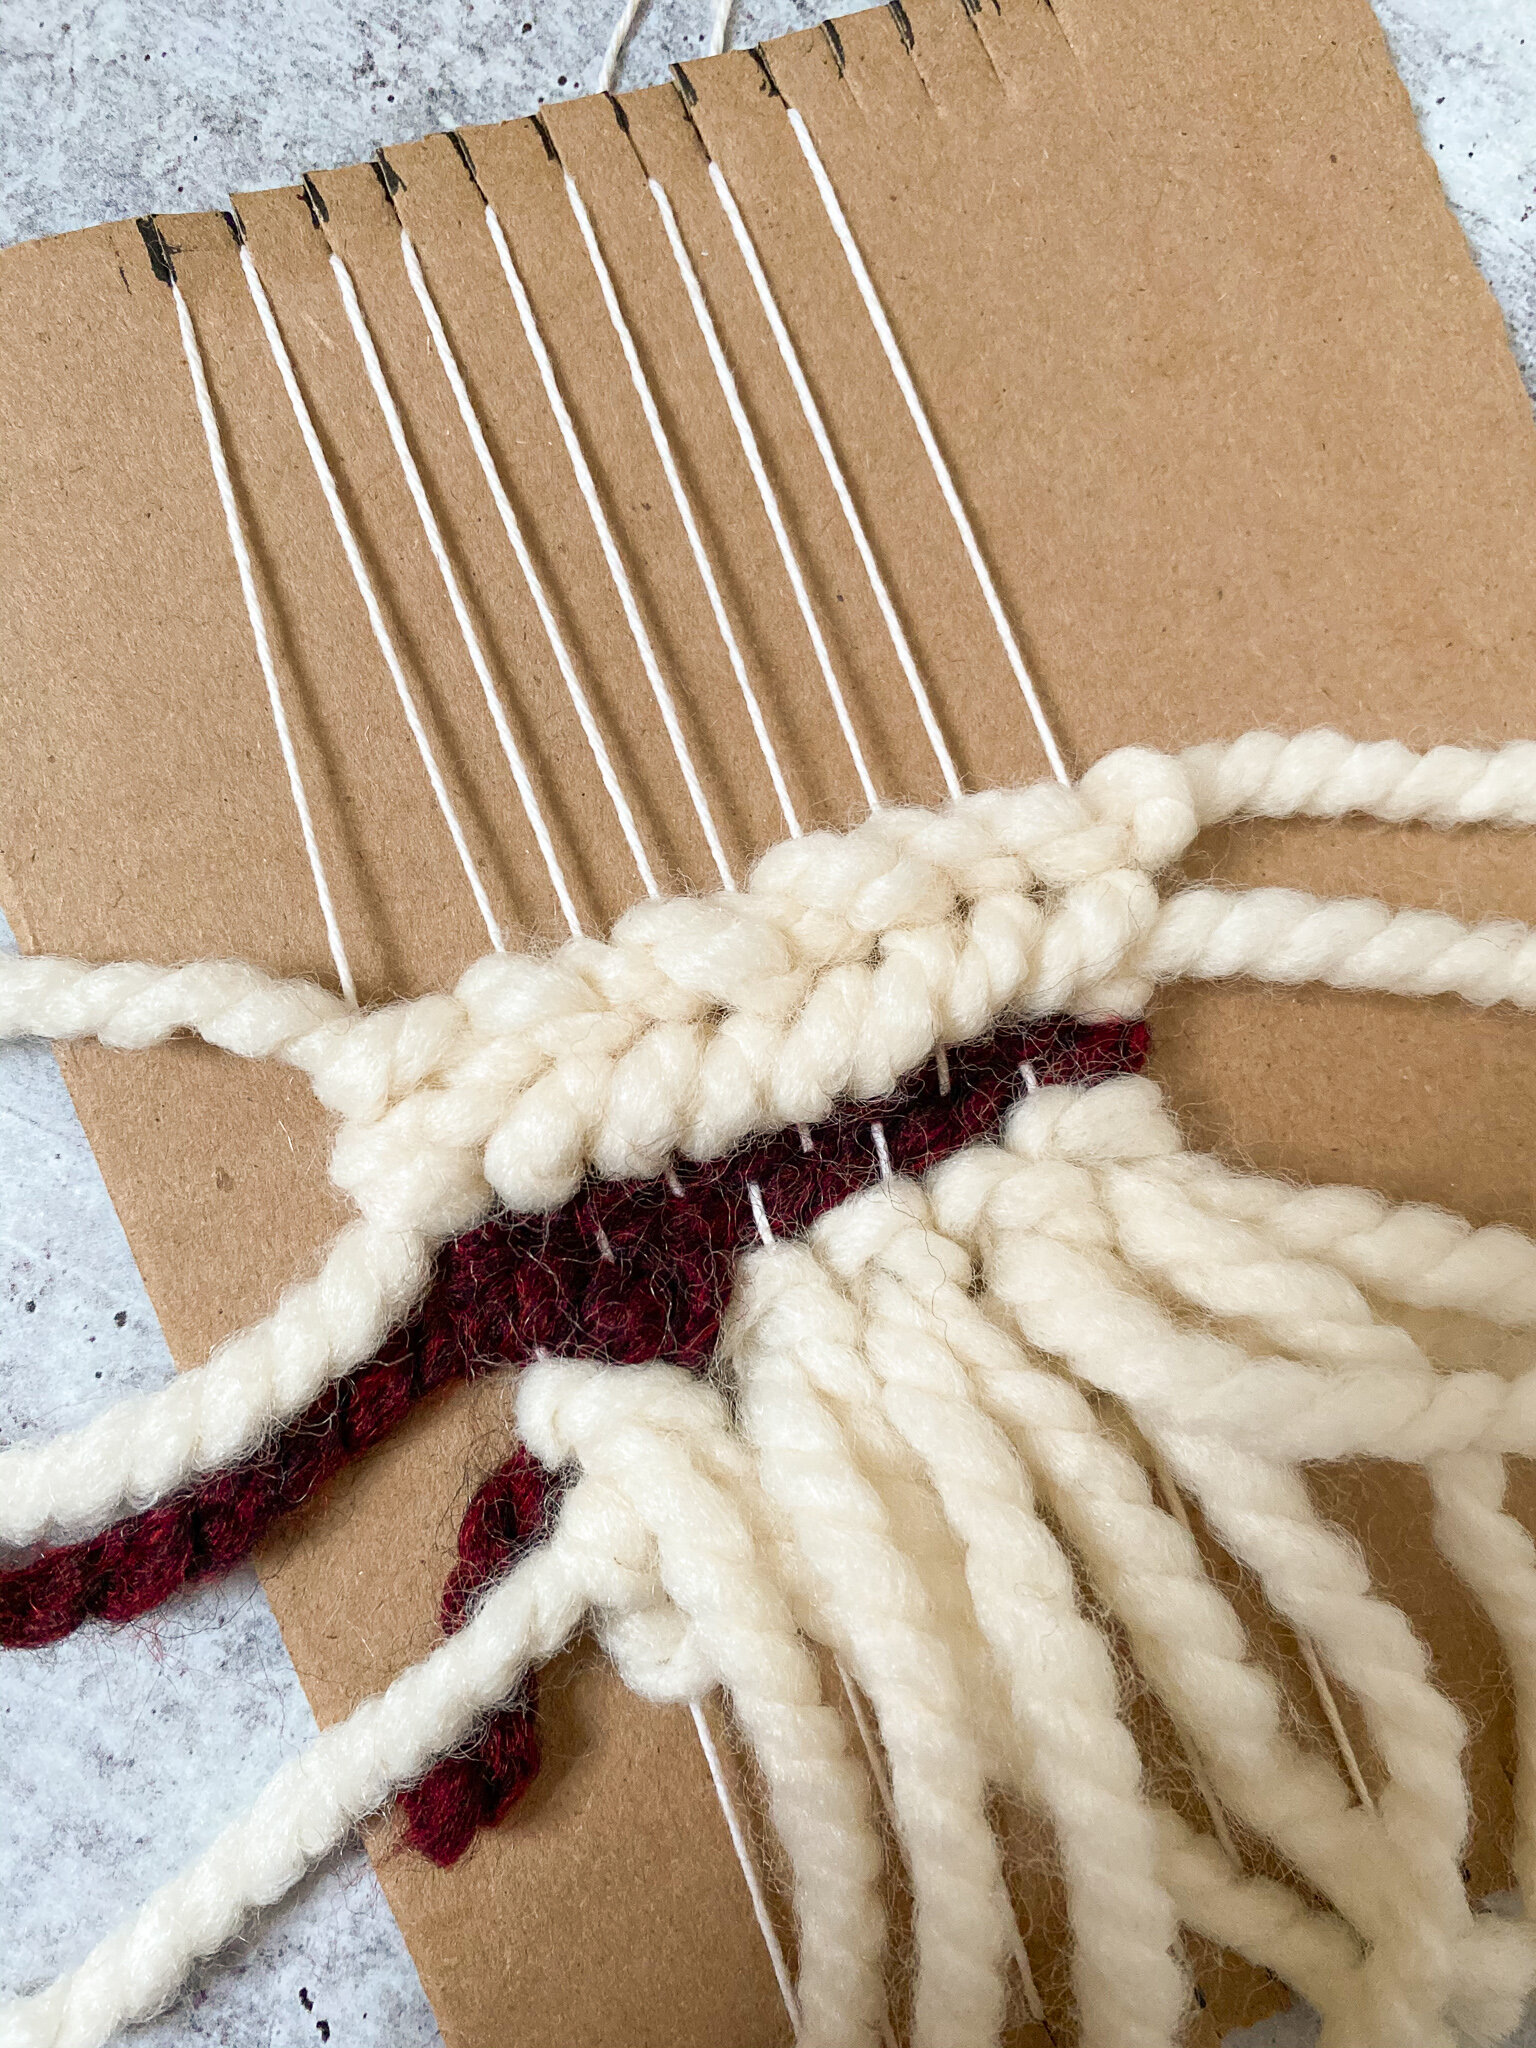
8. Use your second yarn color to weave three more rows of plain weave, followed by two rows of plain weave in your first color.
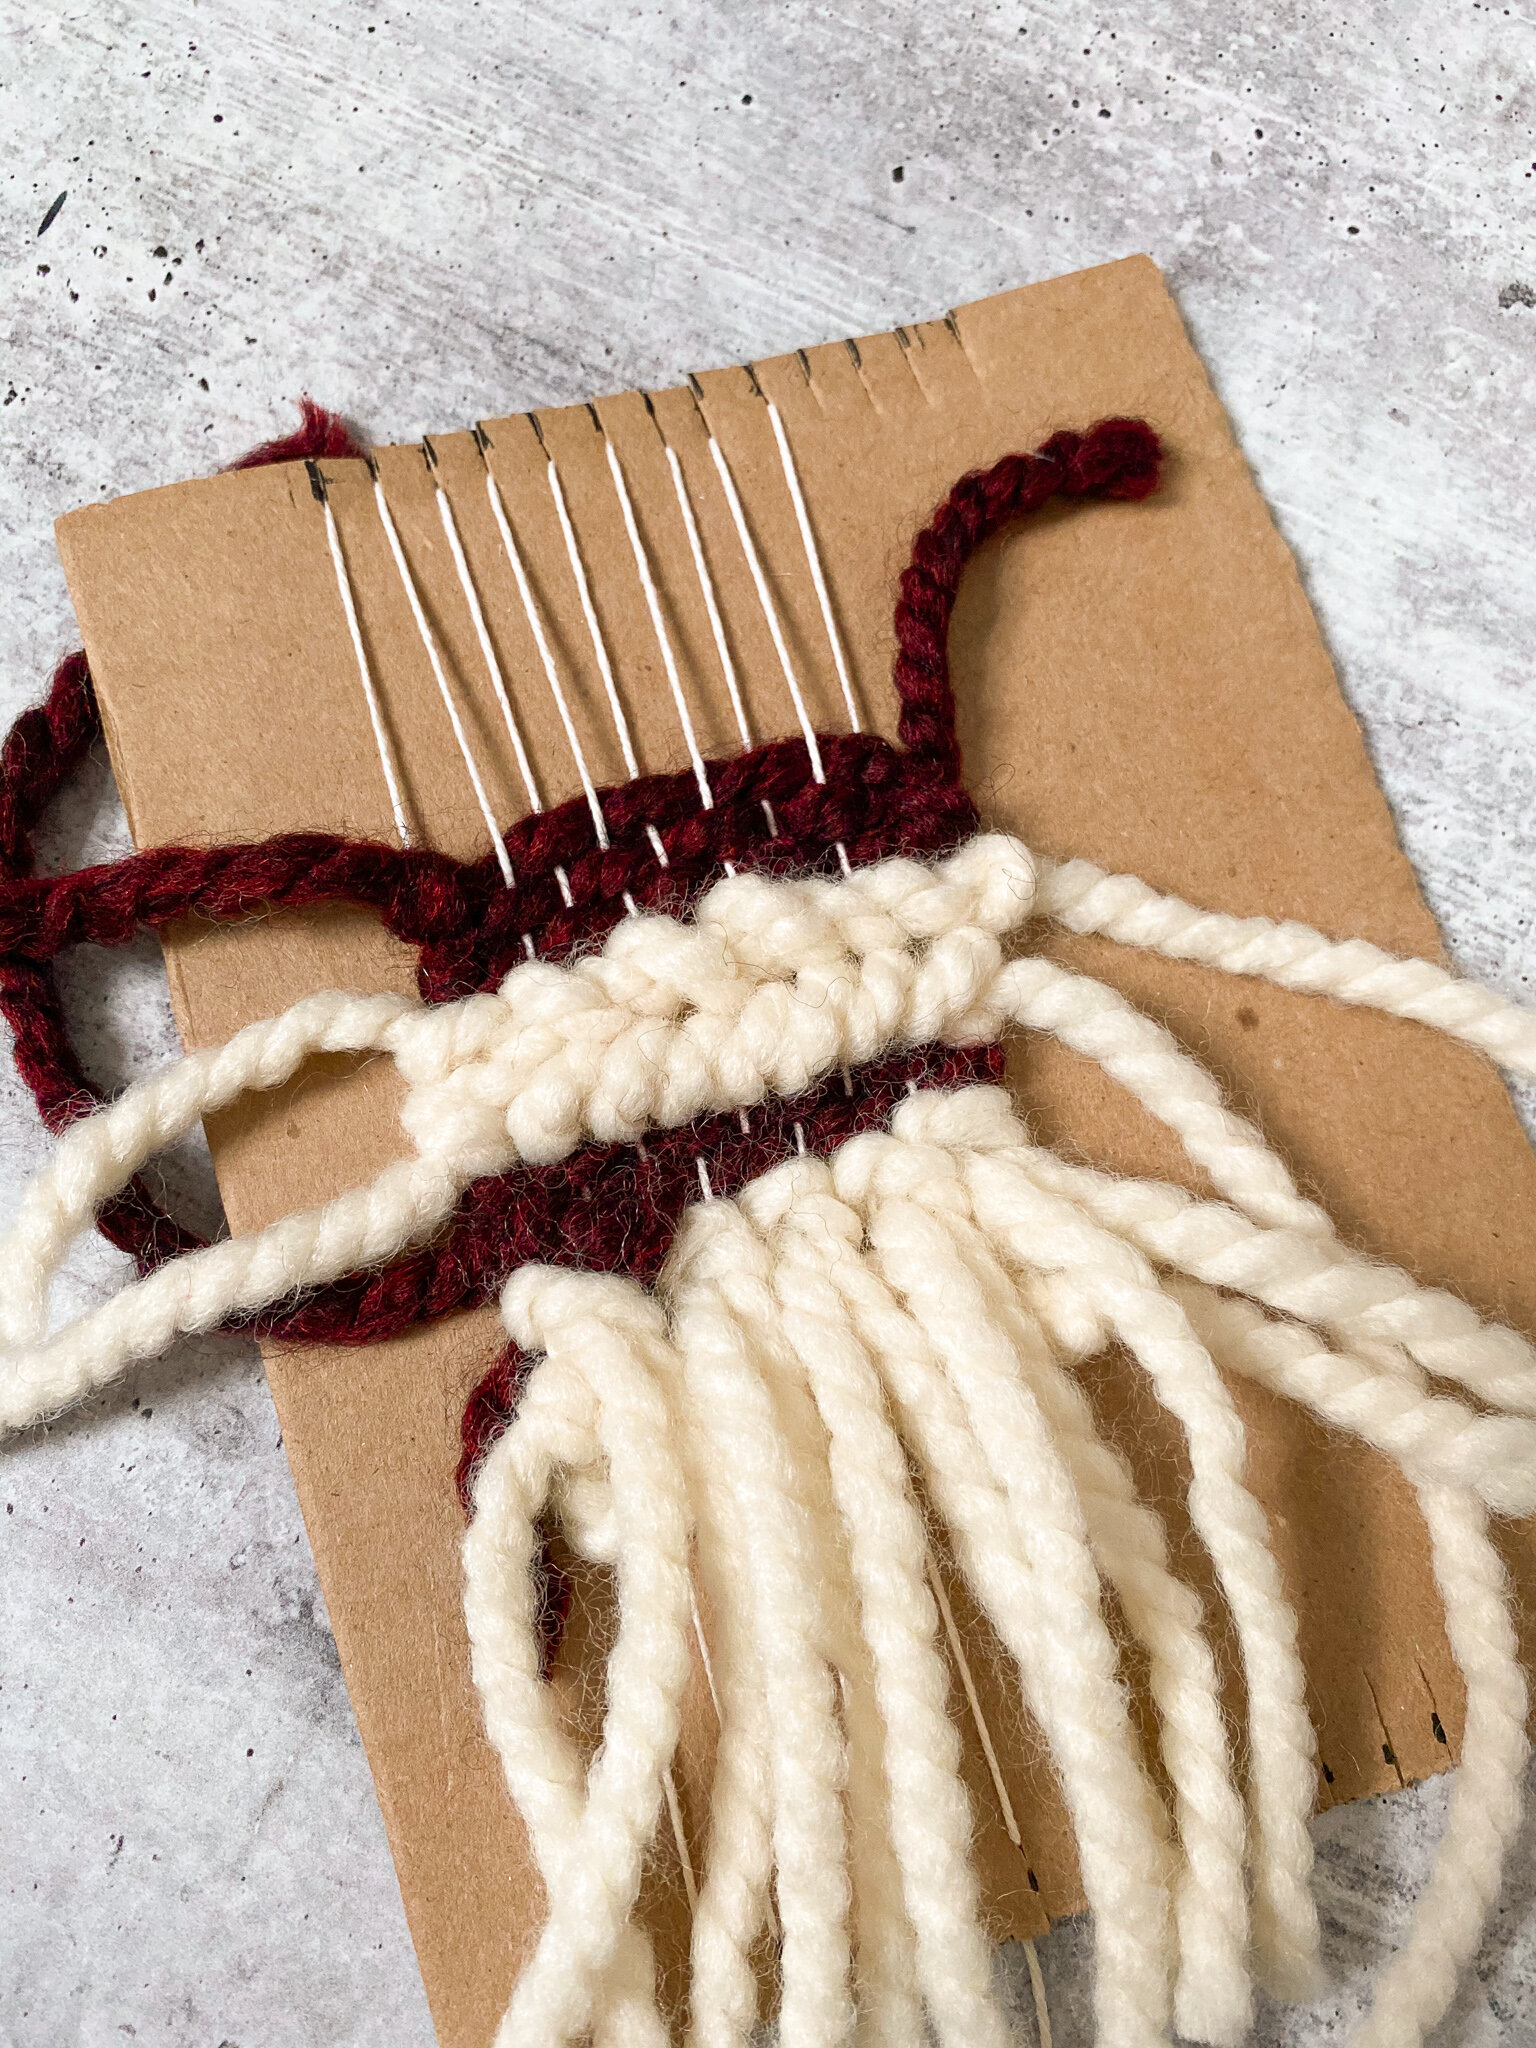
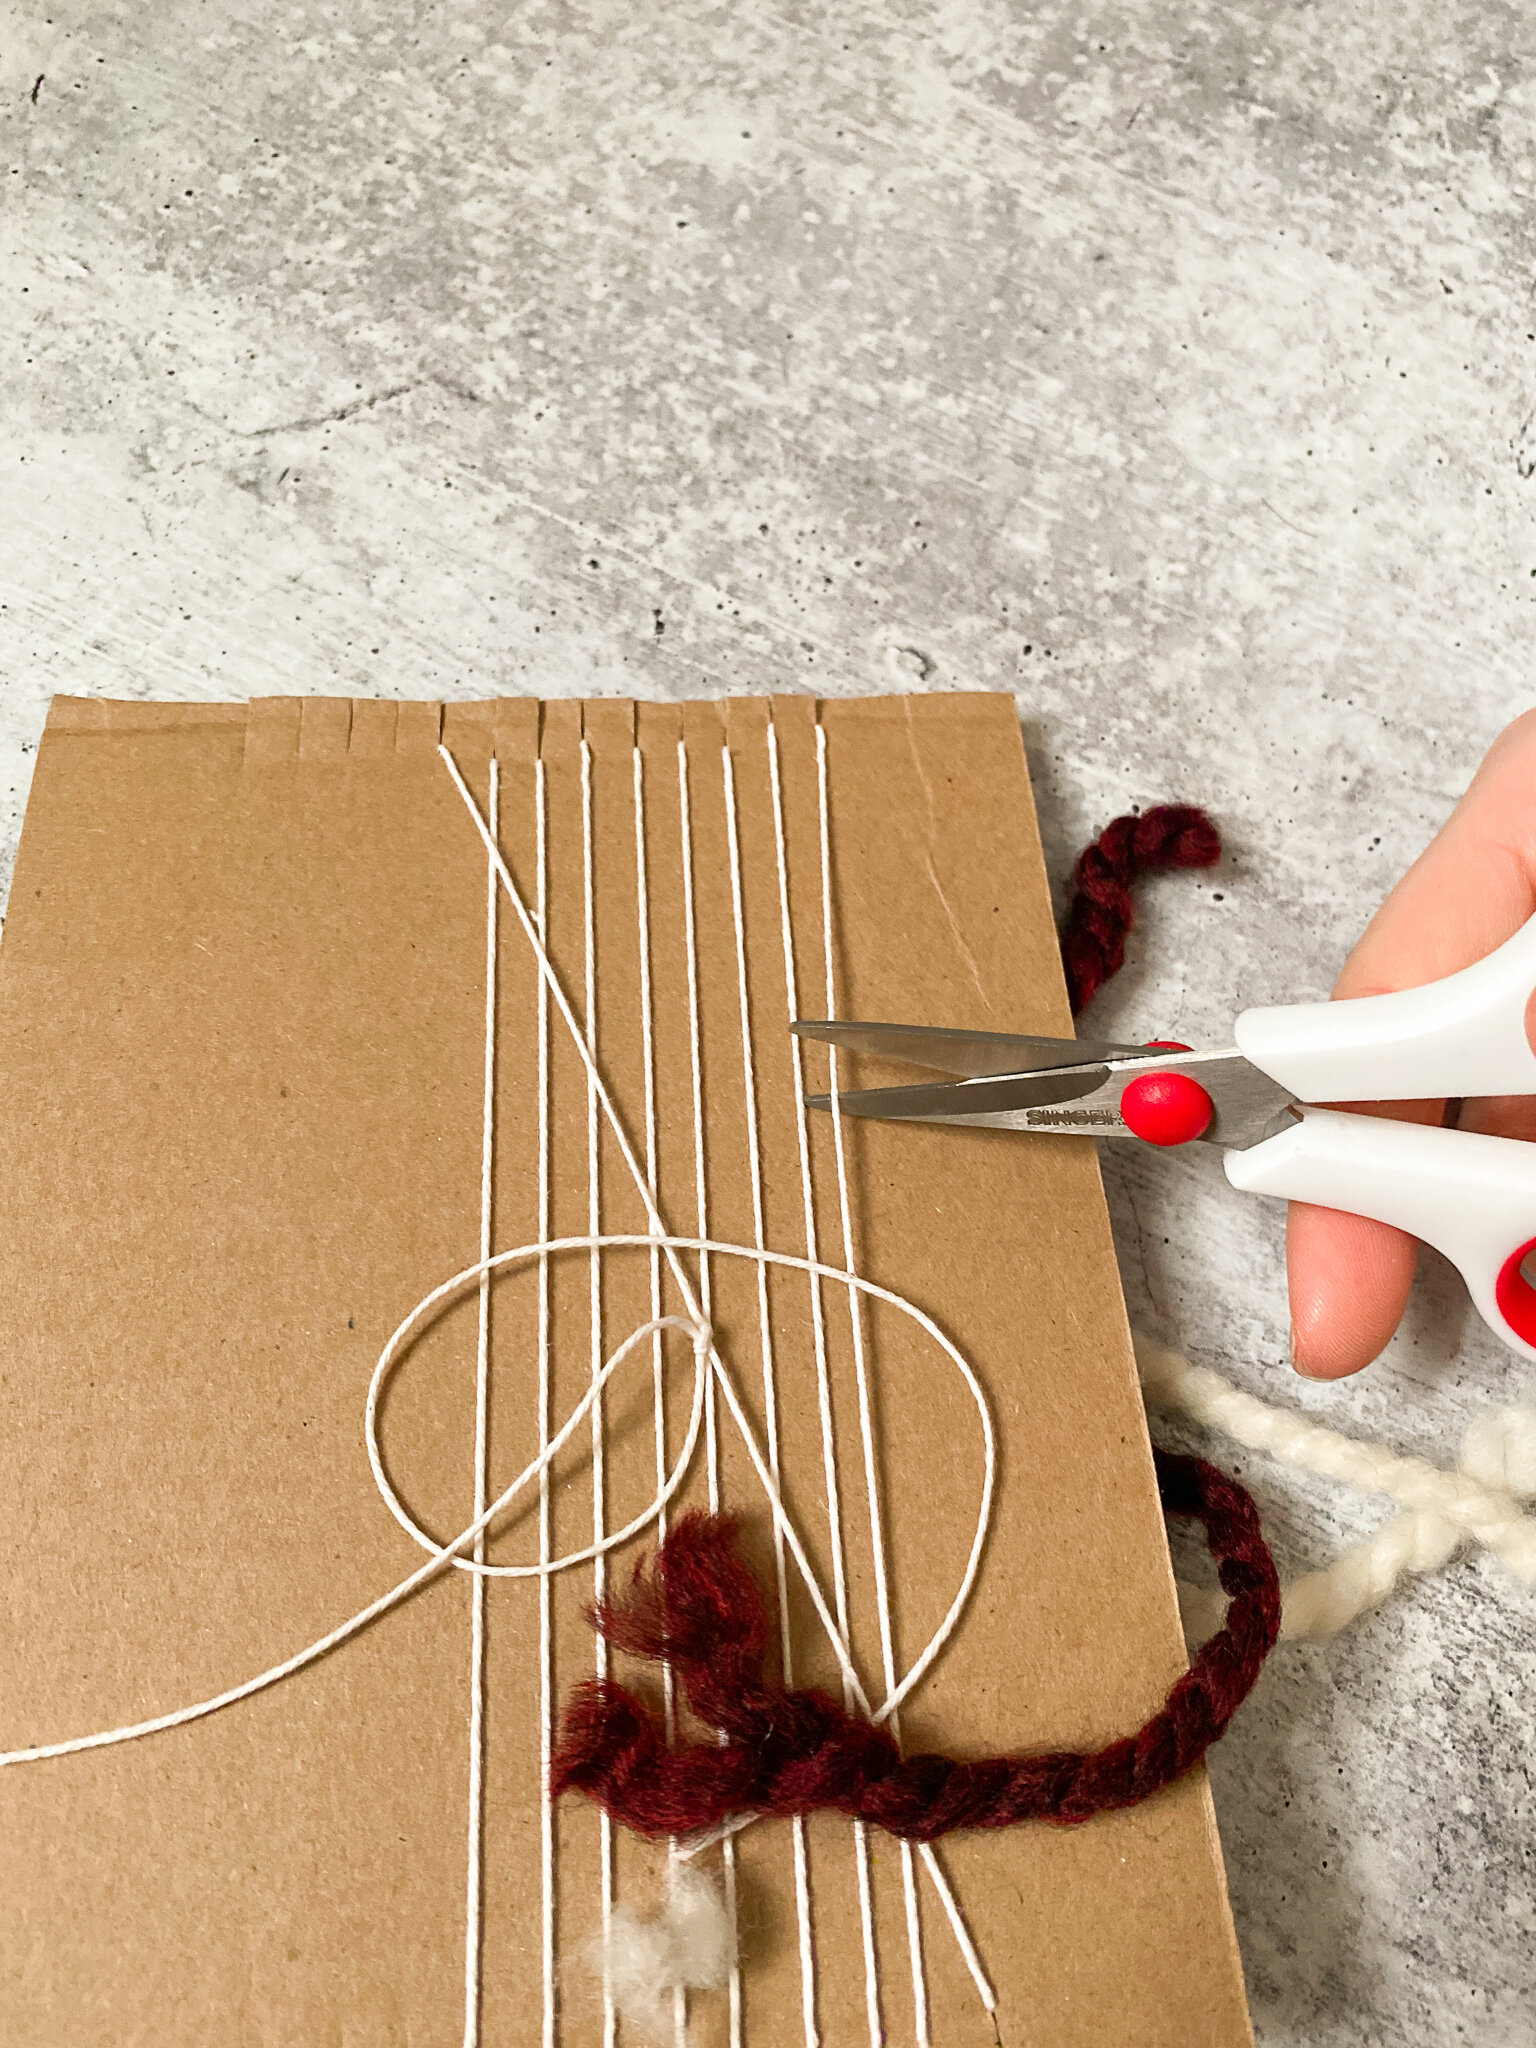
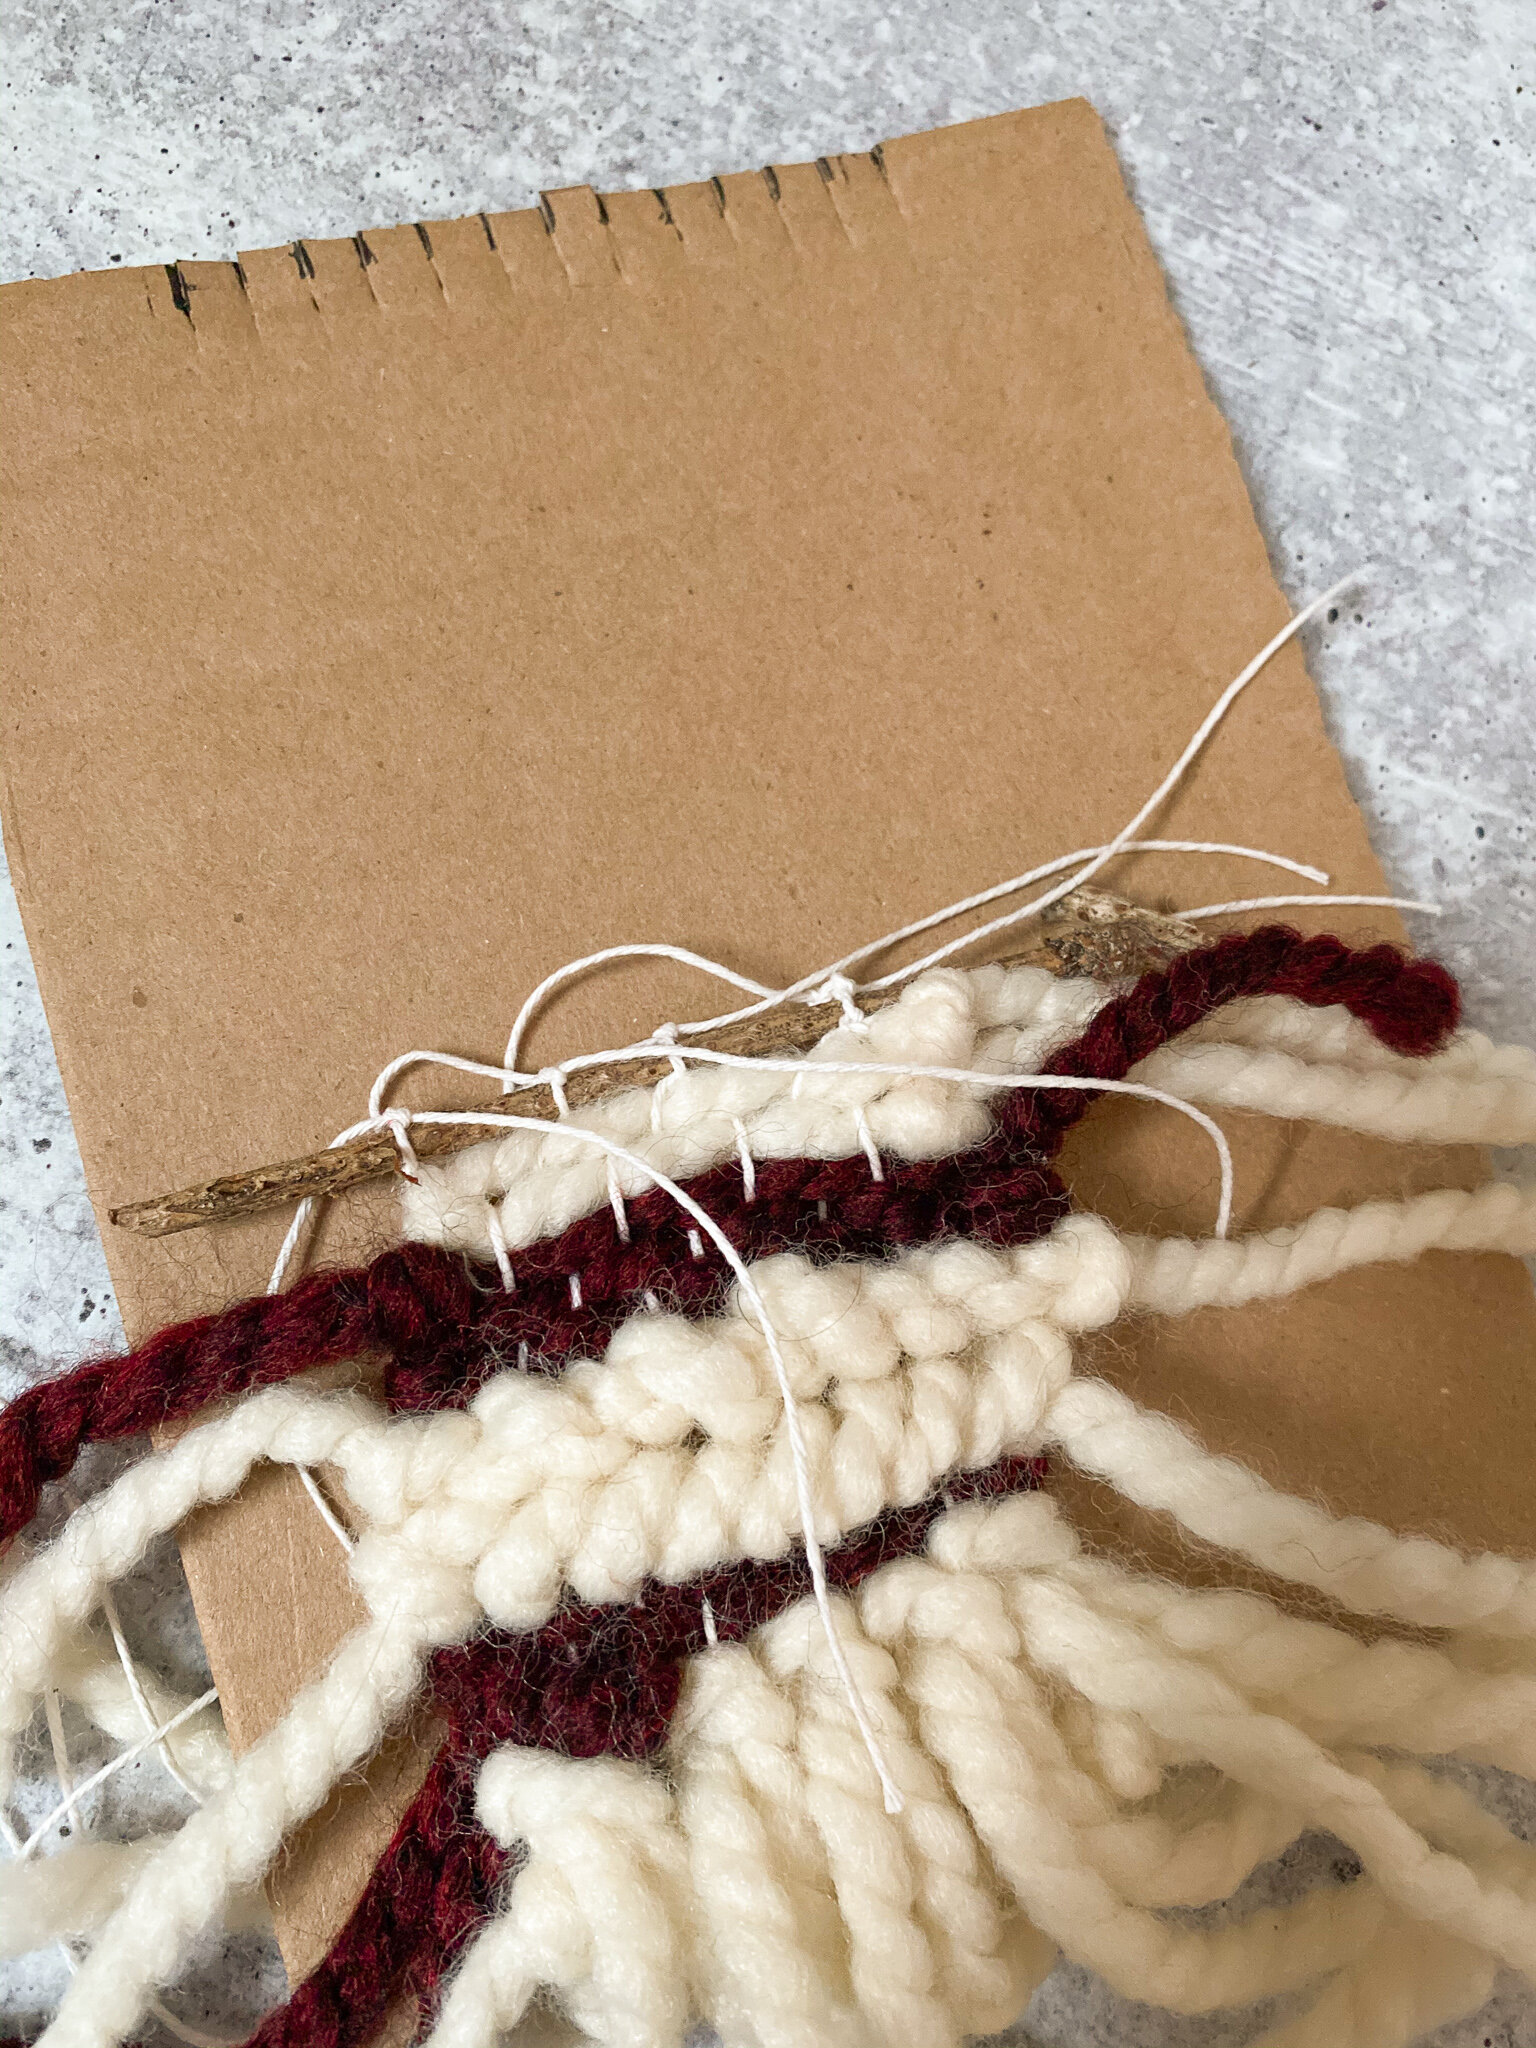
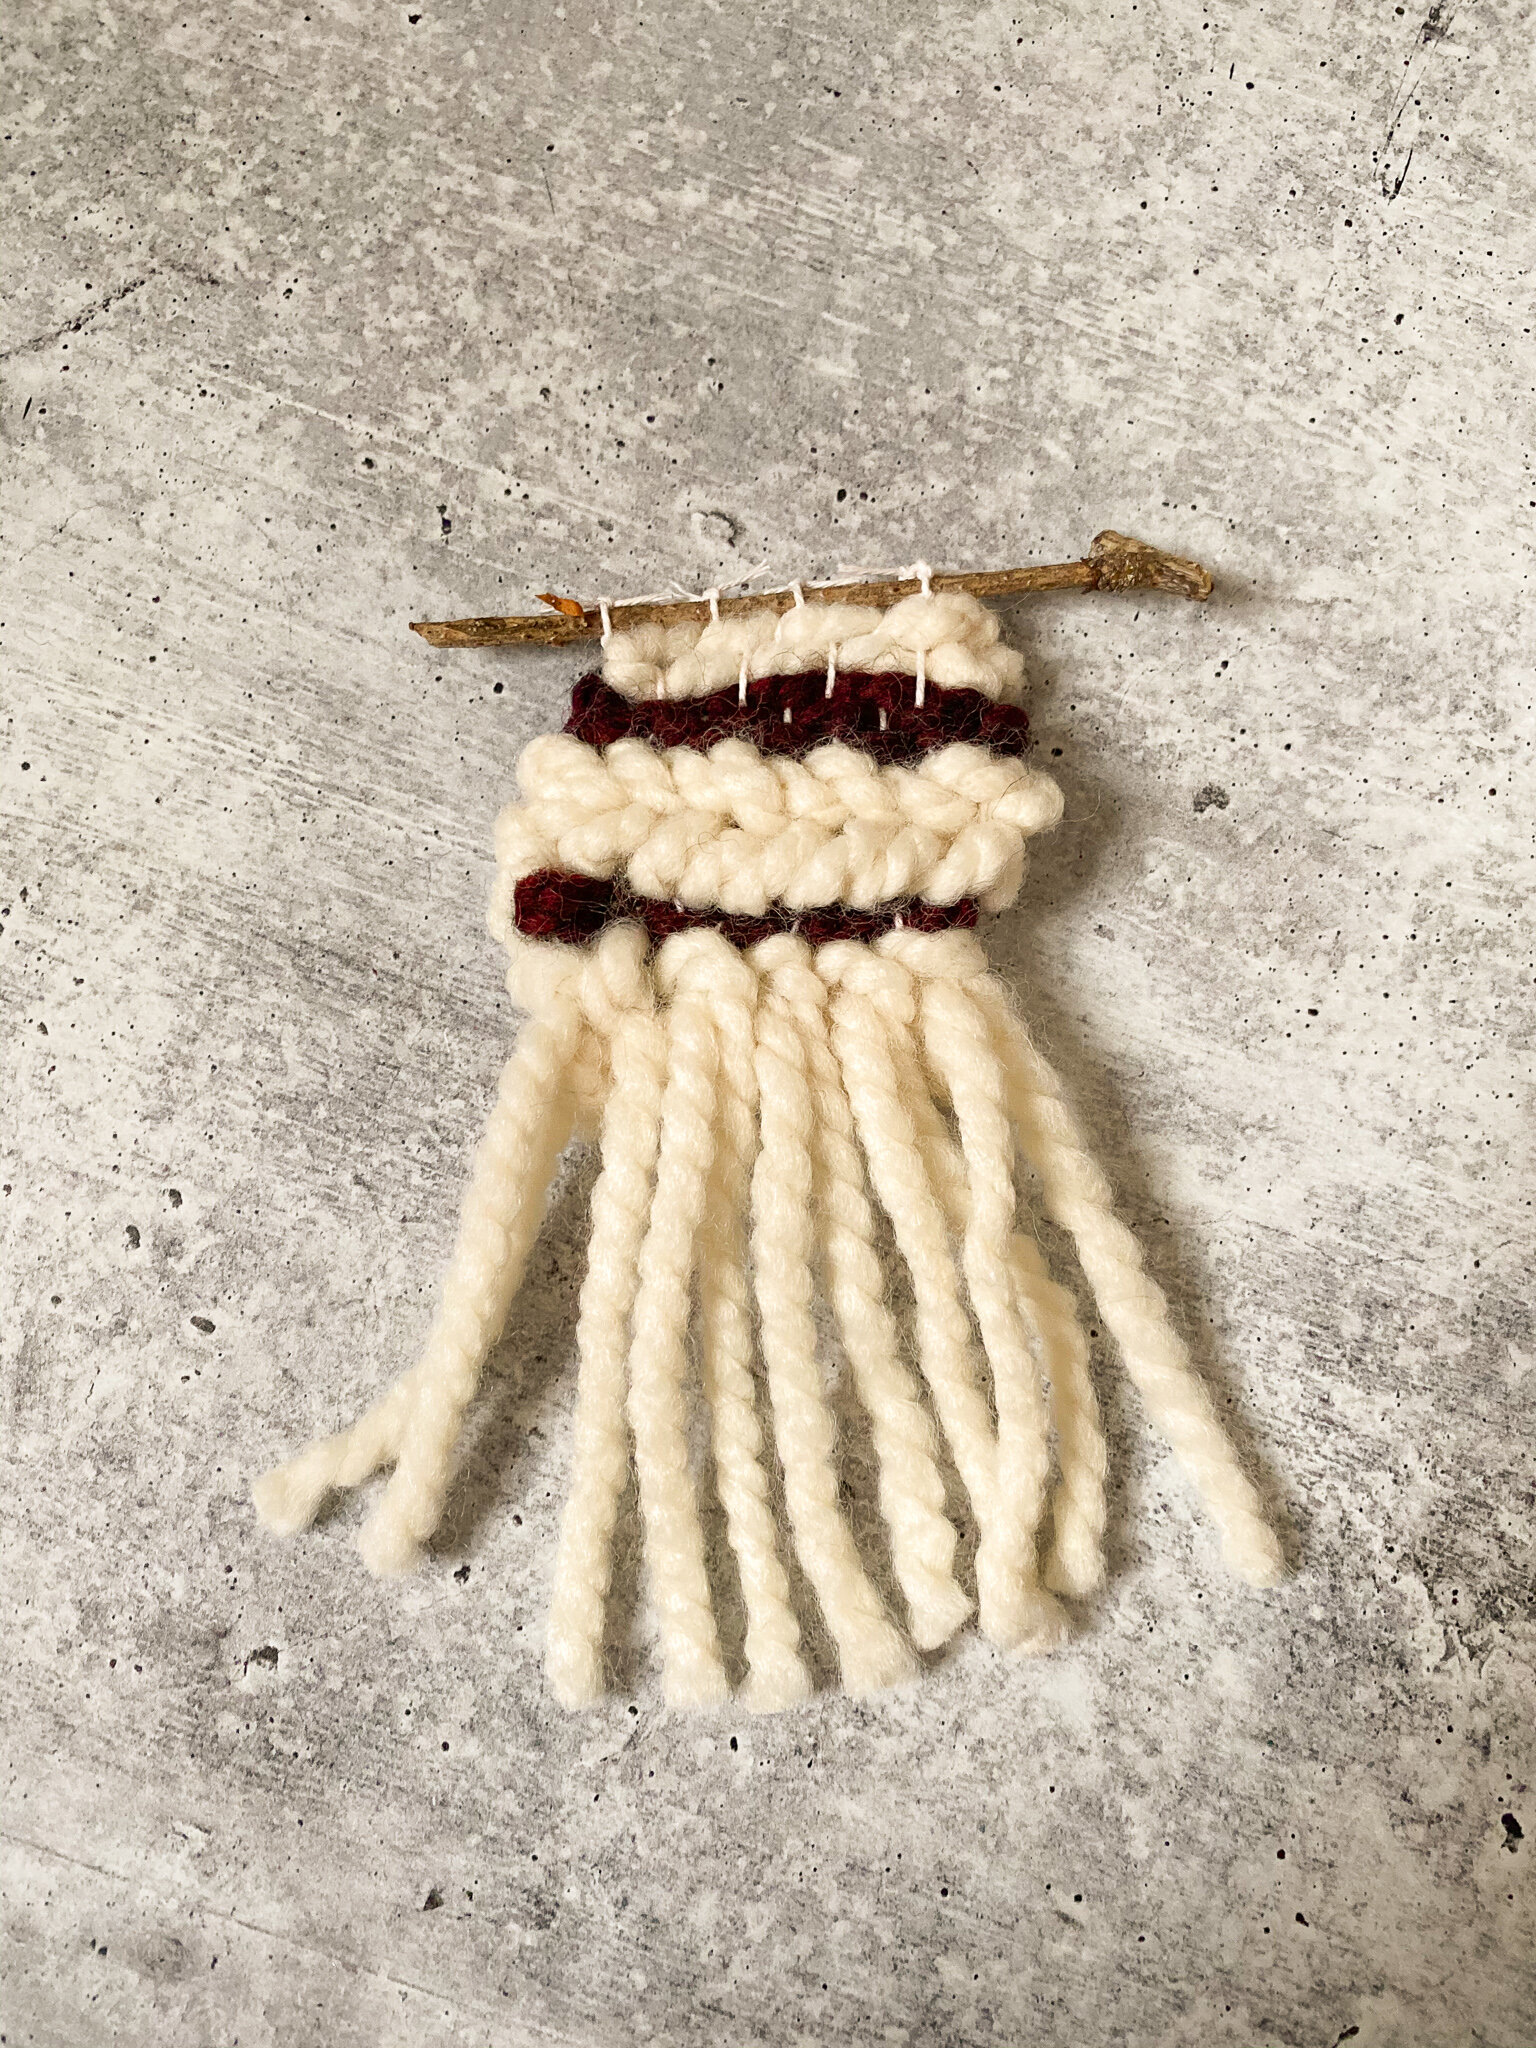
9. Flip your loom over to the back, then cut the warp strings as shown below. Flip it back over to the front and gently remove the warp threads from the top of the loom.
Position the twig on the top of the weaving, then gently tie the warp strings in double knots around the twig and trim the ends.
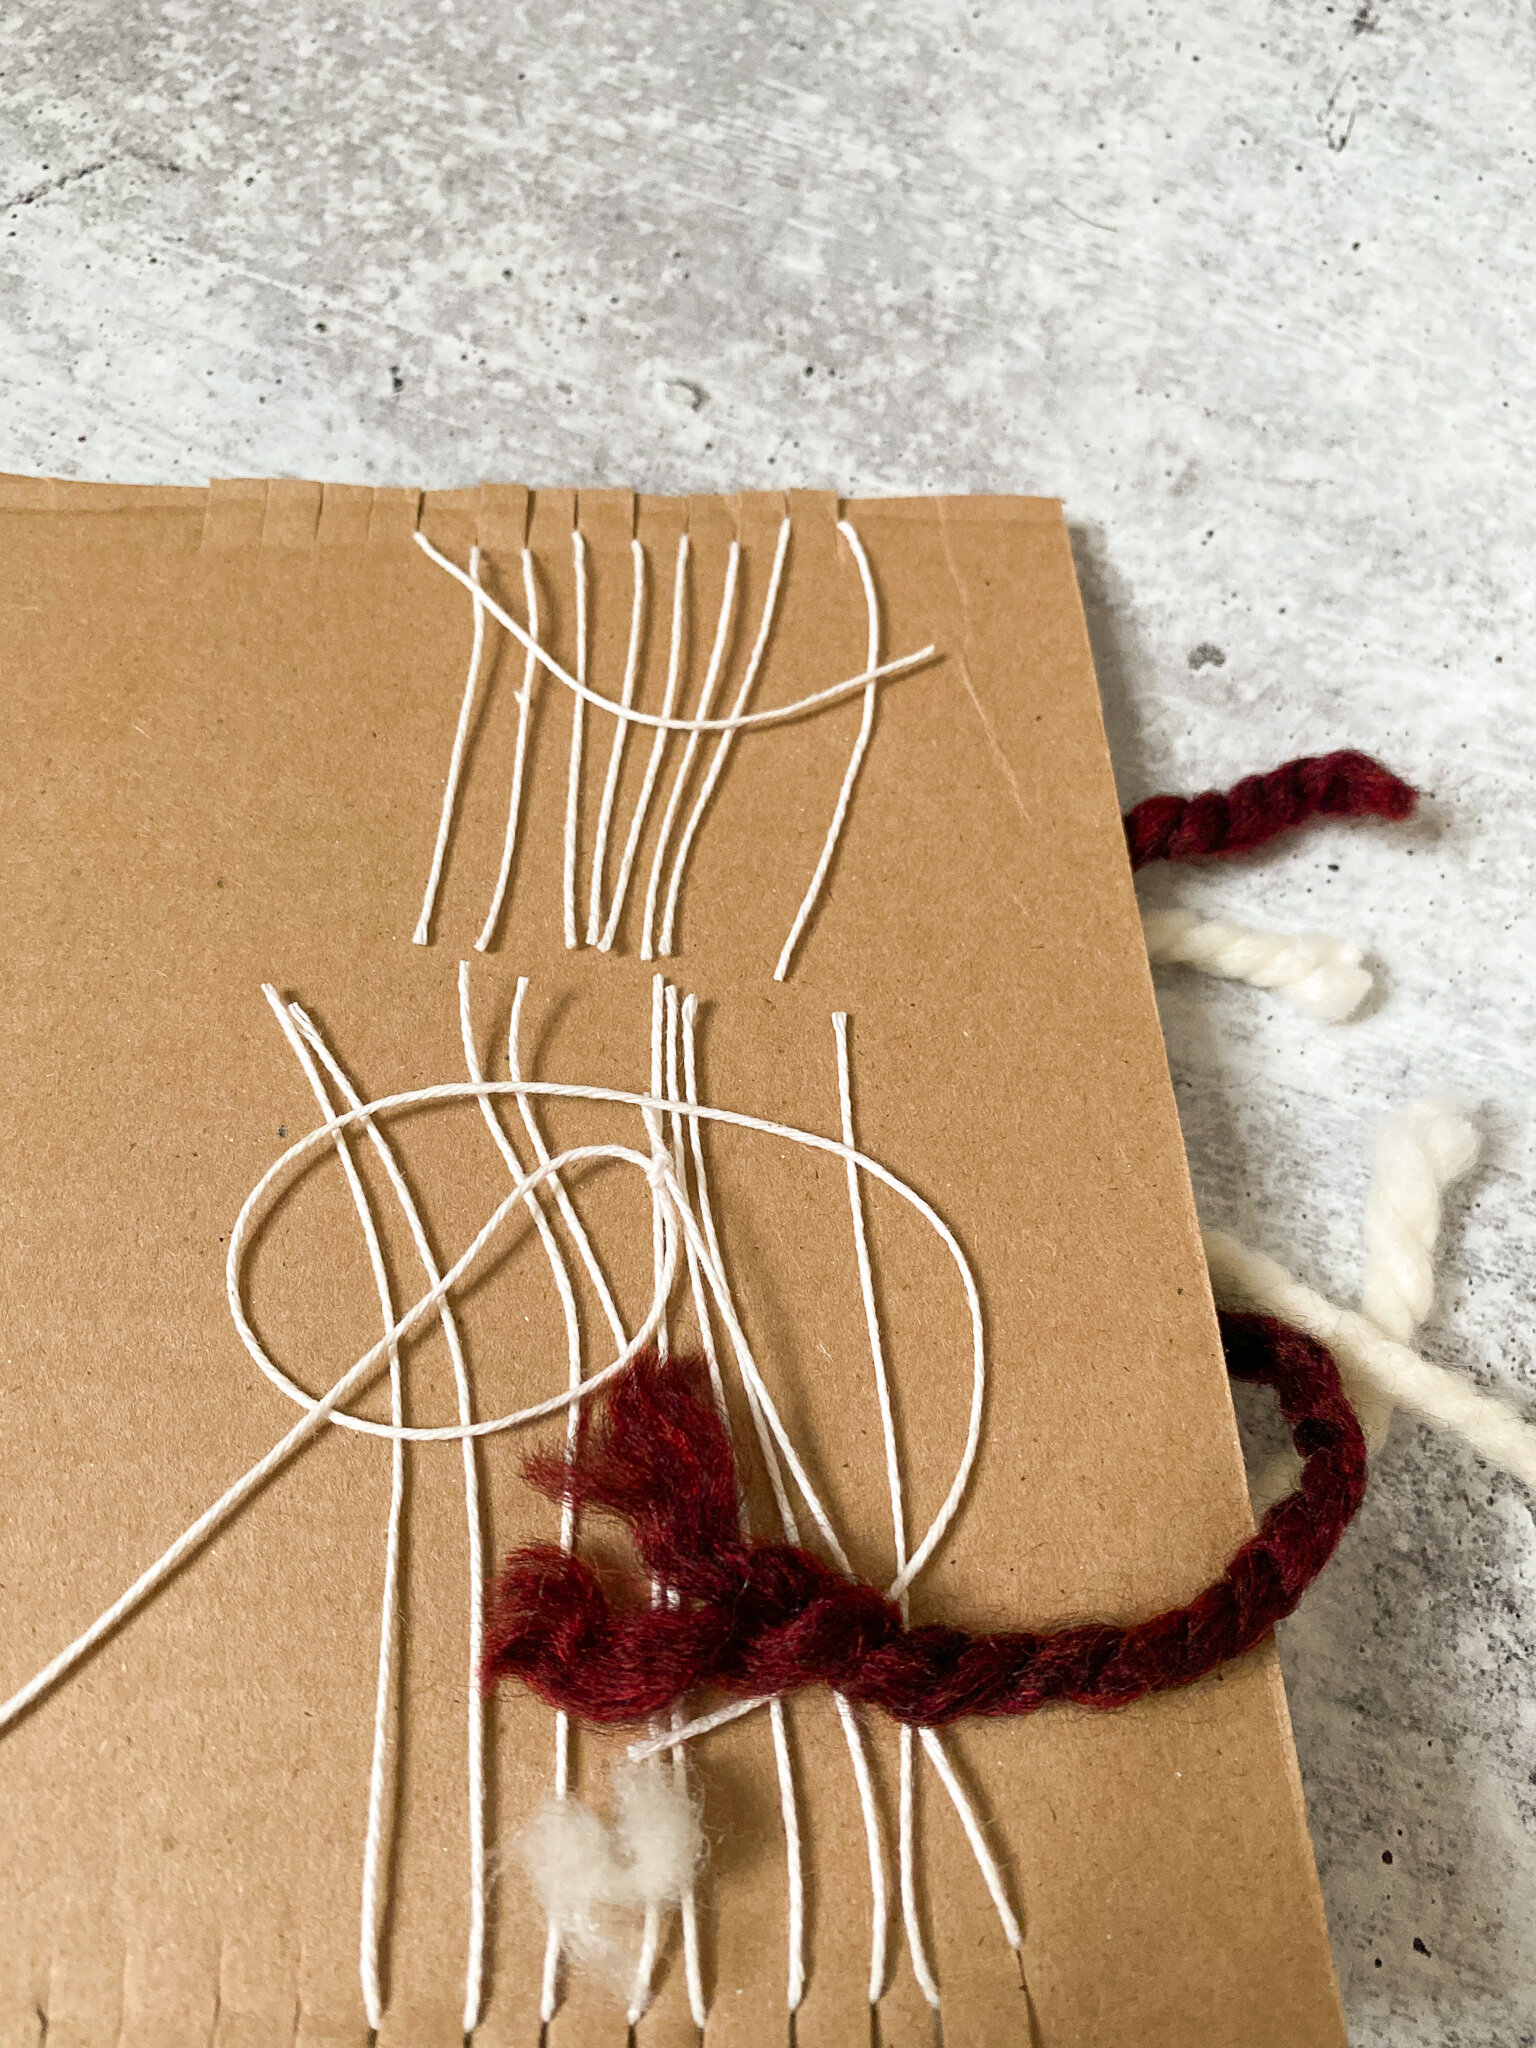
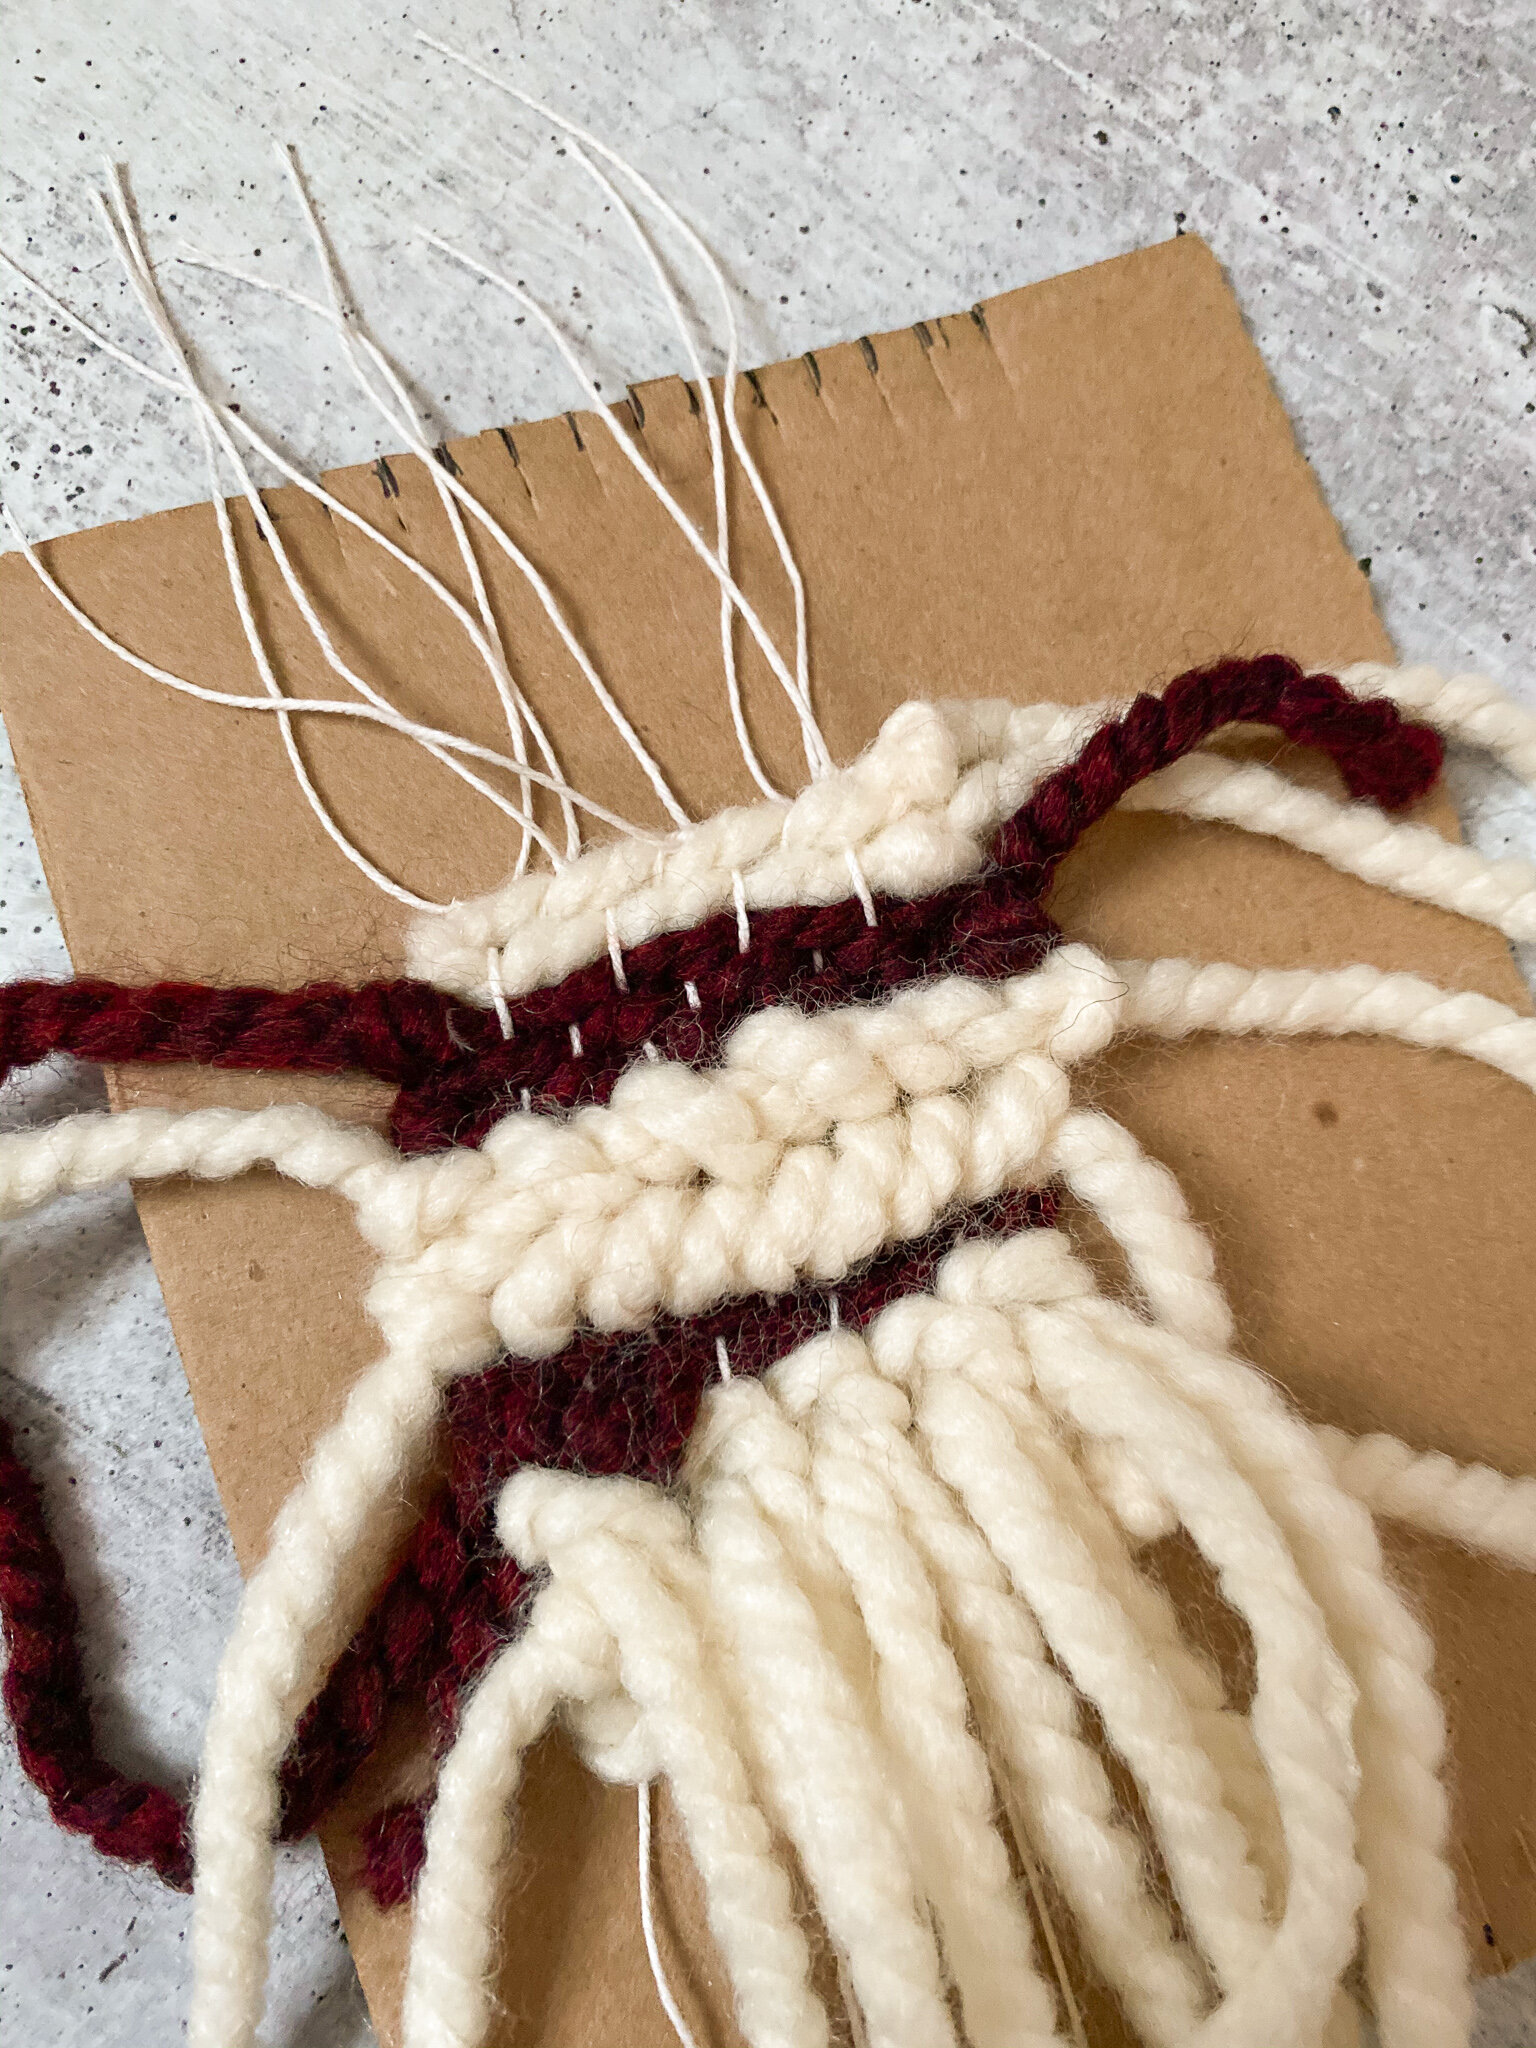
10. Gently remove the warp threads from the bottom of the loom, tie them together in double knots, and trim the ends.
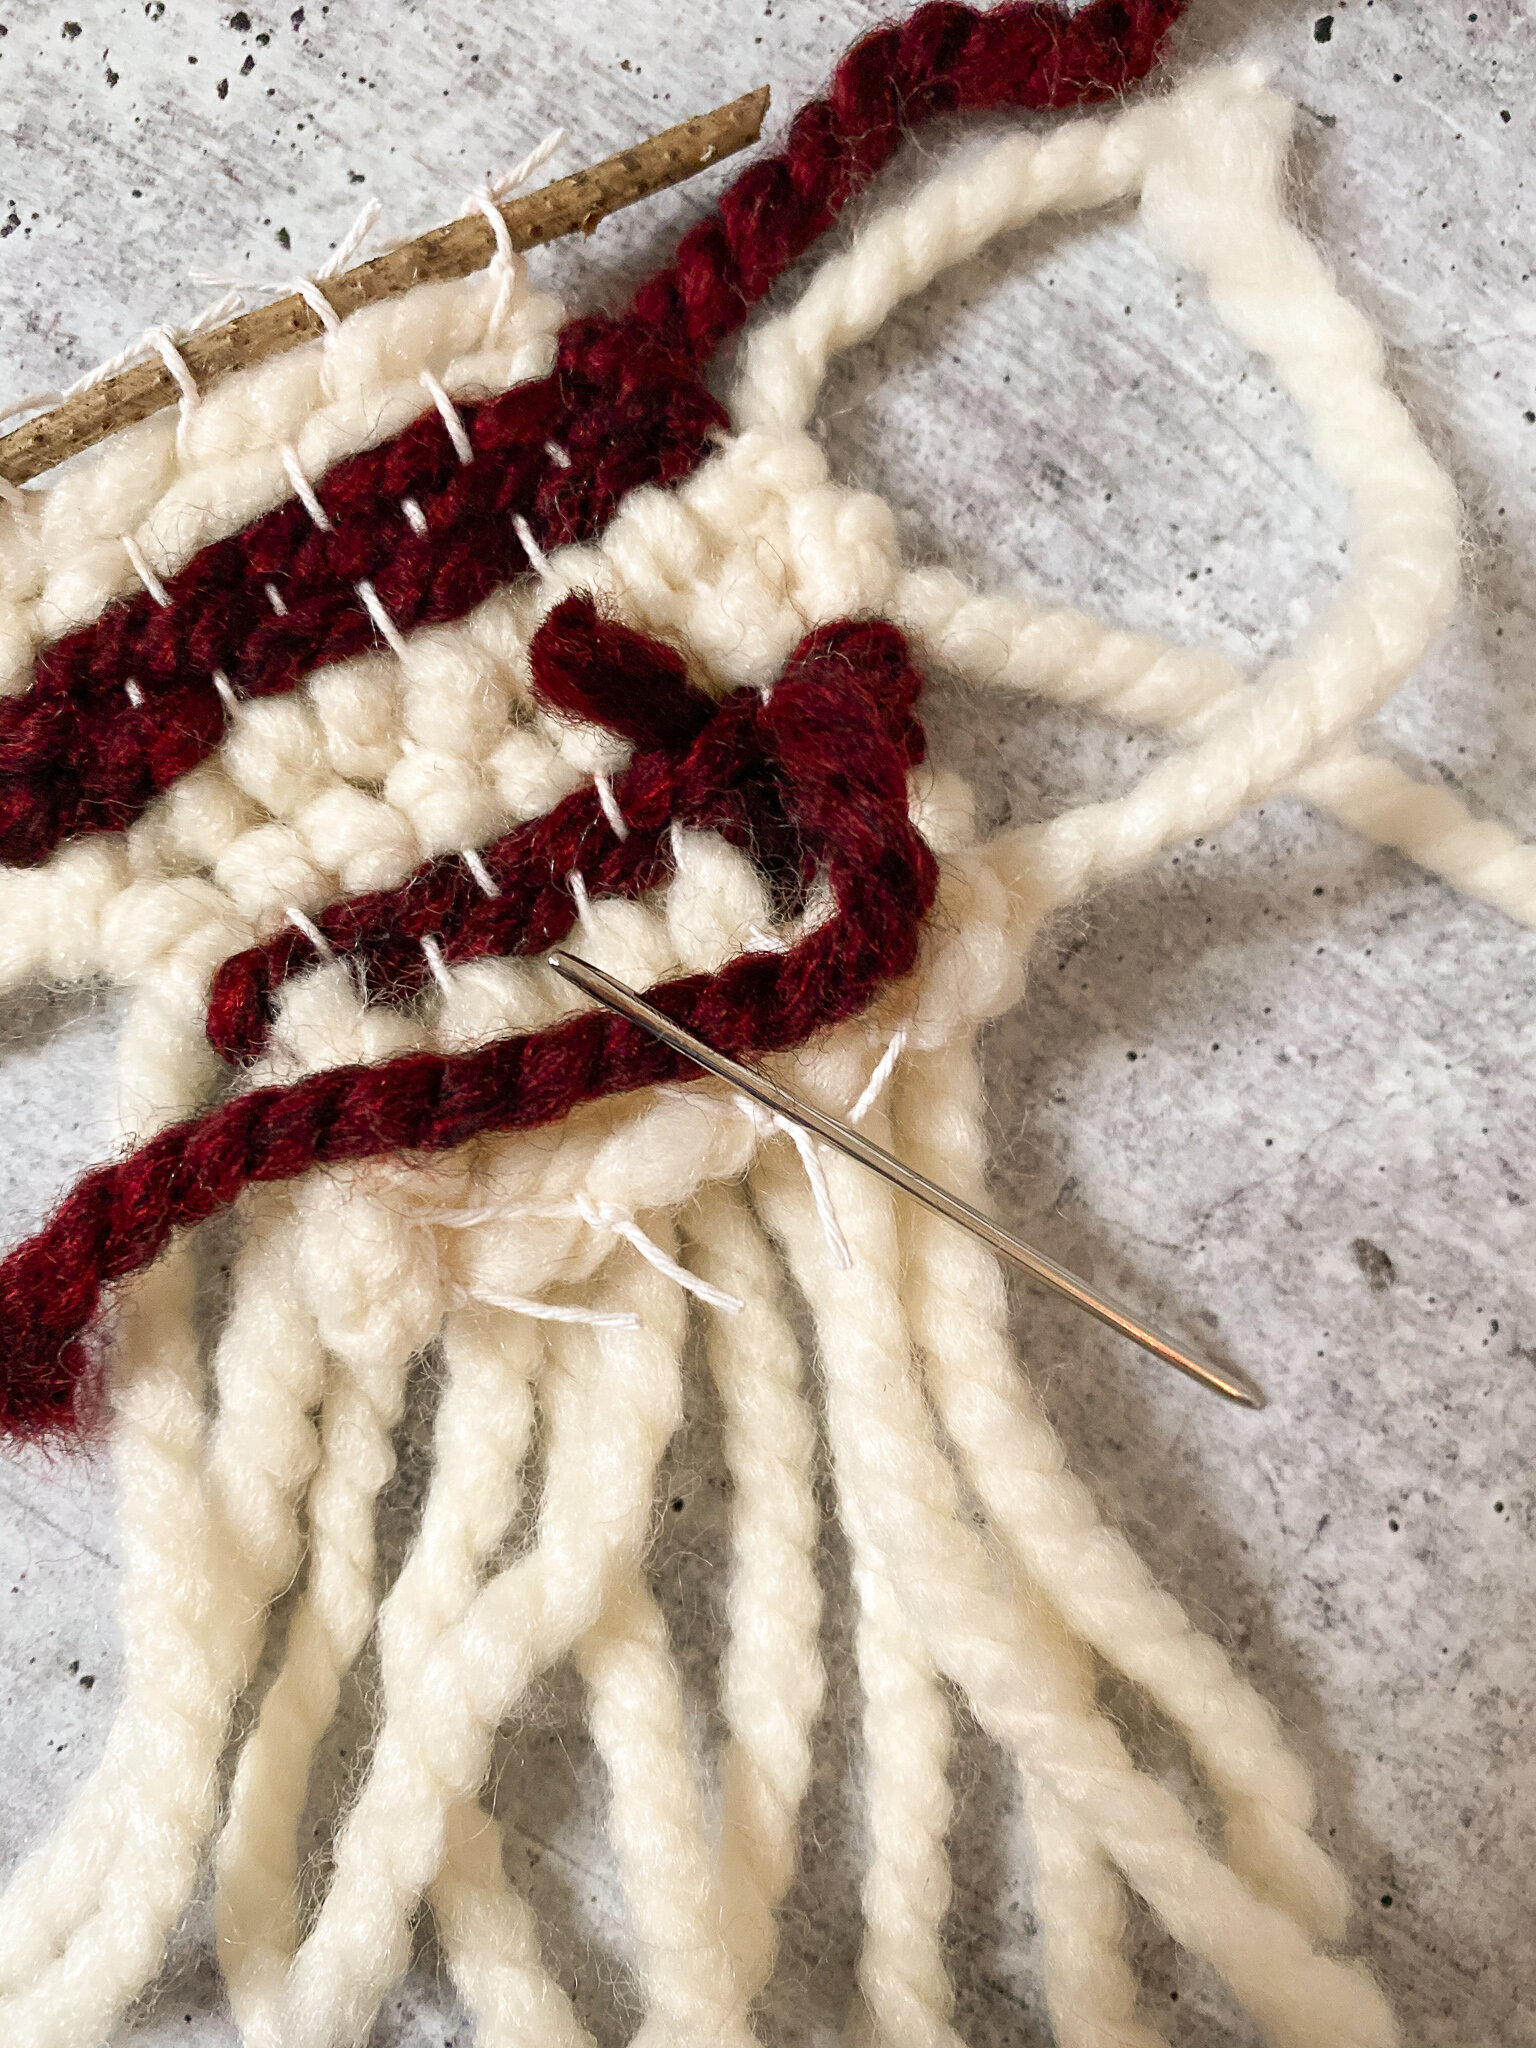
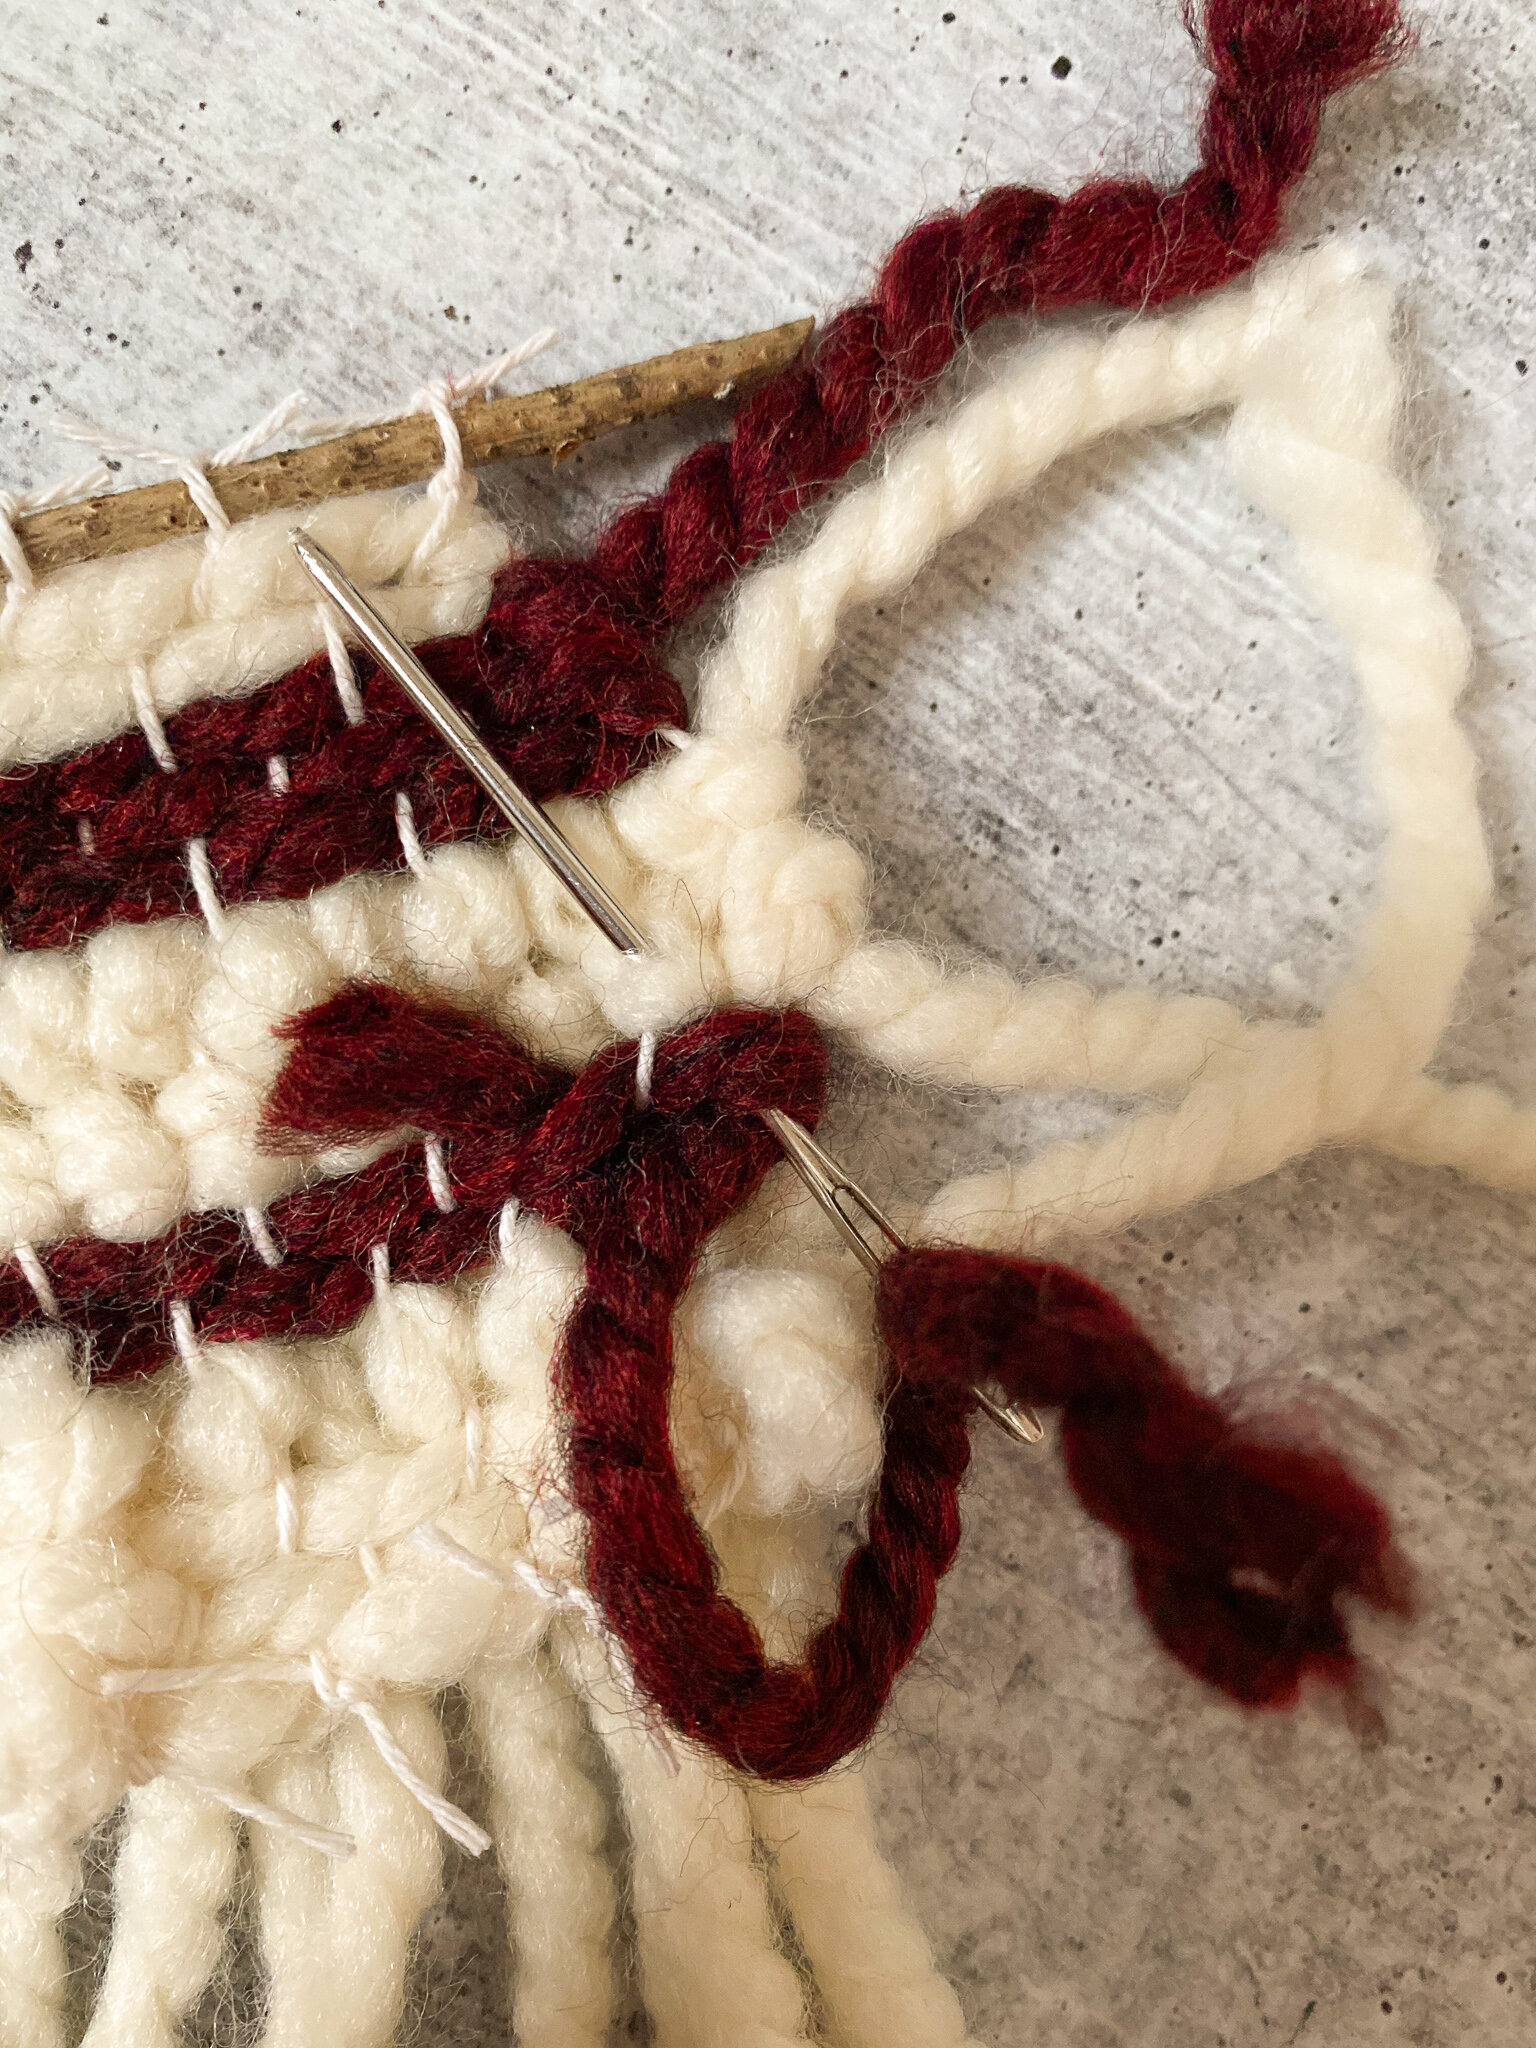
On the back of the weaving, use your tapestry needle to carefully tuck each loose end of yarn through a few rows on the back as shown below. Then, cut off the excess yarn. Repeat until all the ends have been woven in.

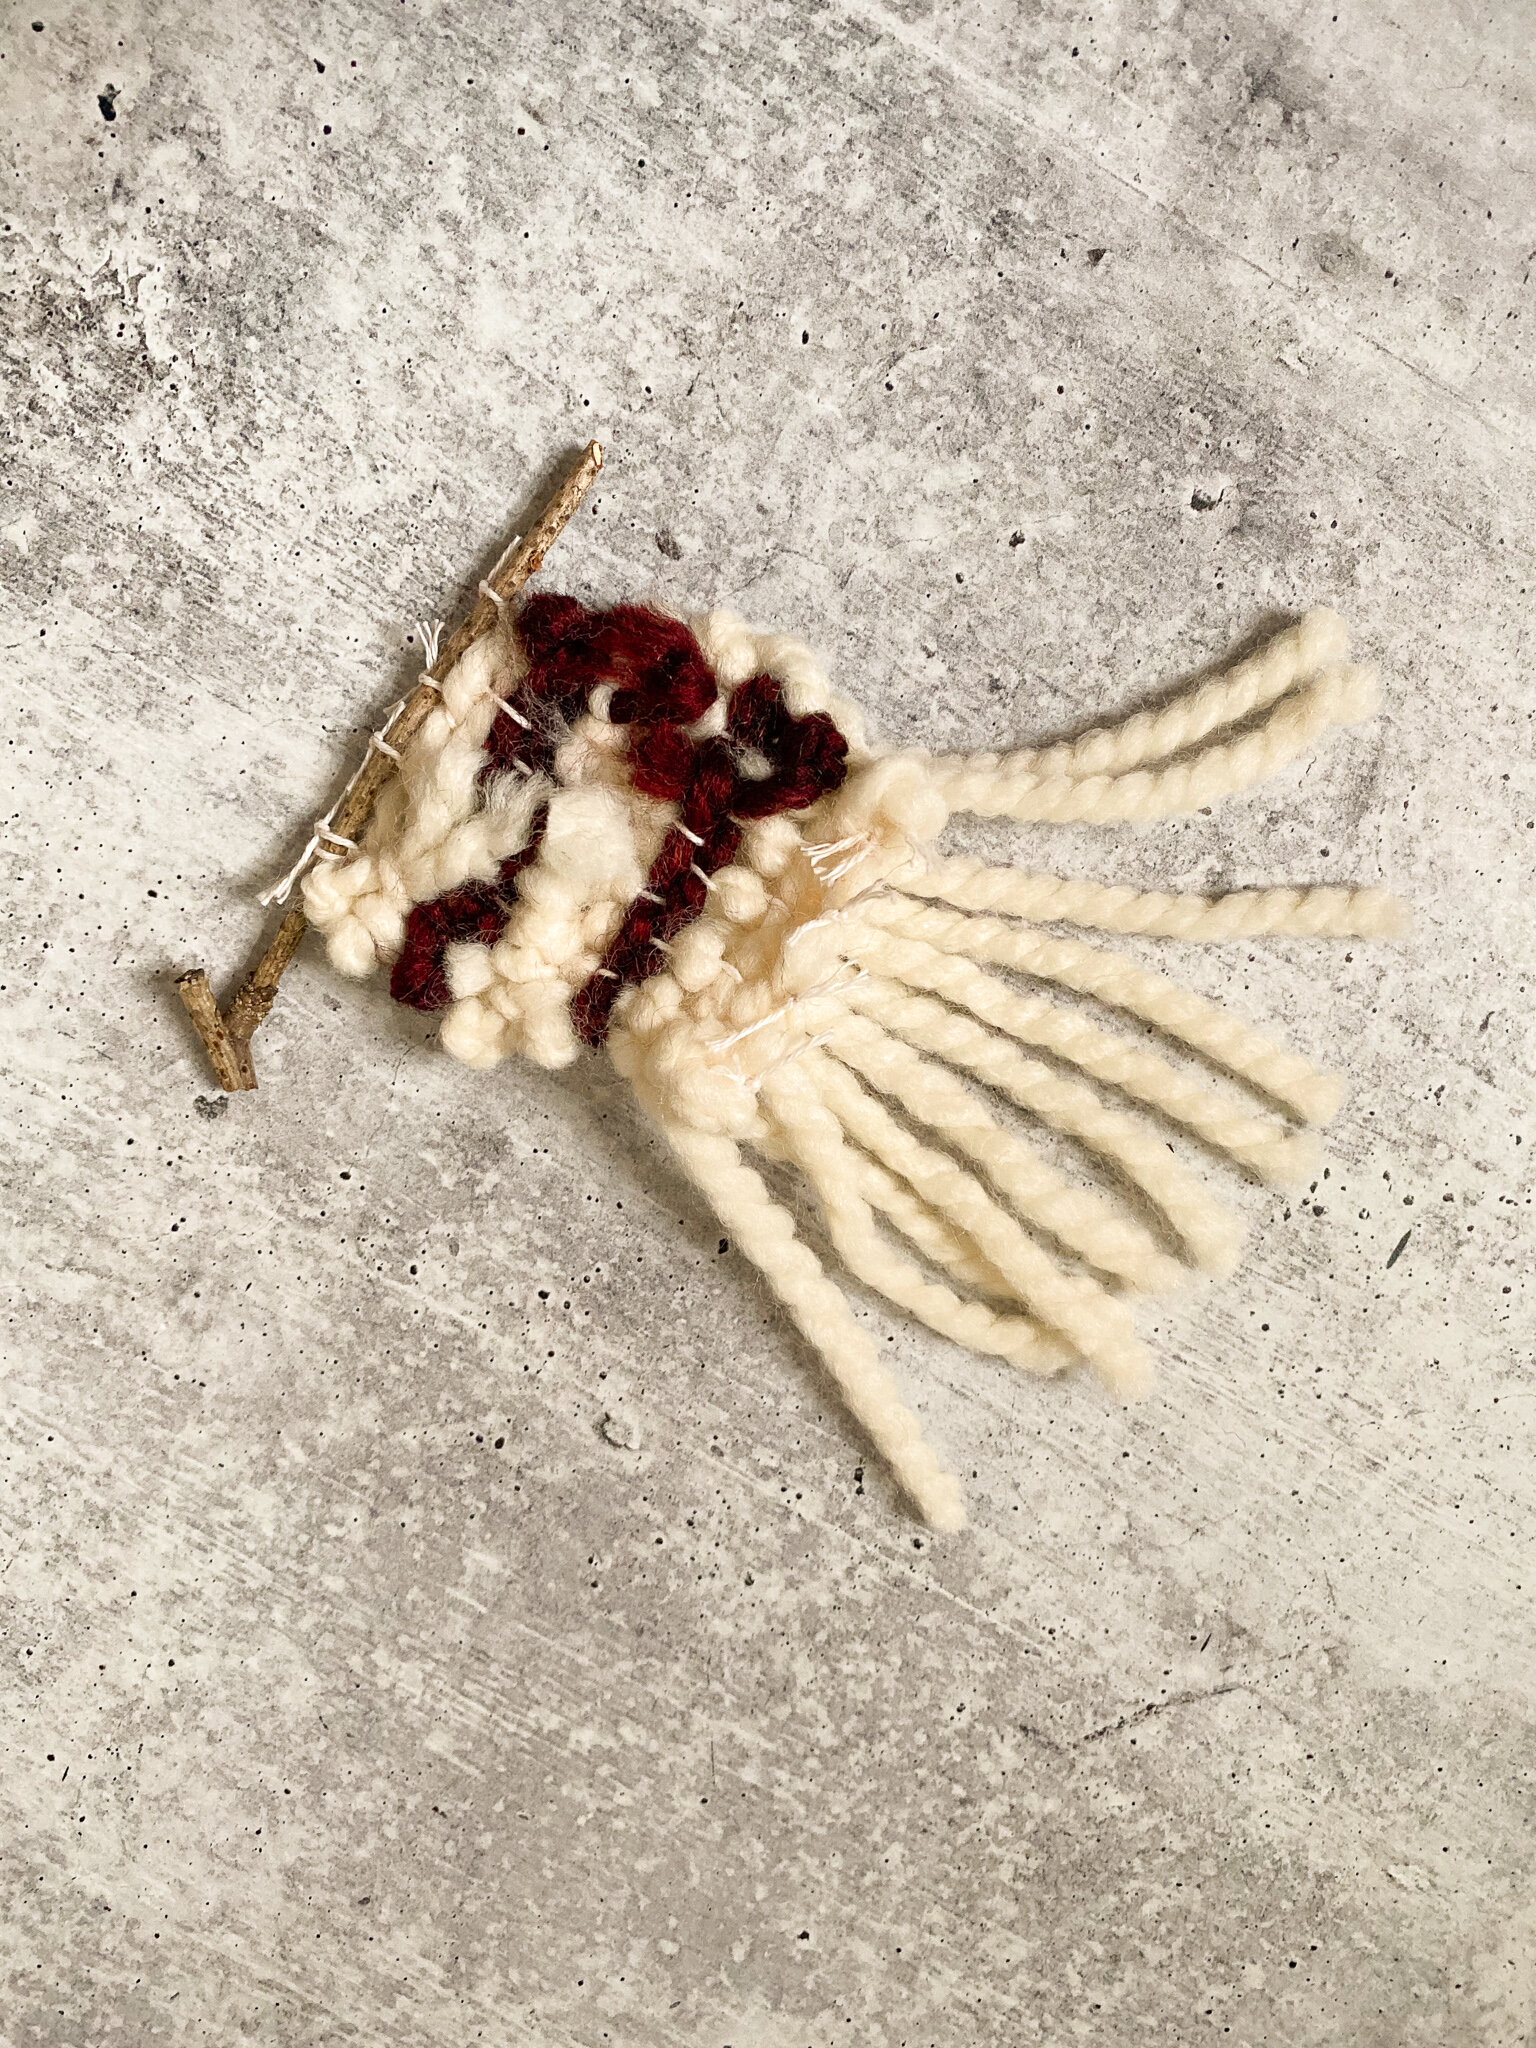
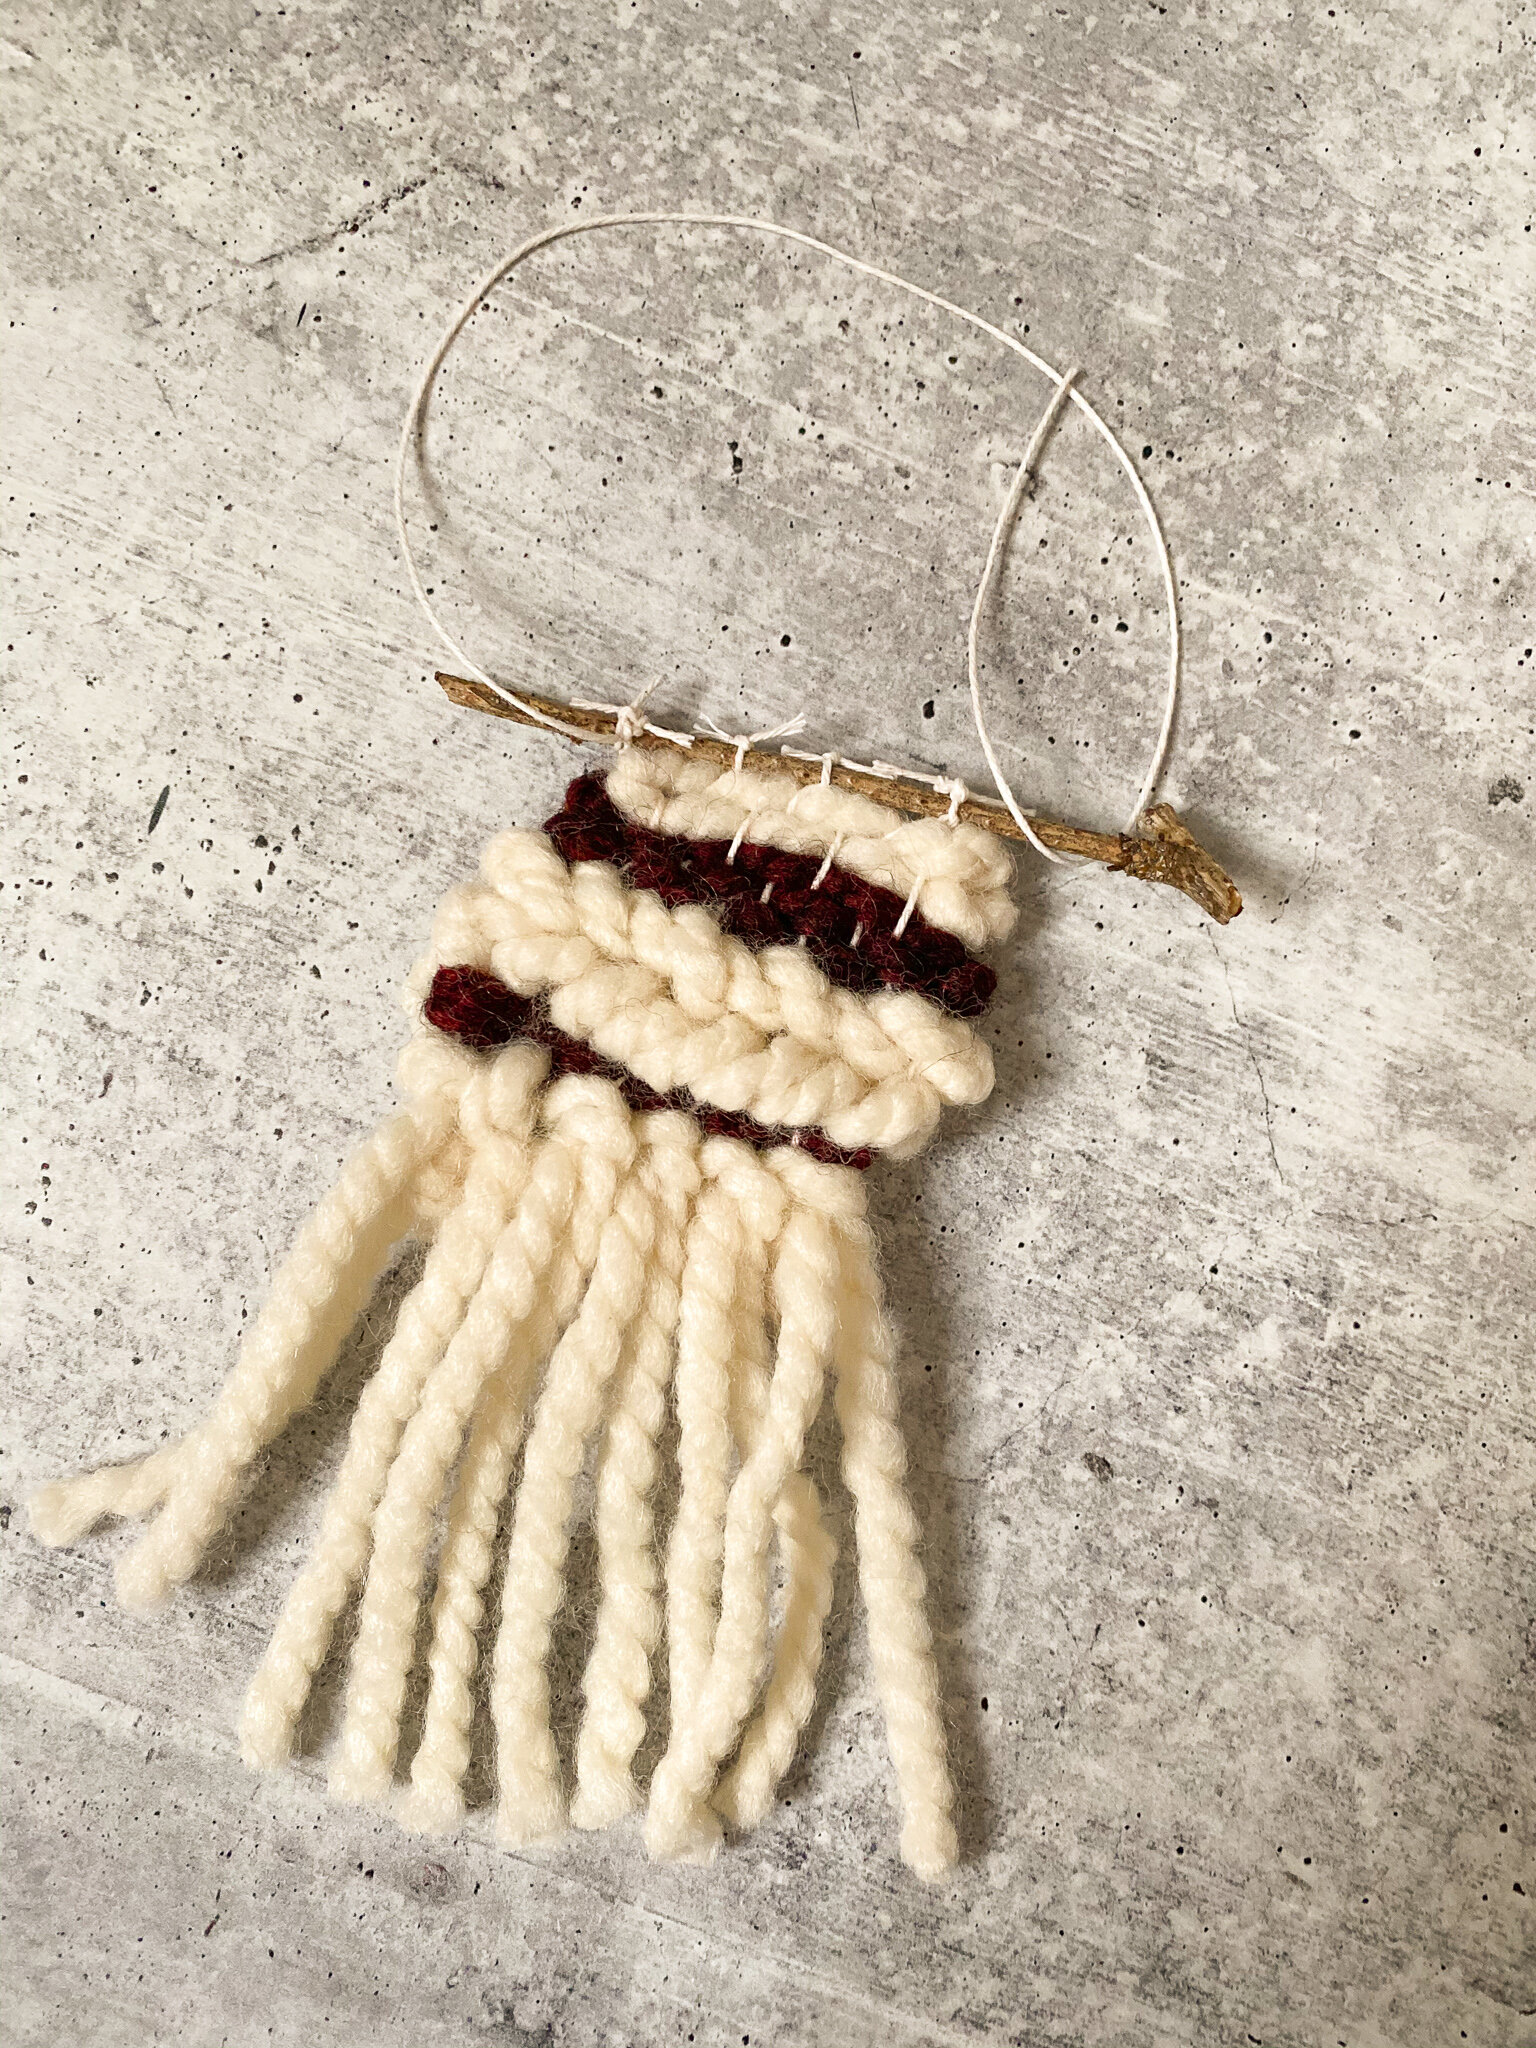
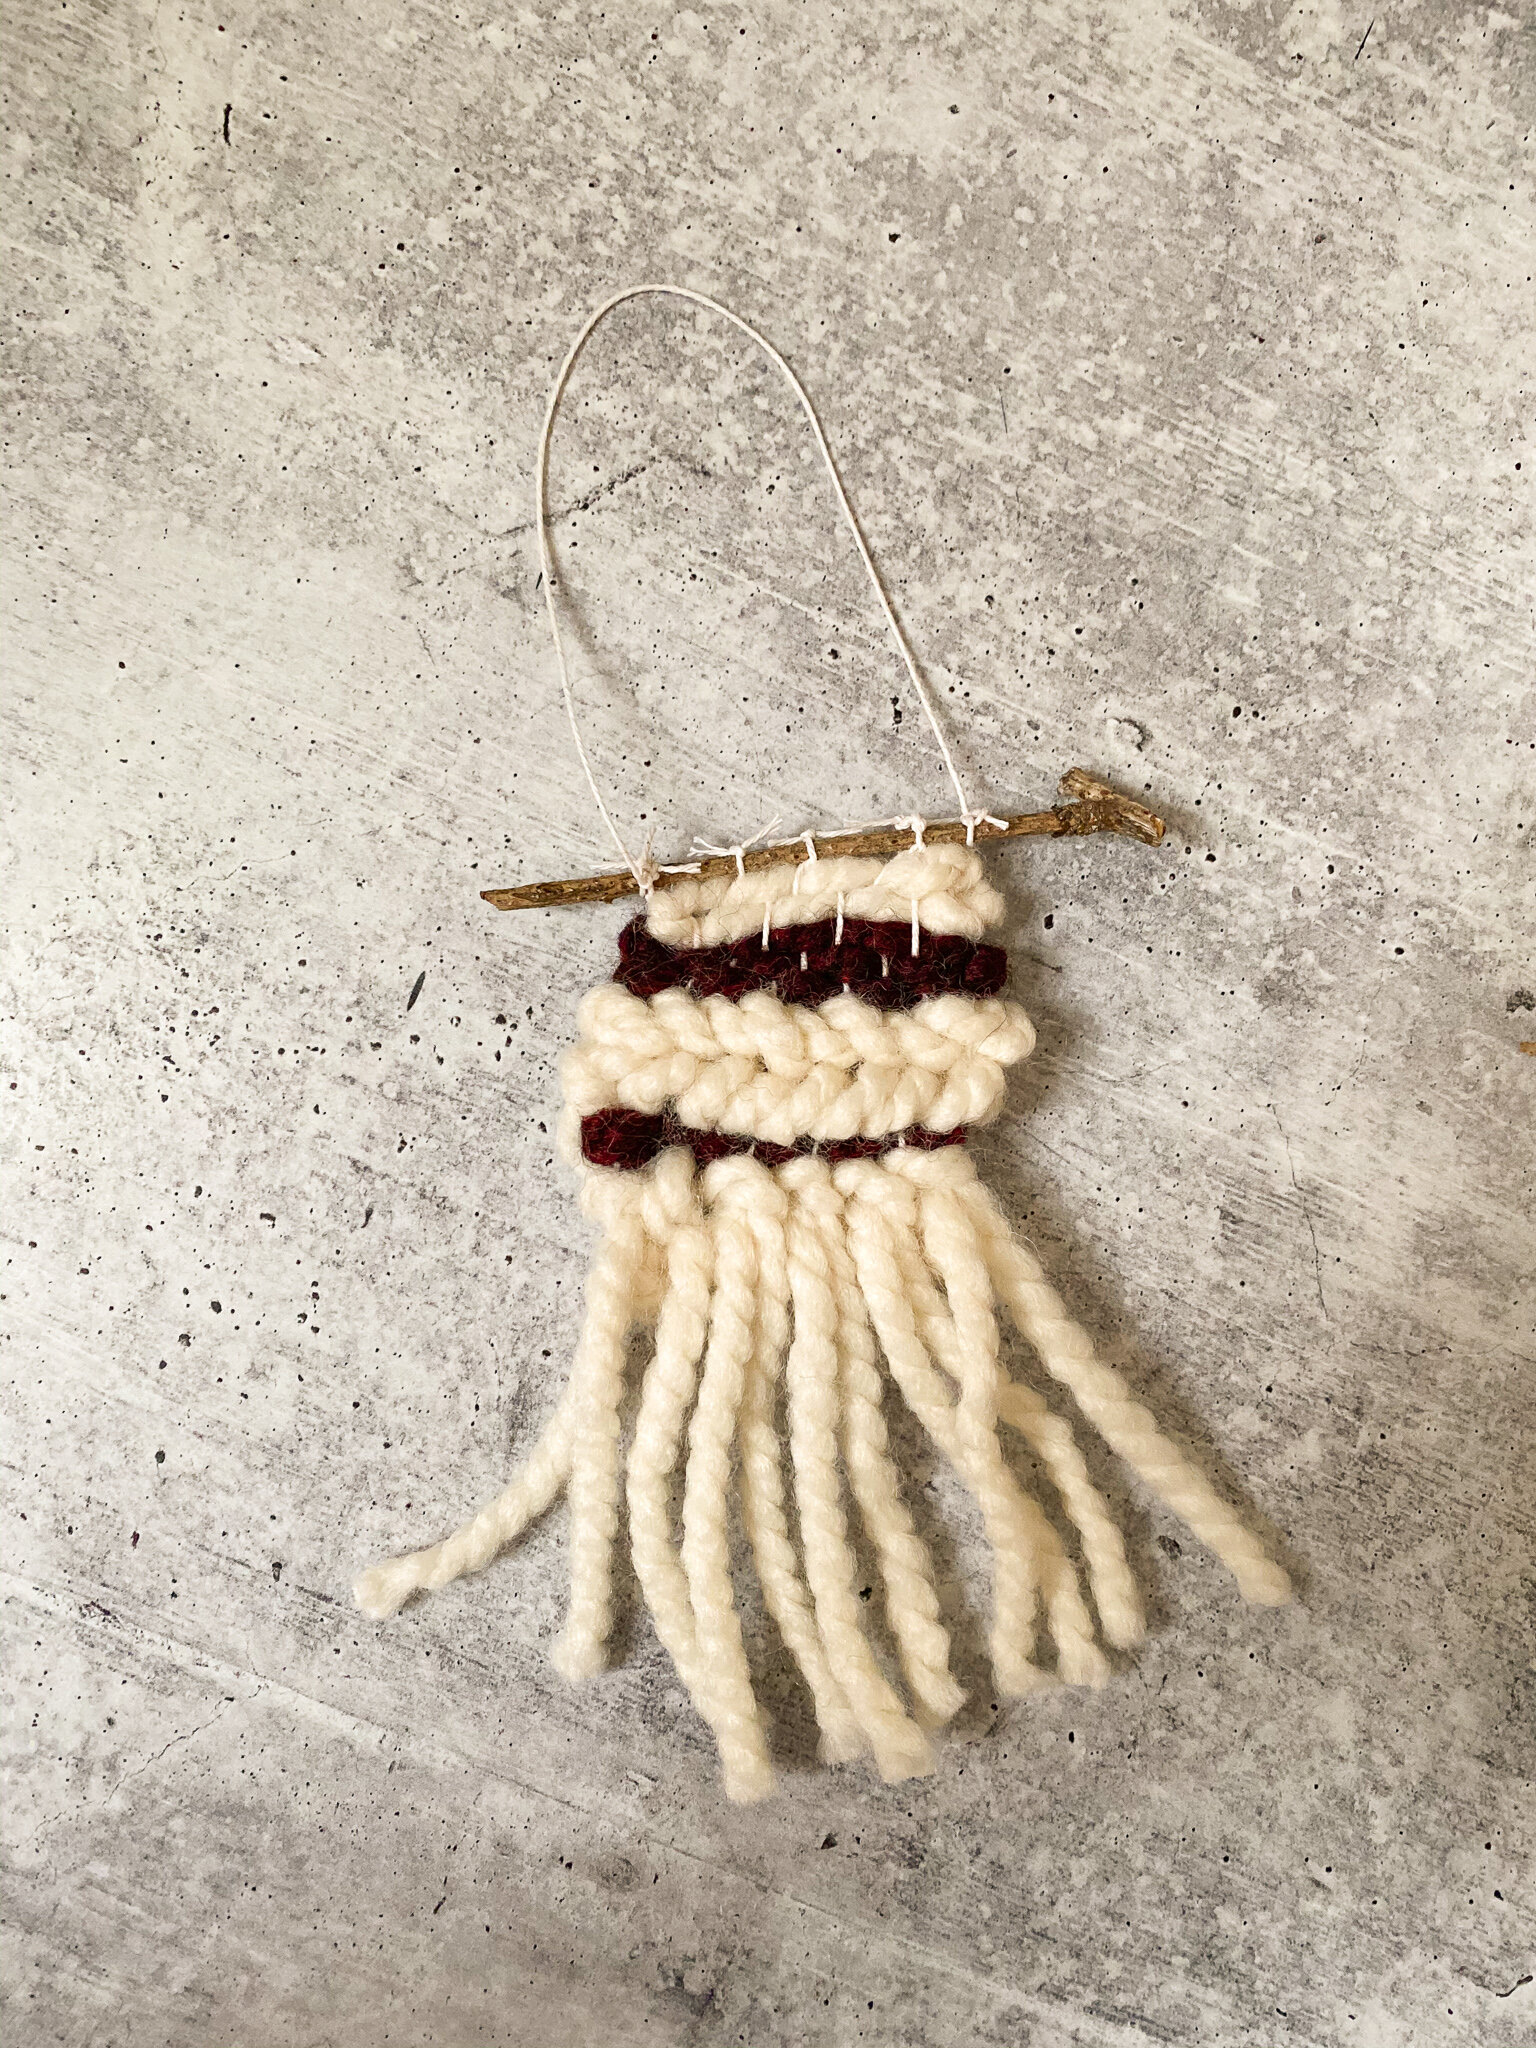
11. Cut a strand of warp thread (about 8 inches long) and tie it to each side of the twig with double knots. Cut off the loose ends. You’re all done with your mini woven wall hanging ornament!!
If you enjoyed this project, check out my other DIY ornament projects on the blog! Happy Holidays!!